Quick Start Tutorial
21
Step 1: Quick recordingStep 2: OverdubbingStep 3. Mixing
Step 4. Mastering
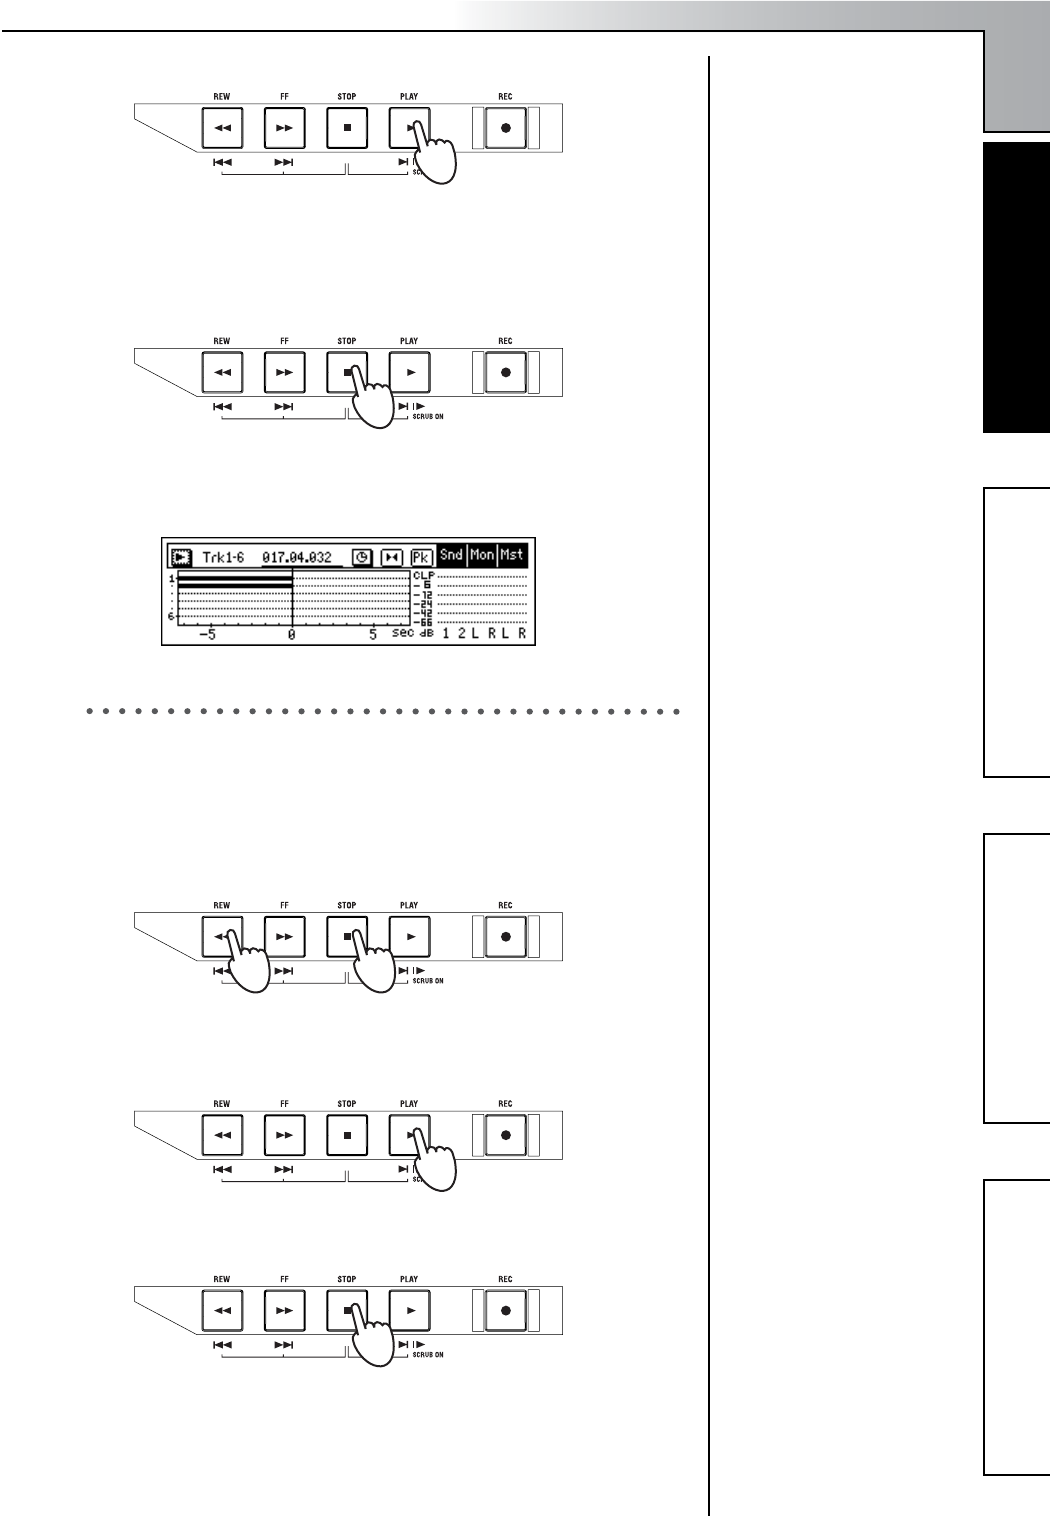
3 When you are ready to perform, press the [PLAY] key.
The [REC] and [PLAY] LEDs will light.
When recording starts, begin performing.
You will hear the rhythm pattern you selected. Go ahead and play
along.
4 When you have finished playing, press the [STOP] key.
Recording will stop, and the [REC] and [PLAY] LEDs will go dark.
In the track view screen, a heavy line will indicate the region that you
recorded.
7. Play back
Now let’s play back the song you just recorded.
1 Press the track 1 and 2 [TRACK STATUS] keys to set them to PLAY
(LED lit green).
2 While holding down the [STOP] key, tap the [REW] key.
The counter display will move to the beginning of the song.
3 Press the [PLAY] key to begin playback.
During playback, the [PLAY] LED will light green. Use the [MAS-
TER] fader to adjust the volume.
4 Press the [STOP] key.
Playback will stop, and the [PLAY] LED will go dark.
To stop the rhythm
In the [RHYTHM] “Setup”
top panel, select the
“Rhythm” button and press
the [ENTER] key to turn it
“Off.”
The heavy line will appear
even in sections where you
were not actually playing
your instrument.
Counter display, move to time
(→p.32)
To exit Modeling mode
(→p.47)
Step 1: Quick recording
