


31
Song and Locate
MixerEffects
Modeling mode
Rhythm
The Recorder
MasteringDataDriveUSBMIDIUpgrading
the system
Operation
1. Creating, naming and selecting
songs
This section will cover how to create a song, how to name a
new or existing song, and how to select an existing song. The
D1200 has 100 song locations.
1-1. Creating a new song
Before you begin recording, you will need to create a new
song where the recording will take place.
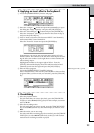
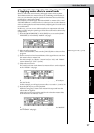
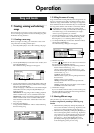
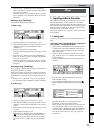
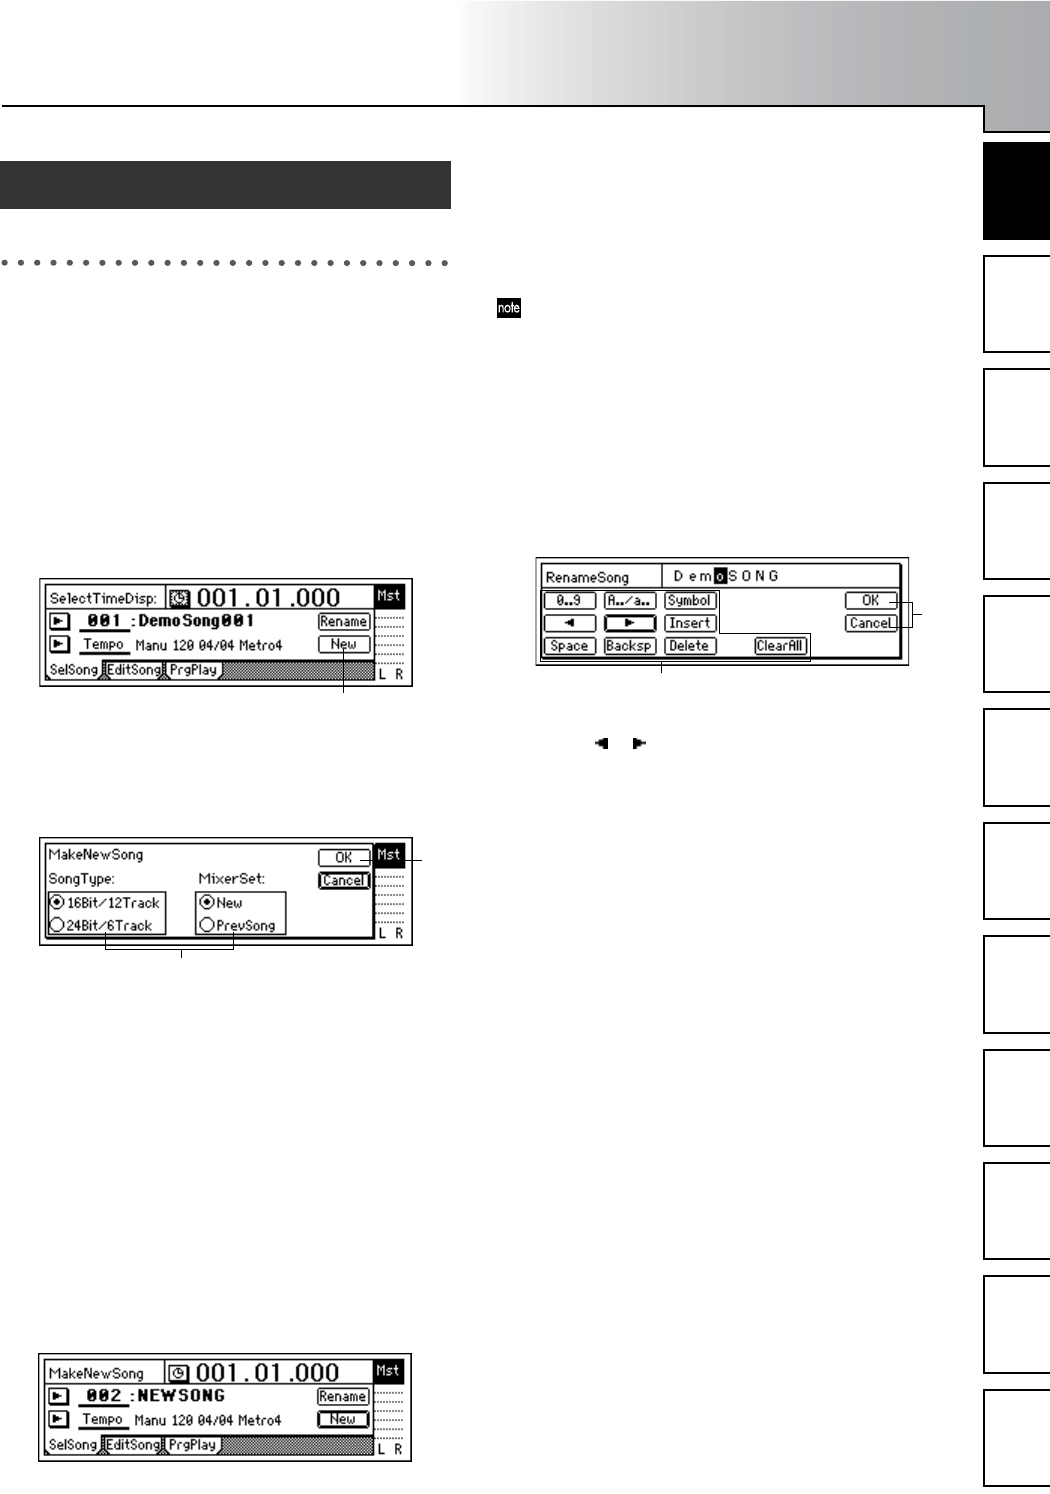
1 Press the [SONG] key to access the “SelSong” tab page.
2 Use the [CURSOR] keys to select the “New” button, and
press the [ENTER] key.
The “MakeNewSong” dialog box will appear.
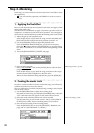
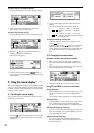
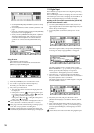
3 Use the radio buttons to select the bit depth (which will
determine the number of tracks), and the mixer settings.
Then press the [ENTER] key.
Use the “SongType” radio buttons to select the bit depth
and number of tracks, and press the [ENTER] key to
make the setting.
16Bit/12Track: A song using 16-bit recording/playback
will be created. Tracks 1-12 are available in this mode.
24Bit/6Track: A song using 24-bit recording/playback
will be created. Tracks 1-6 are available in this mode.
Select the desired “MixerSet” radio button in the same
way. (→p.116)
4 Press the [YES/OK] key.
A song named “NEWSONG” will be created following
the last existing song.
1-2. Editing the name of a song
Songs on the D1200 are designated by name. Song names can
be up to 16 characters in length. The D1200 contains 100 lo-
cations for songs, numbered 001–100. Songs are assigned to
these numbered locations in the order they are created. Both
the song names and the order number can be freely edited.
By default, each newly created song will be named
“NEW SONG.” So that you will be able to distinguish it
from other songs, we recommend that you assign a
name to your song before you continue.
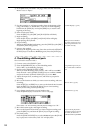
1 Press the [SONG] key to access the “SelSong” tab page.
If you want to edit the name of a different song, select
that song first (→“1-3. Selecting different songs”).
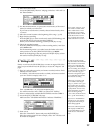
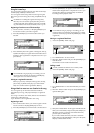
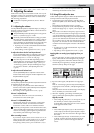
2 Use the [CURSOR] keys to select the “Rename” button,
and press the [ENTER] key.
The “RenameSong” dialog box will appear.
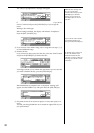
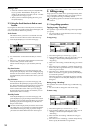
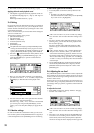
3 Edit the song name.
Use the “ ” “ ” buttons to move the cursor. Then turn
the [VALUE] dial to edit the character.
The buttons in the display have the following function.
“0...9”: Selects numerals (e.g., “0”)
“A../a..”: Selects alphabetical characters (e.g., “A”).
Press this button again to select lowercase alphabeti-
cal characters (e.g., “a”).
“Symbol”: Selects symbols.
“Insert”: Inserts a space, moving subsequent charac-
ters backward.
“Space”: Selects a space (blank).
“Backsp”: Deletes the character that precedes the
cursor location.
“Delete”: Deletes the character at the cursor location.
“ClearAll”: Erases the entire name.
4 Finalize the changes.
If you are satisfied with the name you have made, press
the [YES/OK] key. If you decide not to change the name,
press the [NO/CANCEL] key.
1-3. Selecting different songs
There are three ways to select an existing song.
To select a song from the preceding or following song
location
• Hold down the [STOP] key and tap the [FF] key to
move to the end of the current song. Tap the key once
again to move to the beginning of the next song.
• Hold down the [STOP] key and tap the [REW] key to
move to the begining of the current song. Tap the key
once again to move to the beginning of the previous
song. If you are already at the beginning of the cur-
rent song (e.g., “001.01.000”)holding down the
[STOP] key and tapping the [REW] key once will
locate the begining of the previous song.
Song and Locate
2
3
4
4
3