


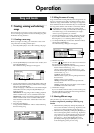
Quick Start Tutorial
29
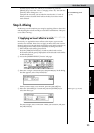
Step 1: Quick recordingStep 2: OverdubbingStep 3. Mixing
Step 4. Mastering
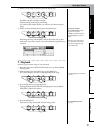
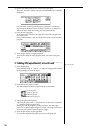
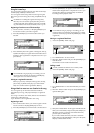
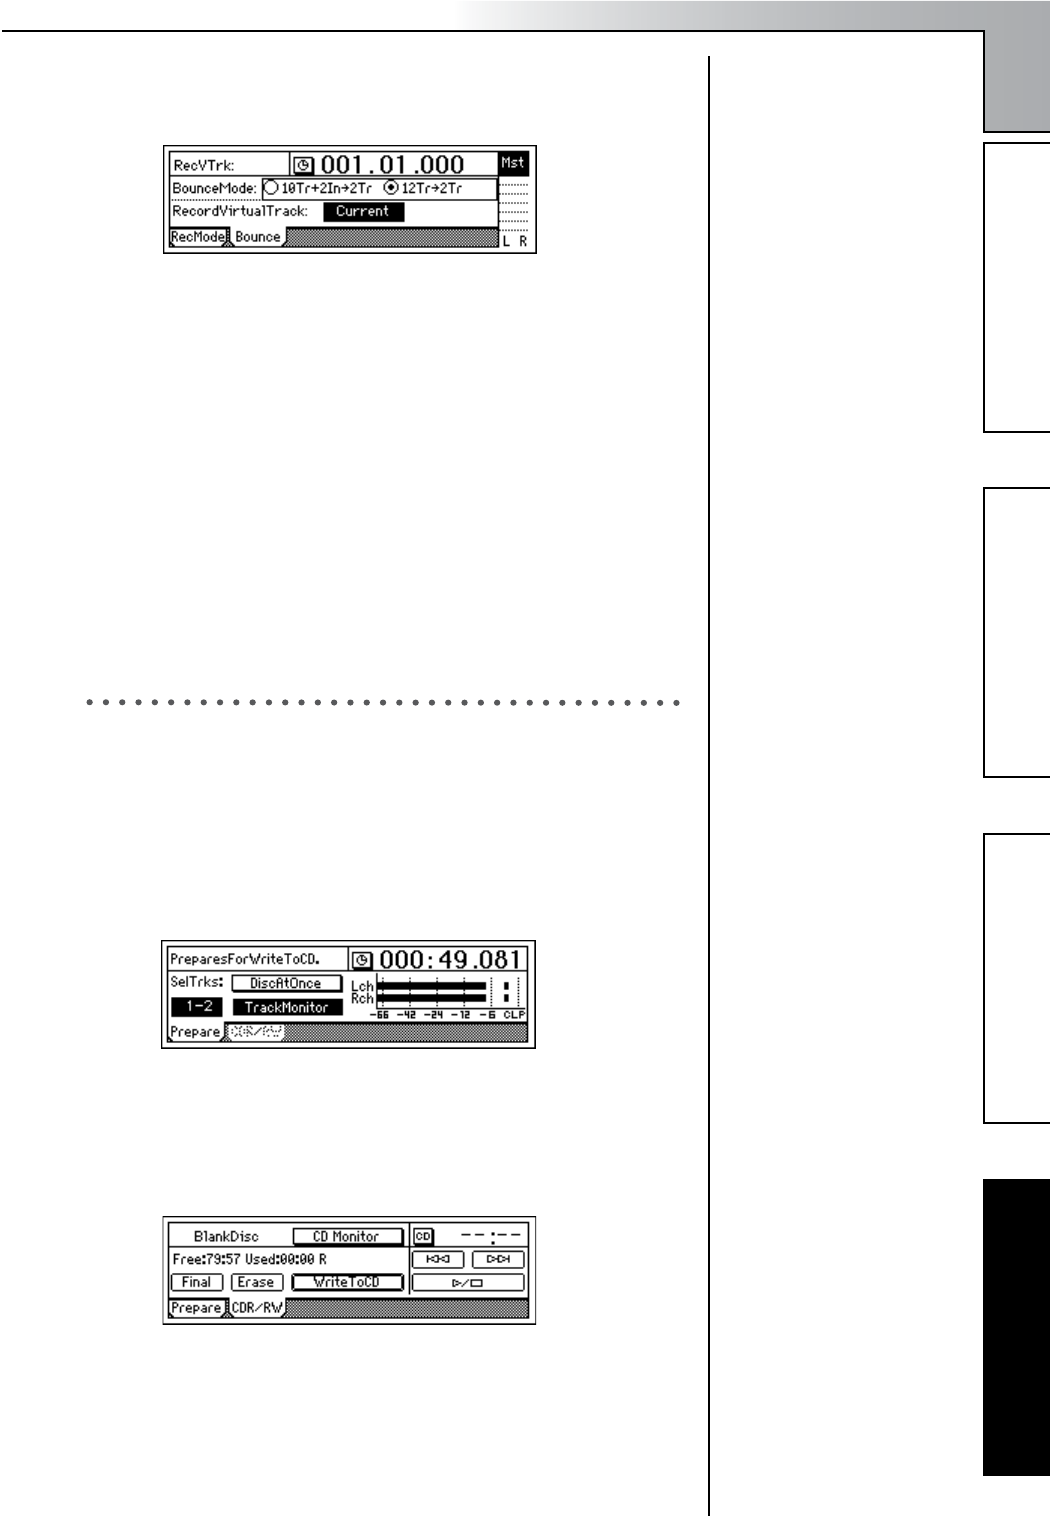
4 Select the bounce mode.
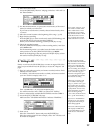
Access the [BOUNCE] “Bounce” tab page, and select “12Tr→2Tr” as
the “BounceMode.”
5 Set “RecordVirtualTrack” to specify the virtual tracks (of the record
tracks) on which you will record.
If you want to record on the currently selected virtual tracks, select
“Current.”
6 Move the current location to the beginning of the song. (→p.32)
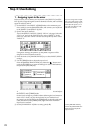
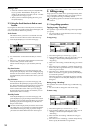
7 Begin bounce-recording.
Press the [REC] key to enter record-ready mode (LED blinking), and
press the [PLAY] key to begin recording (LED lit).
When you are finished recording, press the [STOP] key to stop.
8 Check the recorded content.
Press the [TRACK STATUS] keys of the recording tracks (1 and 2) to
select PLAY mode.
For the remaining tracks 3–12, either lower the faders to the mini-
mum position or set their [TRACK STATUS] keys to MUTE.
Return to the begining of the song and press the [PLAY] key to hear
the results. Press the [STOP] key to stop.
3. Writing to CD
Finally we will use the CD-R/RW drive to create an original CD of the
song you just recorded. Press the [CD] key to access the “Prepare” tab
page.
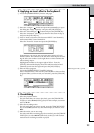
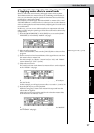
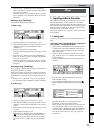
1 First, let’s select the two tracks you bounce-recorded, and use Track
Monitor to listen to them.
In “SelTrks,” select the master tracks to which you bounce-recorded
your mix. For this example, select “1–2.”
Turn “TrackMonitor” on, and press the [PLAY] key.
You will hear tracks 1 and 2 which you selected in “SelTrks.”
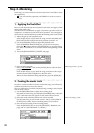
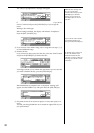
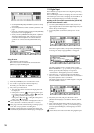
2 Insert a commercially-available blank CD-R disc into the CDRW-1.
3 Access the [CD] “CDR/RW” tab page.
Make sure that “CD-R/RW Information” indicates “BlankDisc.”
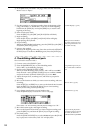
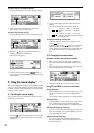
4 Write to CD.
Select the “WriteToCD” button and press the [ENTER] key.
Select the writing speed. For this example, select “8X.” The disc will
be written at 8X speed.
If you select “Current,” your
mix will be recorded on the
same virtual tracks as were
played back. If you want to
keep the data of those virtual
tracks after bounce-record-
ing, you must select virtual
tracks other than “Current.”
In order to create an audio
CD, the D1200’s internal hard
disk must have as much free
space as is occupied by the
song (the two-channel total)
you are creating. For example
in order to create an audio CD
of a five-minute song, you
must have enough free space
to accommodate ten minutes
of monaural recording.
If the song you write to CD
has no silence at the begin-
ning (i.e., at time “zero”), you
may not hear the very begin-
ning of the song when the CD
is played back. In such cases,
insert about half a second of
silence at the beginning
(“zero” time) of the two-track
mix. (→p.58: “InsertTrack”)
If you leave “TrackMonitor”
turned on, you can monitor
the playback without EQ or
effects being applied.
Since some audio CD players
will not play CD-RW discs,
we recommend that you use
CD-R discs to create audio
CDs.
Step 4. Mastering