


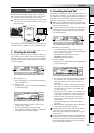
Operation
73
Song and Locate
MixerEffects
Modeling mode
Rhythm
The Recorder
MasteringDataDriveUSBMIDIUpgrading
the system
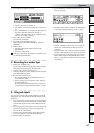
3-2. Exporting (writing) a WAV file
You can export (write) audio data as a WAV file in the fol-
lowing formats.
Sampling frequency: 44.1 kHz
Bit depth: 16-bit, 24-bit
Channels: 1 (monaural), 2 (stereo)
When exporting to a CD-R/RW disc, you can export ad-
ditional files to the same disc at a later time.
Exported WAV file data can be read by the D1200 or by
a computer even if the disc has not been finalized.
WAV files exported to a CD-R/RW are in ISO9660 level
1 format.
Files exported to the internal USB drive can be saved to
your computer.
Exporting a WAV file
Here’s how you can copy the IN–OUT region of tracks 1
and 2 in a 16-bit song to the clipboard, and export this
audio data to a stereo WAV file named “D1200_ST.WAV.
1 Select a 16-bit song that you created. (→p.31: “1-3.
Selecting different songs”)
2 Register the IN and OUT locations. (→p.33, 118)
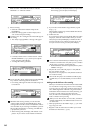
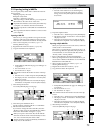
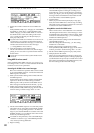
3 Copy the track data to the clipboard.
• In the [TRACK] “EditTrk” tab page, set “EditType” to
“CopyTrack.”
• Set “SourceTrack” to “1–2.”
• Set “DestTrack” to “Clip2.”
The number indicates the number of tracks in the clip-
board.
• Select the “Exec.” button and press the [ENTER] key.
• The display will ask “AreYouSure?” Press the [YES/
OK] key to execute.
• When the operation has been executed, the display
will indicate “Completed.” Press the [YES/OK] key.
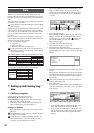
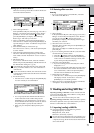
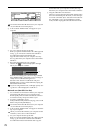
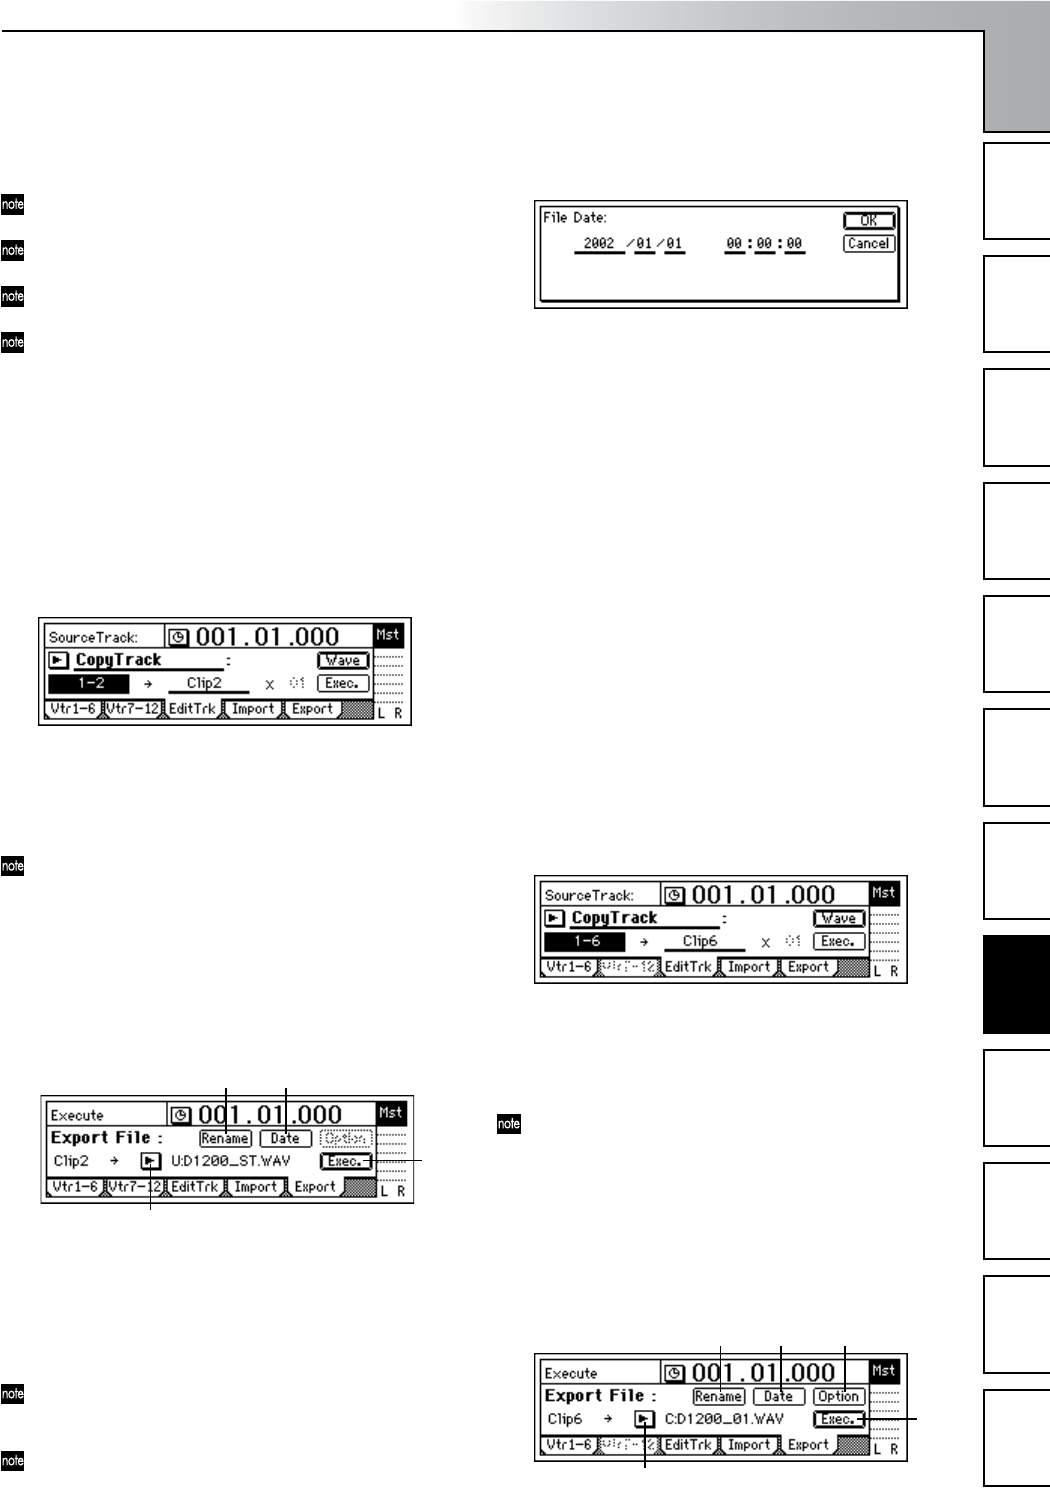
4 Select the Export function.
Access the [TRACK] “Export” tab page.
5 Select the export-destination drive.
For this example, select the USB drive “U:USB DOS.”
6 Edit the name of the WAV file.
If you want to change the name of the file, select the
“Rename” button and press the [ENTER] key. Edit the
name in the “RenameFile” dialog box. (→p.31)
When you export a stereo WAV file, the 7th and 8th
characters of the file name will automatically be set to
“ST.” For a monaural file, this will be “MN.”
The file cannot be saved if an identically-named file al-
ready exists on the USB drive.
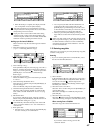
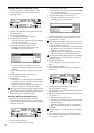
7 Specify the date and time of the WAV file.
•Press the “Date” button to access the dialog box,
move the cursor to the date or time you want to
change, and use the [VALUE] dial to set the data
and/or time.
8 Export the clipboard data.
• Select the “Exec.” button and press the [ENTER] key.
• The display will ask “AreYouSure?.” Press the [YES/
OK] key to execute.
• When the operation has been executed, the display
will indicate “Completed.” Press the [YES/OK] key.
Exporting multiple WAV files
When you export four or more tracks at once, each track
will be saved as a monaural file.
Here’s how to copy the IN–OUT region of tracks 1–6 of
the 24-bit song 003 to the clipboard, and export them to
a CD-R/RW disc as six monaural WAV files named
“D1200_1.WAV”–“D1200_6.WAV.”
1 Insert a CD-R/RW disc into the CD-R/RW drive.
When exporting WAV files to the CD-R/RW drive, you
can use either a blank CD-R/RW disc or an unfinalized
ISO9660 format CD-R/RW disc.
2 Select a 24-bit song that you created. (→p.31: “1-3.
Selecting different songs”)
3 Register the IN and OUT locations. (→p.33)
4 Copy the track data to the clipboard.
• In the [TRACK] “EditTrk” tab page, set “EditType” to
“CopyTrack.”
• Set “SourceTrack” to “1–6.”
• Set “DestTrack” to “Clip6.”
The number indicates the number of tracks in the clip-
board.
• Select the “Exec.” button and press the [ENTER] key.
• The display will ask “AreYouSure?” Press the [YES/
OK] key to execute.
• When the operation has been executed, the display
will indicate “Completed.” Press the [YES/OK] key.
5 Select the Export function.
Access the [TRACK] “Export” tab page.
5
76
8
6
8 97
0
Data