


Operation
39
Song and Locate
MixerEffects
Modeling mode
Rhythm
The Recorder
MasteringDataDriveUSBMIDIUpgrading
the system
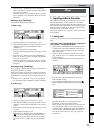
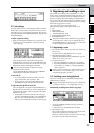
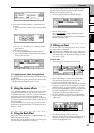
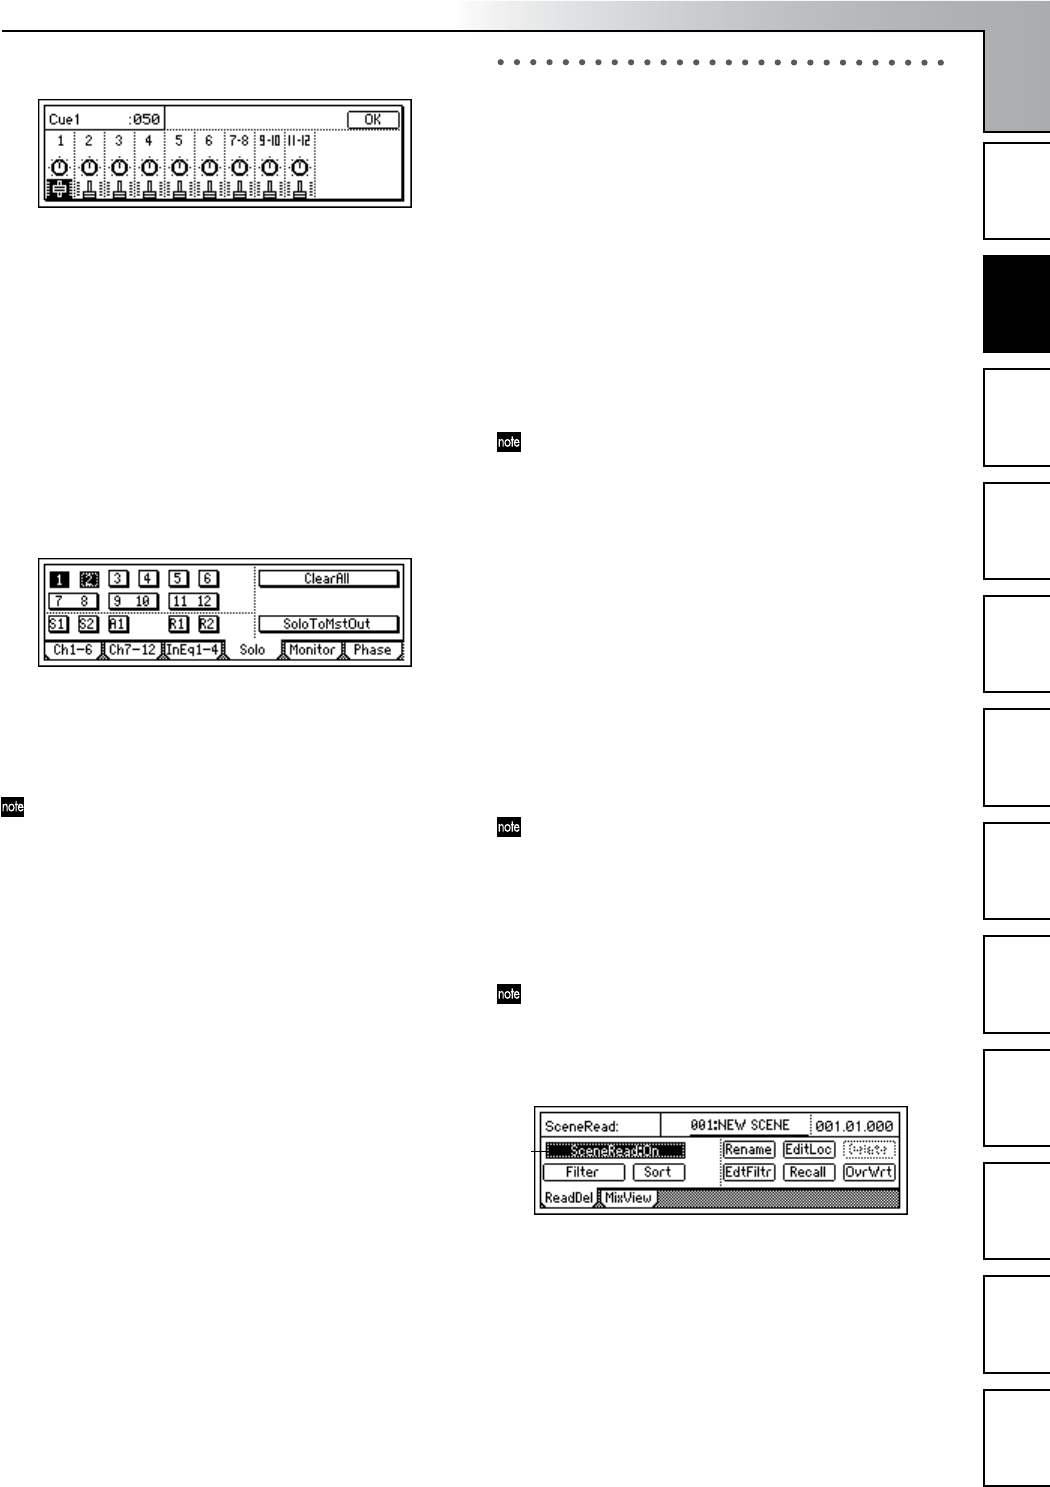
2-7. Solo settings
If a “Solo” button is “On,” only that signal will be sent to the
monitor bus. Use this when you want to hear just one of sev-
eral audio sources, or to check the send signal. The solo sig-
nal will be output from the [MONITOR OUT L/R] jacks and
the [PHONES] jack.
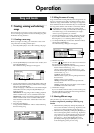
To select a signal for soloing
1 Begin by selecting the signal that you want to solo, and
turn Solo on. Access the [INPUT/OUTPUT/SOLO]
“Solo” tab page.
Select the appropriate “Solo” button, and press the
[ENTER] key to switch solo “On” (highlighted) for that
signal. If solo has been turned “On” for even one signal,
the [INPUT/OUTPUT/SOLO] key will blink.
You may select more than one signal for soloing.
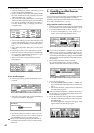
2 Adjust the monitor volume.
Use the [MONITOR OUT LEVEL] knob or [PHONES
LEVEL] knob to adjust the volume level.
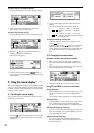
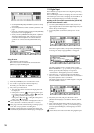
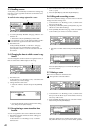
To turn solo off
• Access the [INPUT/OUTPUT/SOLO] “Solo” tab
page, and turn the “Solo” button(s) “Off.”
• If you select the “ClearAll” button and press the
[ENTER] key, all solo settings will be turned off.
To output the solo signal from master LR
You can output the solo signal from [MASTER OUT L/
R] if desired. Use this when you want to output the solo
signal from the monitor system connected to the [MAS-
TER OUT L/R] jacks.
• In the [INPUT/OUTPUT/SOLO] “Solo” tab page,
turn the “SoloToMstOut” button “On” (highlighted).
However, this will automatically be turned “Off”
when you leave the [INPUT/OUTPUT/SOLO] page.
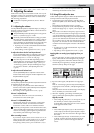
3. Registering and recalling a scene
The current mixer settings can be registered as a “scene.”
Scenes can be recalled automatically as the song plays. You
can also register frequetly-used mixer settings for recall as
desired, re-register the recalled settings at a different loca-
tion, or edit some of the settings and overwrite them over the
original scene. Scenes can be renamed, and can be sorted by
their order of appearance in a song.
Up to 100 scenes can be registered in a song.
The following settings can be registered in a scene.
•EQ
•Effect settings
•EffSnd (effect send)
• AuxSend (auxilliary send)
•[PAN] and [BALANCE] knobs
• [CHANNEL] faders
The faders and pan/balance knobs of the top panel do
not actually move when a scene is recalled. However
the [SCENE] “MixView” tab page lets you see the value
for these settings as the scenes change.
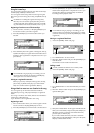
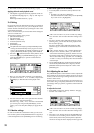
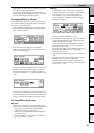
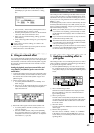
3-1. Registering a scene
1 Move to the location in the song where you want to reg-
ister a scene.
Use the counter or [FF]/[REW] to move (→p.32).
2 Make the desired mixer settings.
Adjust the [CHANNEL] faders, [PAN] knobs, EQ, and
effects etc. to create a new scene.
3 To register the scene:
•Press the [STORE] key to capture the current time.
•Press the [SCENE] key. The display will indicate the
scene number as “SCENE***”, and the parameters
will be registered.
When a scene is registered, it is assigned the lowest un-
used number. You can perform step 3 even while a
song is being played or recorded.
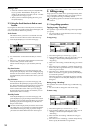
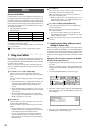
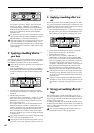
3-2. Switching scenes during playback
Here’s how scenes can be automatically switched as the
playback time progresses.
Register scenes at the locations where you want the mix-
er settings to change. (→“3-1. Registering a scene”)
Automatically switching scenes while a song plays
1 Access the [SCENE] “ReadDel” tab page, and turn
“SceneRead” on.
• When this is on, the [SCENE] key will light.
2 Play back the song.
Move to the location from which you want to play back,
and press the [PLAY] key to play the song.
When you reach the location at which a scene was regis-
tered, the scene will change automatically.
1
Mixer