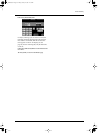
169
VA-76 – Recording User Styles from scratch
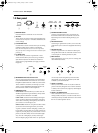
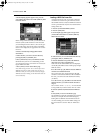
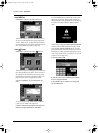
22.
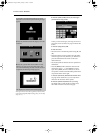
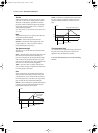
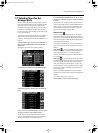
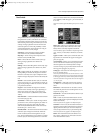
Use the [TEMPO/DATA] dial to specify the num-
ber of bars. Our pattern should be 4 measures long,
so enter the value “4”.
Note: You could also specify a CPT value by pressing the
[CPT] field and using the [TEMPO/DATA] dial. That CPT
value ( = 120CPT) will be added to the Bar length.
Though possible, length values like 4 (bars): 96 (CPT) are
probably not what you want to use every day.
23.
Press [EXECUTE] to confirm the length you spec-
ified.
The display now contains an animated clock. Next, the
“OK Function Complete” message is displayed to sig-
nal that the Length value has been successfully set.
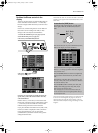
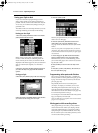
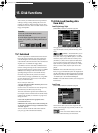
24.
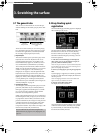
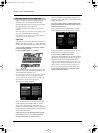
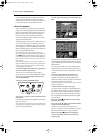
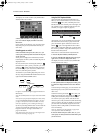
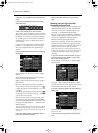
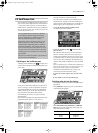
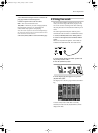
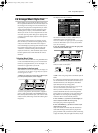
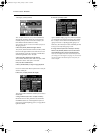
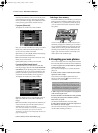
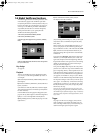
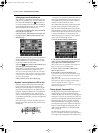
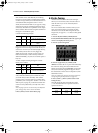
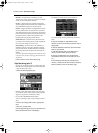
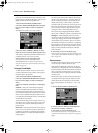
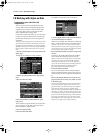
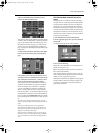
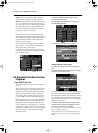
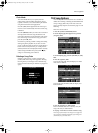
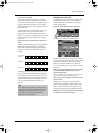
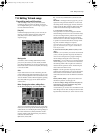
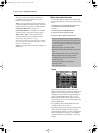
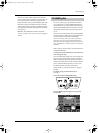
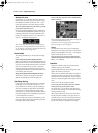
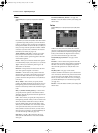
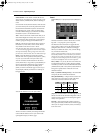
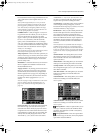
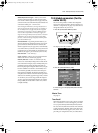
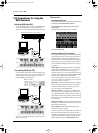
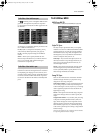
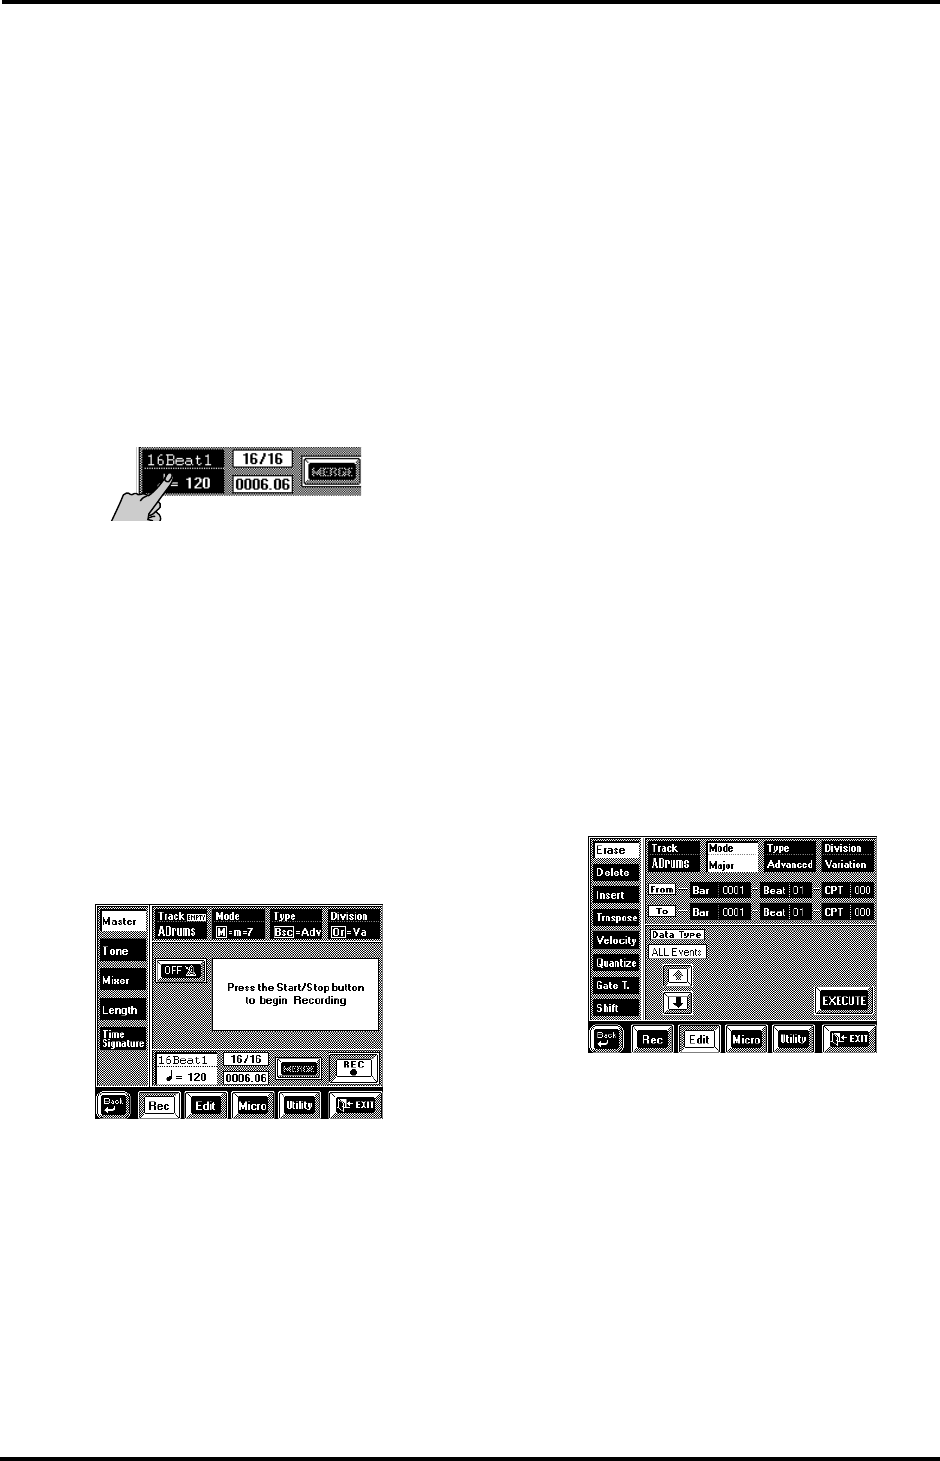
Press the [Master] field in the upper left corner.
Tempo
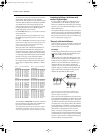
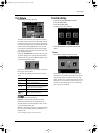
25.
The tempo (currently set to =120) is probably a
bit fast for recording, so change it by pressing the
tempo field and using the [TEMPO/DATA] dial.
The tempo value you set here will be recorded and
regarded as preset tempo. You can change the preset
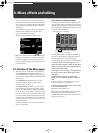
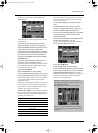
tempo at any stage in User Style Composer mode, so
start by selecting a tempo that allows you to record the
music the way you want it to sound. When all tracks
and divisions are programmed, you can record the
desired tempo value.
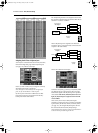
Recording
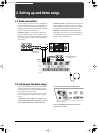
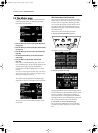
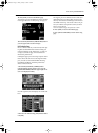
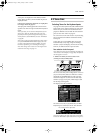
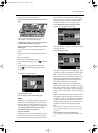
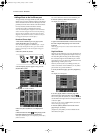
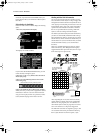
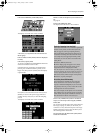
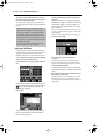
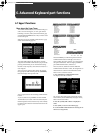
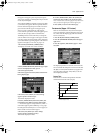
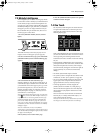
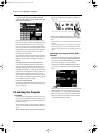
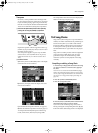
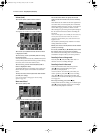
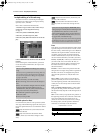
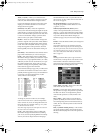
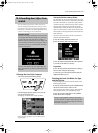
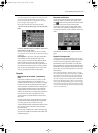
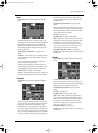
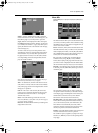
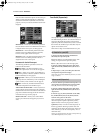
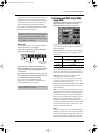
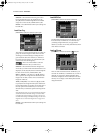
26.
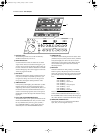
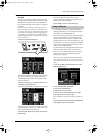
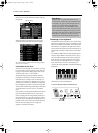
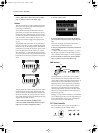
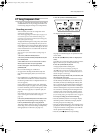
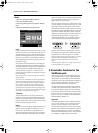
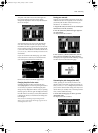
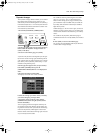
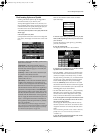
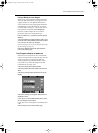
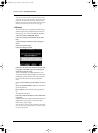
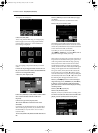
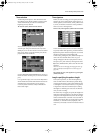
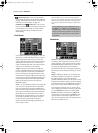
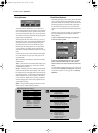
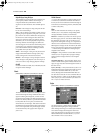
Press the [REC ●] field so that it is displayed in
white.
The display now looks as follows:
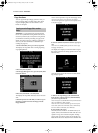
27.
Press the [START/STOP] button. The metronome
counts in one measure (4 beats if you selected the 4/4
time signature), and recording starts on the next
downbeat.
Note: You can also start recording using an optional foot-
switch connected to the FOOT SWITCH jack. See “Start/
Stop” on page 191 for how to select the Arranger Start/Stop
function.
You could start by playing only the bass drum part. If
you specified the track length (see above) before
recording, the Arranger jumps back to the beginning
of the pattern after four measures. The second time
around you could add the snare drum, the third time
the HiHat, and so on. – But you can also play the
drum part in one go, of course.
When recording another part (ABass~Accomp6), do
everything you would do during a live performance.
Feel free to add modulation, Pitch Bend, and use the
Ribbon or D Beam controller as well as the hold pedal
connected to the SUSTAIN FOOTSWITCH jack.
Note: You may notice a short delay before the Arranger
jumps back to the beginning of the pattern. That delay is
due to the fact that the data you record are “being pro-
cessed”. During playback, the loop will be perfect, however.
28.
Press [START/STOP] again to stop recording.
If the above Mode, Type, and Division settings you
selected for recording do not include all the patterns
you wanted to clone, set the Mode, Type, and Division
parameters to the desired values to supply the missing
drum lines. Next, press [REC ●] and [START/STOP]
to start recording. Stop recording after the first or sec-
ond beat (wait until the count-in is finished before
you start counting). Note that this function only adds
clones. It does not allow you to erase existing patterns.
Audition your pattern and then keep or
redo?
1.
Press the [START/STOP] button again to listen to
your performance.
If you like your drum part, continue with “Saving
your Style to disk”. If not, you probably want to give it
another try.
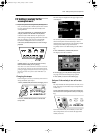
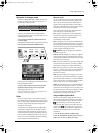
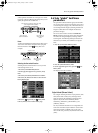
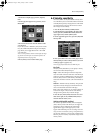
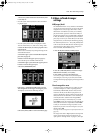
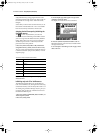
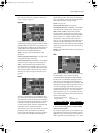
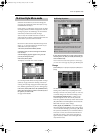
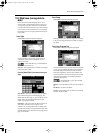
2.
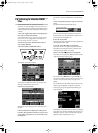
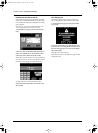
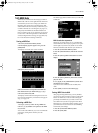
Press the [Edit] field in the bottom row, followed by
[Erase] in the left column.
We’ll use Erase to erase the data because that way, the
Length settings do not change. See “Erase” on
page 178 for more information about this function.
The ADrums track is already selected, as is the pattern
that is used for cloning other tracks.
3.
Press [i] to select ALL Events for “Data Type”.
4.
Press the [EXECUTE] field to erase the pattern.
5.
Press [Rec] in the bottom row to jump back to the
Master page.
6.
Continue with step (26) above.
VA-76.book Page 169 Friday, January 12, 2001 12:35 PM