VA-76 Owner’s Manual—Scratching the surface
28
an t
Suppose you like the sound for the right hand but
think that it is not really suited for the currently
selected Music Style. Here are two easy ways of assign-
ing a different sound to the right hand.
Let’s agree to use the word “Tones” for the VA-76’s
sounds.
Note: In the following, we’ll assume that the Arranger is still
active (the [ARRANGER] button should light).
Note: There is also the “classic” way of selecting Tones that
we’ll skip here. See page 37 for details.
Super Tones
One of the VA-76’s user-friendly functions is the pos-
sibility to “earmark” 5 (Factory) + 5 (User) Tones and
to select them almost instantly. Here is how this works:
1.
Stop Arranger playback by pressing the [START/
STOP] button (it goes dark).
2.
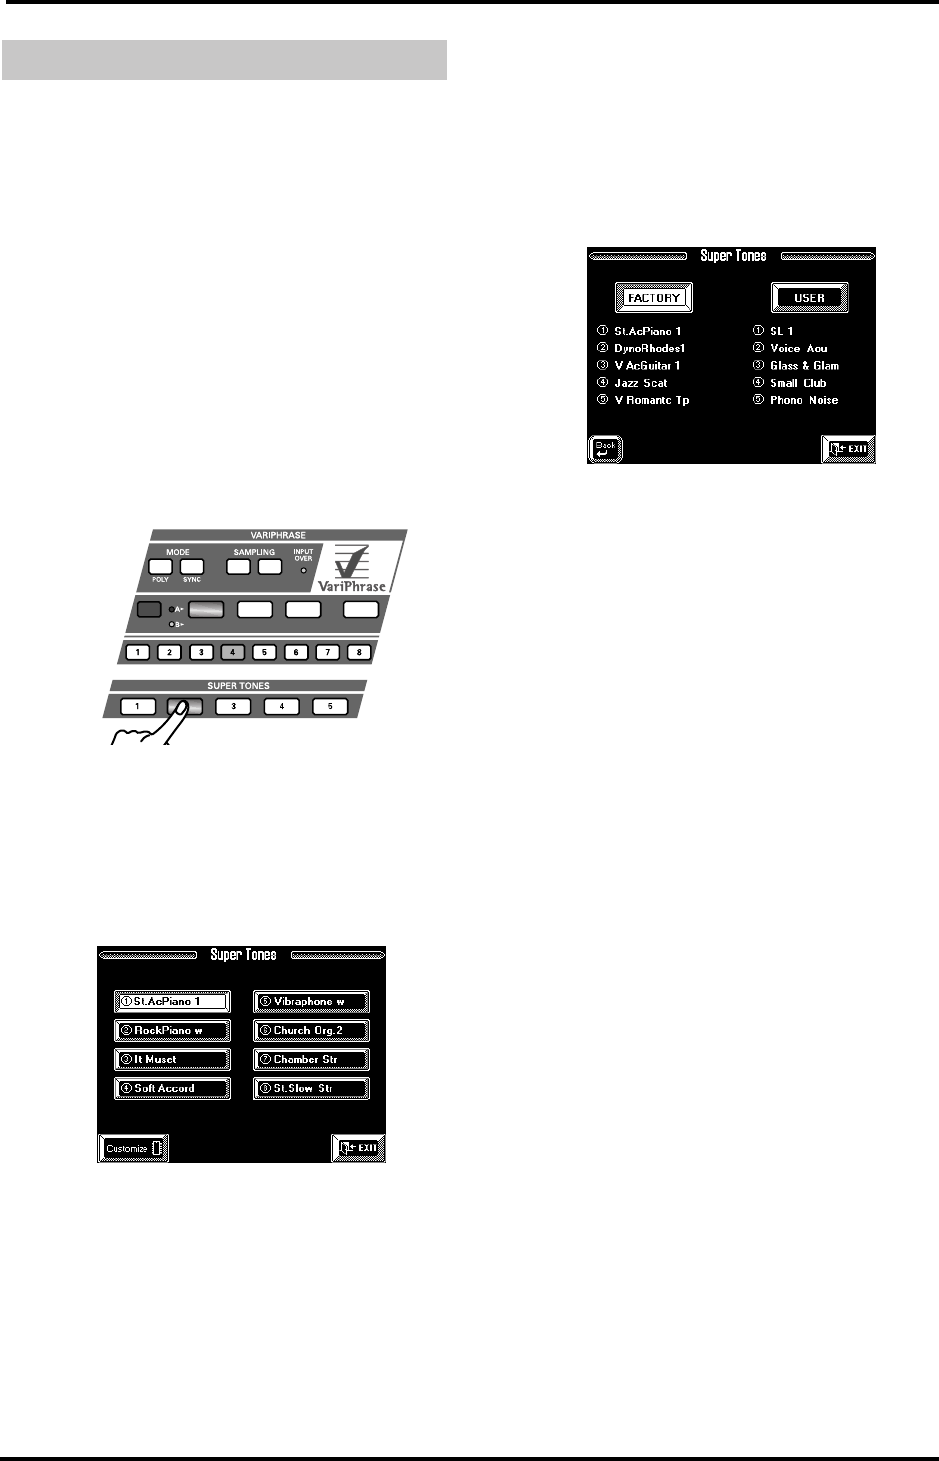
Press a SUPER TONES [1]~[5] button.
This selects the Tone that is currently assigned to the
button you pressed (see the display page below). This
Tone is selected for the Upper1 part.
Note: See “What are ‘parts’?” on page 35 for more informa-
tion about Upper1. For now, it is enough to know that
Upper1 is the part that is assigned to the right half of the
keyboard (unless you selected the VariPhrase).
The display now looks as follows:
The above illustration shows the Factory Tones that
can be assigned to the SUPER TONES [1] button.
There are two assignment sets: “FACTORY” and
“USER”. See page 85 for details. “Factory” only means
that the number of possible options is restricted to 40
Tones (rather than 3,646).
3.
Play a few notes in the right half of the keyboard.
4.
If you like, you can try out a different sound by
pressing another field (e.g. “Vibraphone w”).
There is a second set called USER to which you can
assign one of the 3,646 Tones to each SUPER TONES
button. See page 85.
5.
You may want to press the [START/STOP] button
to find out whether the newly selected Tone is better
suited for the Music Style.
Just for your reference: if you hold down a SUPER
TONES button, the following display page appears:
In that case, press the [EXIT] field as we do not need
this function here. See page 85 for details.
6.
Press another SUPER TONES button.
Again, there are 8 possibilities, one of which is already
selected. Press another displayed field to change the
assignment for the active SUPER TONES button.
Note: The [CUSTOMIZE] field allows you to store a new
assignment (after pressing another instrument field on the
display). The Tone in question will then be selected next
time you press the corresponding SUPER TONES button.
7.
Stop Arranger playback by pressing the [START/
STOP] button (it goes dark).
Selecting sounds for the right hand
MONO
GROUP
STEP
BACKGROUND
MELODIC RHYTHMIC USER
BACKGROUND 2 BACKGROUND 3 RHYTHMIC 2 USER 2
ENCODE CAPTURE
VA-76.book Page 28 Friday, January 12, 2001 12:35 PM
