VA-76 Owner’s Manual—More about the VariPhrase part
72
Note: The time signature cannot be changed here. That
explains why we suggested selecting a Music Style with the
correct time signature before calling up the Capture func-
tion.
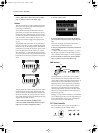
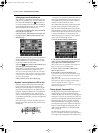
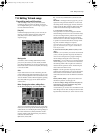
14.
Press the [START/STOP] button and start singing
or playback of the external audio source.
Note: The Reverb or Chorus effect you may hear while
recording is not sampled. It may help you make your perfor-
mance sound more “convincing” though. See page 58 for
how to switch it off.
Note: For optimum results, try to sing all notes at the same
pitch. If that is impossible, consider using the Robot func-
tion (see page 82) but bear in mind that this may affect the
sound quality.
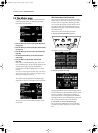
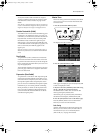
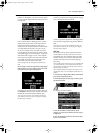
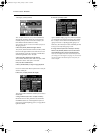
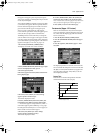
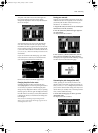
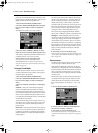
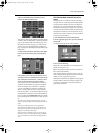
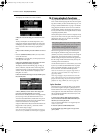
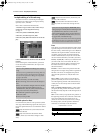
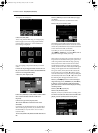
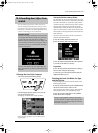
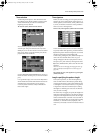
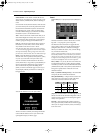
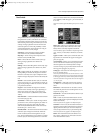
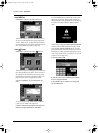
15.
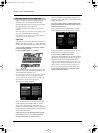
Press [START/STOP] again to stop sampling.
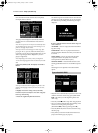
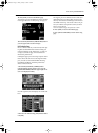
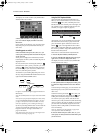
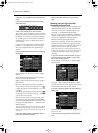
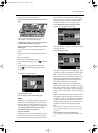
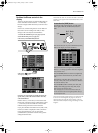
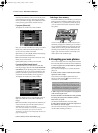
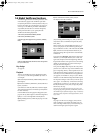
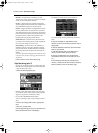
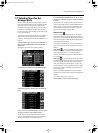
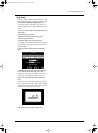
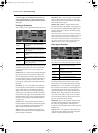
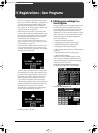
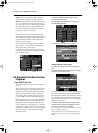
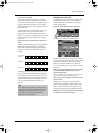
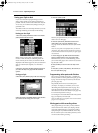
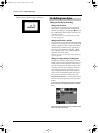
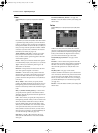
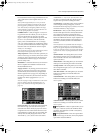
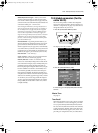
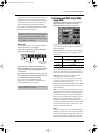
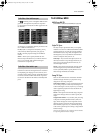
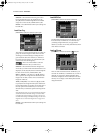
The display now indicates the length of your sample
(Current Capturing Area) and how much time you
have left for other samples (Capturing Free Area).
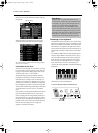
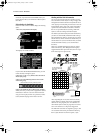
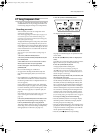
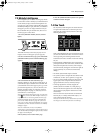
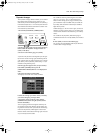
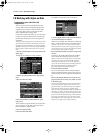
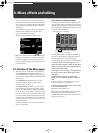
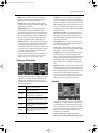
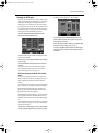
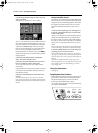
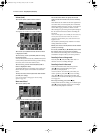
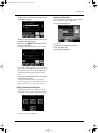
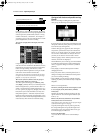
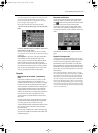
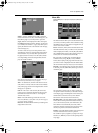
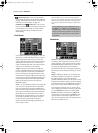
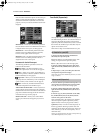
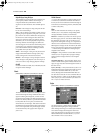
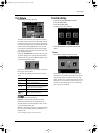
16.
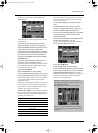
Press the [Preview] field to listen to your sample.
You can also play on the keyboard to audition your
sample. The audio material will be looped and
repeated until you release the [Preview] field or the
key you pressed. (If you’re not happy with your sam-
ple, press [Capture Retry] and start again.)
Here, we will assume that you are happy with your
recording. What you have now, is a rough audio sam-
ple that needs some cleaning up and a special process-
ing step that is called Encode. It is this encoding
operation that transforms an audio file (a regular sam-
ple) into a VariPhrase whose tempo remains the same
regardless of the pitch at which you are playing back
the sample, and whose formant, etc. can be changed in
a creative and –above all– controlled way.
Note: If you save this audio file to disk before doing the
touching up, it will also be saved as an encoded phrase. But
it would be relatively useless, so please bear with us.
Phrase Edit: touching up the audio
material
Note: The following settings need to be finalized by pressing
the [EXECUTE] field. This “encodes” the phrase and
“burns” these settings into the wave information.
There are a number of additional steps you need to
perform before your audio material behaves like the
internal VariPhrases and the ones on the supplied Zip
disk.
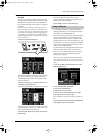
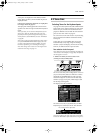
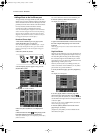
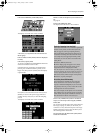
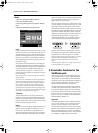
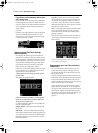
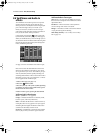
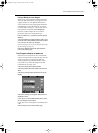
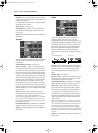
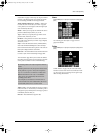
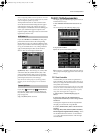
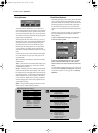
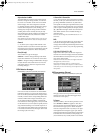
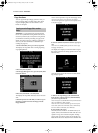
Truncate
17.
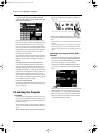
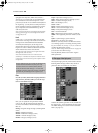
Press the [Edit] field.
Truncate allows you to shorten the phrase. This may
be necessary if the beginning of the phrase contains a
blank (or noise) you do not need when performing
with the phrase, while the end is a little long for a per-
fect loop.
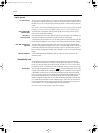
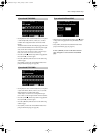
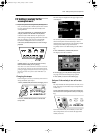
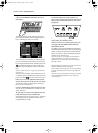
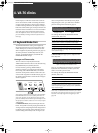
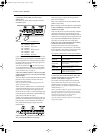
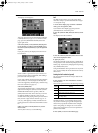
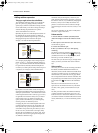
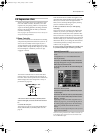
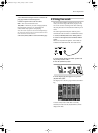
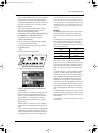
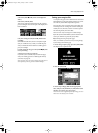
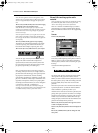
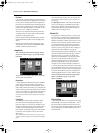
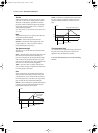
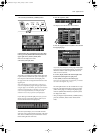
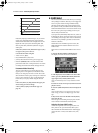
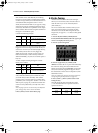
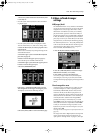
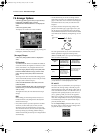
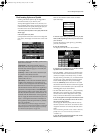
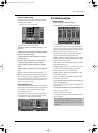
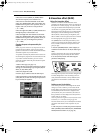
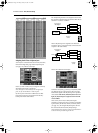
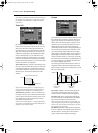
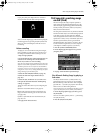
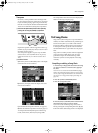
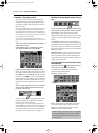
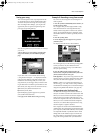
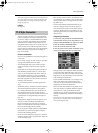
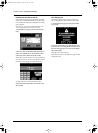
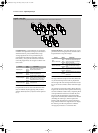
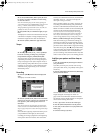
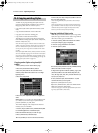
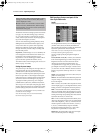
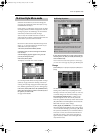
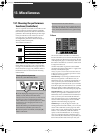
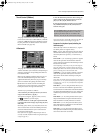
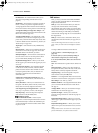
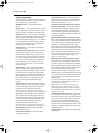
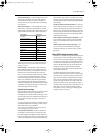
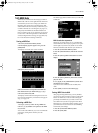
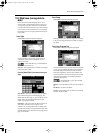
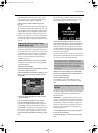
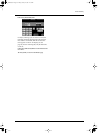
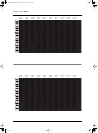
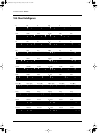
Consider the following illustration:
The above audio phrase runs from the “Start” till the
“End” position. The grayed areas denote noise or
blanks you don’t need because they delay the onset of
the future phrase (Start), while also making a smooth
loop impossible (End). These areas need to be dis-
posed of.
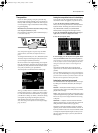
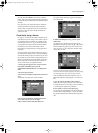
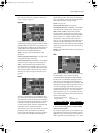
This means you need to move the Edit Start address to
a position just before “I”, while the Edit End address
must be shifted to a position just after “you”.
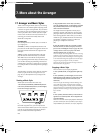
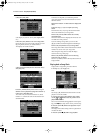
Another use for Truncate is to shorten a phrase by dis-
posing of the parts you don’t need. Here’s an example:
suppose it turns out that “I wanna be” is all you need.
In that case, set the Edit Start address like in the pre-
ceding example, and move the Edit End address to the
position immediately before “phrased”.
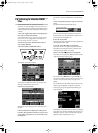
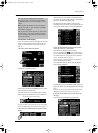
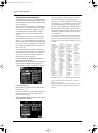
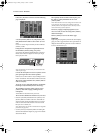
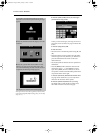
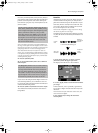
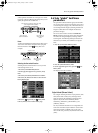
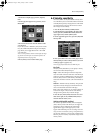
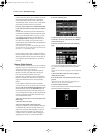
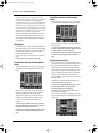
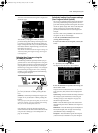
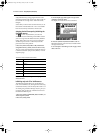
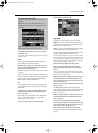
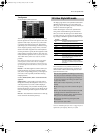
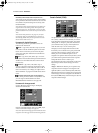
18.
Press the [Truncate] field in the upper left corner
so that it is displayed in white.
19.
Press the [Edit Start] field so that it is displayed in
white.
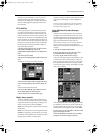
20.
Use the [TEMPO/DATA] dial to change the Edit
Start point.
I wanna be phrased by you
Start End
VA-76.book Page 72 Friday, January 12, 2001 12:35 PM