65
VA-76 – Song Composer clinic
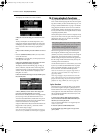
4.7 Song Composer clinic
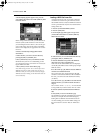
On page 31 we already showed you how to play back a
Standard MIDI File on Zip or floppy disk. Here we’ll
record a song using the Arranger as accompaniment.
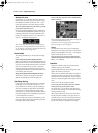
Recording your music
You can record your music as “Songs” that can be
saved to Zip or floppy disk.
Note: Your singing using the Audio In part (see page 57) is
not recorded. If you use User VariPhrases during your
recordings, do not forget to load them before starting play-
back of one of your own songs.
Though the following series of steps may seem rather
long to perform, you could skip the ones you do not
need, while you may want to perform other actions for
certain steps. Here, we will take advantage of all “auto-
matic” functions the VA-76 contains with occasional
hints for alternatives.
Note: See also “A few remarks about recording songs” on
page 132.
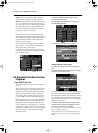
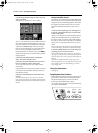
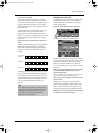
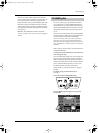
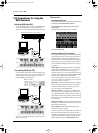
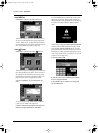
1.
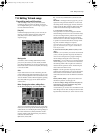
Press the [VIRTUAL BAND] button.
2.
Press the [EASY ROUTING] field, followed by the
[In a BAND] field.
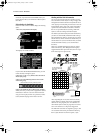
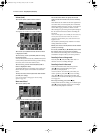
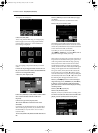
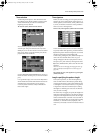
3.
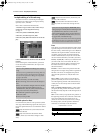
Now follow the on-screen instructions to select a
Music Style and a Tone for your right hand.
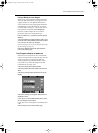
4.
After selecting the “solo instrument”, press the
[FINISH] field.
Here are other settings you could select:
• See page 59 for selecting another Music Style and
page 25 for selecting the pattern you want to start
with.
• Press [ORIGINAL] or [VARIATION] if you want to
start without the introduction. Use the Orchestrator
for selecting another Intro or Original/Variation ver-
sion (see page 62).
If you need more than the Upper1 part, select addi-
tional Keyboard parts (see page 34). It is also possible
to use the VariPhrase part for recording and to work
with a second (see page 86) or a dynamic split (see
page 88).
Note: Rather than performing the above steps, you could
recall a User Program with the desired settings (see
page 128).
5.
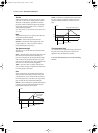
Press the [START/STOP] button and listen to the
tempo. If it is too fast, change it now (see page 27).
6.
Press [START/STOP] again to stop playback.
This tempo will be used every time you start playback
of this song. You can, however change it temporarily
during playback, or edit it later (see page 161).
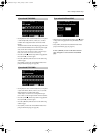
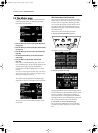
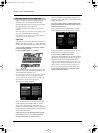
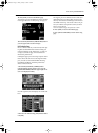
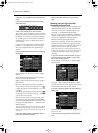
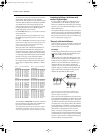
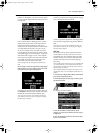
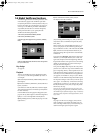
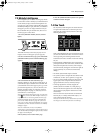
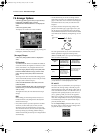
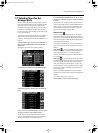
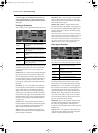
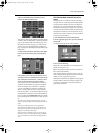
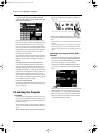
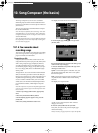
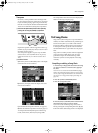
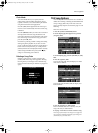
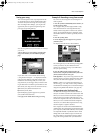
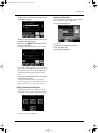
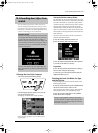
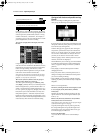
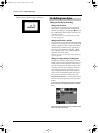
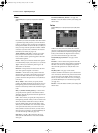
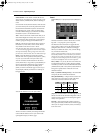
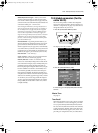
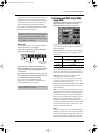
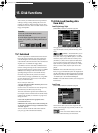
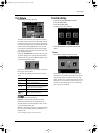
7.
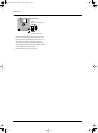
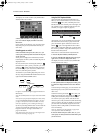
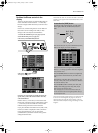
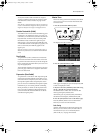
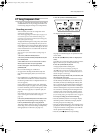
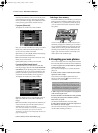
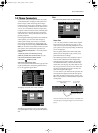
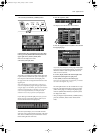
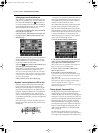
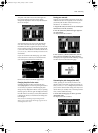
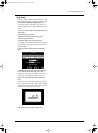
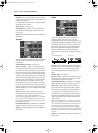
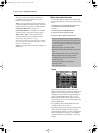
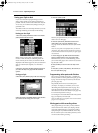
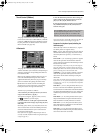
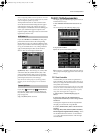
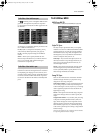
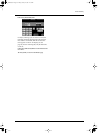
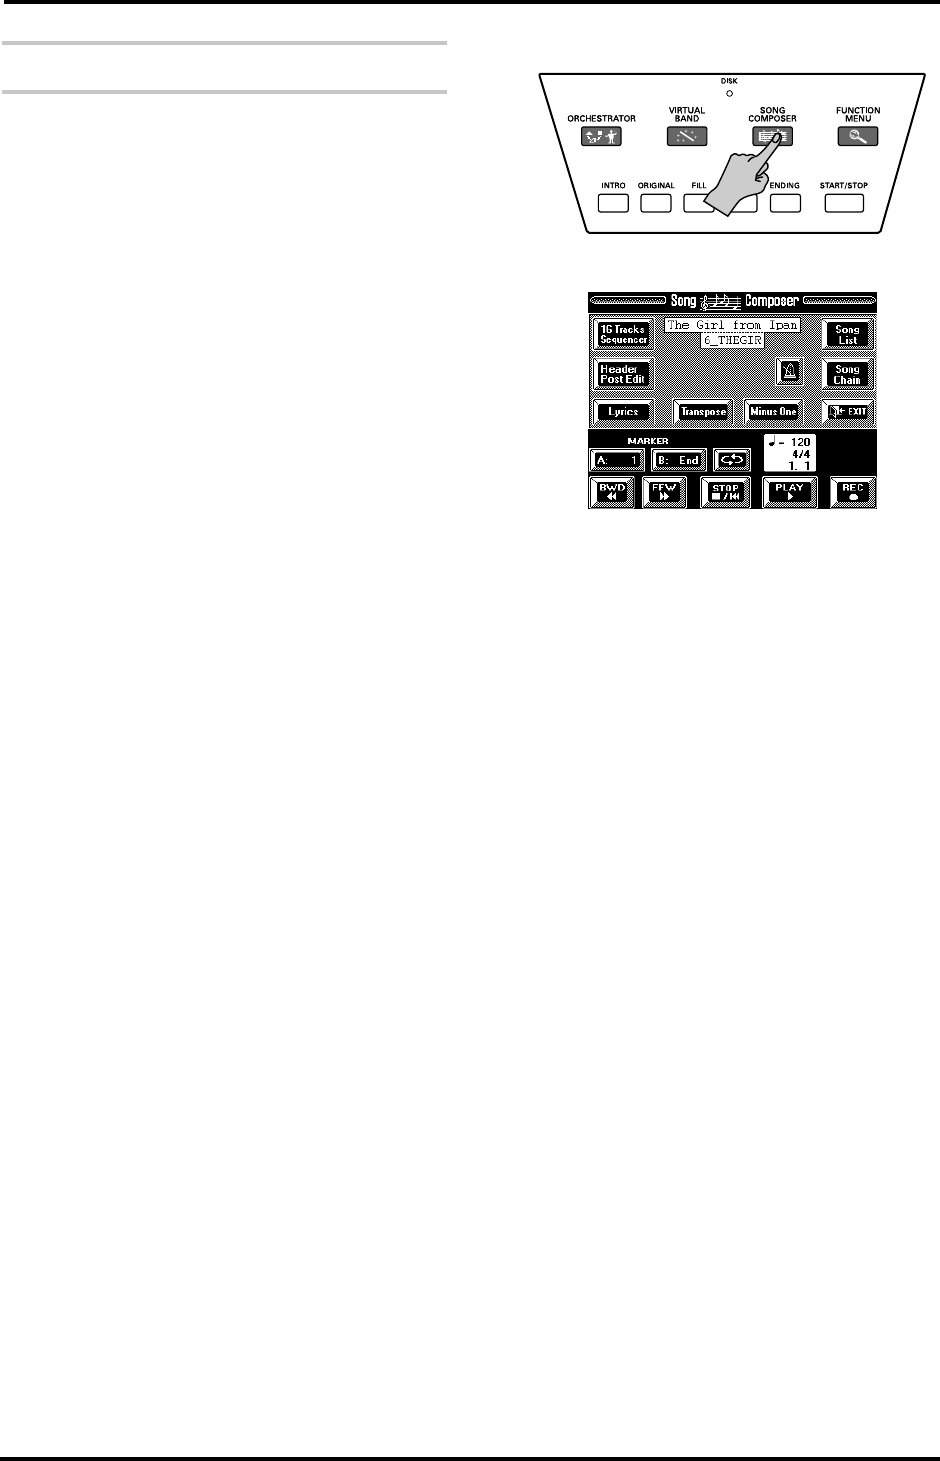
Press the [SONG COMPOSER] button.
The display now looks as follows:
See page 132 and following for an explanation of the
various fields.
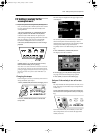
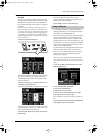
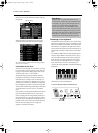
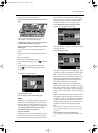
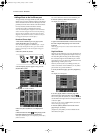
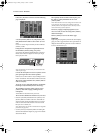
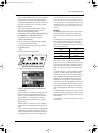
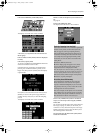
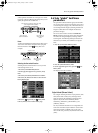
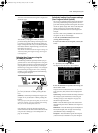
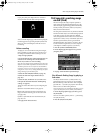
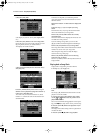
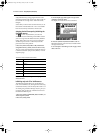
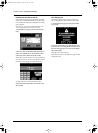
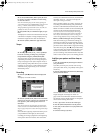
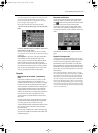
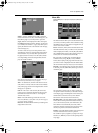
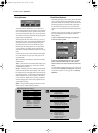
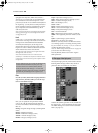
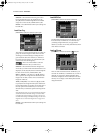
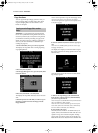
8.
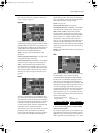
Press the [REC ●] field (so that it is displayed in
white).
If you like, you can press the [SYNC] button (so that it
lights). In that case, you can skip the next step.
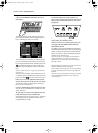
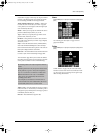
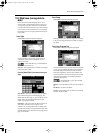
9.
Press the [START/STOP] button.
Arranger playback and recording start.
Note: You can also start recording by pressing the
[PLAY ®] field, in which case the Song Composer starts
without the Arranger. Press the [START/STOP] button to
add the Arranger at a later stage.
10.
Play the Arranger chords with your left hand, and
the melody with your right.
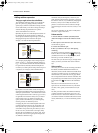
If you think that playing the chords for the Arranger
and the melody simultaneously is too difficult, leave
the melody for later (see “Redoing the melody (2nd
Trk)”) and only play the chords used for transposing
the Arranger in realtime. This is similar to working
with the Chord Sequencer on previous models. On the
VA-76 however, recording the chord changes for the
Arranger is part of one integrated, seamless process.
Note: You can also use the VA-76’s performance functions
for your melody playing. See “Expression clinic” on page 51.
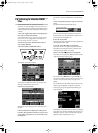
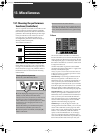
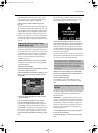
11.
To stop recording, do one of the following:
• Press the [ENDING] button. The Arranger will play
the Ending. When it is finished, Arranger playback
and Song Composer recording stop.
• Press the [START/STOP] button. This will stop Arran-
ger playback, while recording goes on. This allows you
to improvize without accompaniment. (You will also
need to perform the following step.)
• Press the [STOP ■|√] field to stop recording.
VA-76.book Page 65 Friday, January 12, 2001 12:35 PM