VA-76 Owner’s Manual—VA-76 clinics
34
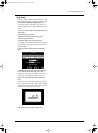
In this chapter, we will have a closer look at some of
the VA-76’s functions. While “Scratching the surface”
on page 22 only showed you what to expect and how
to obtain instant gratification, this chapter is already a
little more technical. But again, not all parameters and
functions will be covered here so as not to overwhelm
you. So be sure to also read the rest of this manual.
Note: The alphabetic index at the end of this manual may
prove invaluable for locating the desired information at a
later stage.
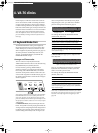
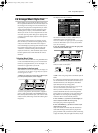
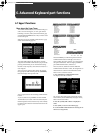
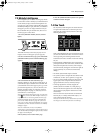
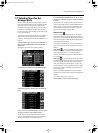
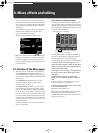
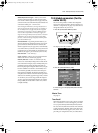
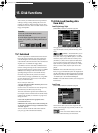
4.1 Keyboard Mode clinic
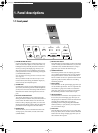
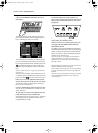
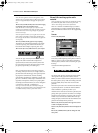
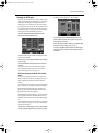
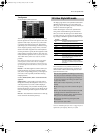
The KEYBOARD MODE setting is the singlemost
important parameter of your VA-76 because it deter-
mines which parts (or Tones) and sections are avail-
able. Though the Easy Routing function (see page 22)
sets these parameters automatically based on your
answers, you should familiarize yourself with the
KEYBOARD MODE concept.
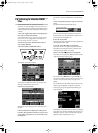
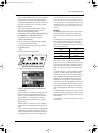
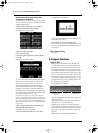
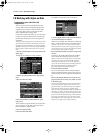
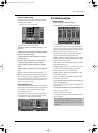
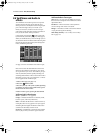
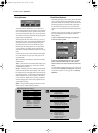
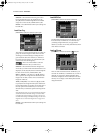
Arranger and Piano modes
The VA-76 has two major keyboard modes:
ARRANGER and PIANO. These can be selected using
the [ARRANGER] and [PIANO] buttons.
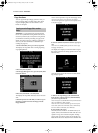
In many instances, pressing [ARRANGER] or
[PIANO] provides a nice starting point for further
fine-tuning. Select ARRANGER when you need the
automatic accompaniment function and wish to acti-
vate its chord recognition in the left half (see page 102
for details). Select PIANO to switch off the Arranger’s
chord recognition.
Note: Pressing either button not only selects the desired Key-
board Mode but also sets a series of other parameters. In
some cases, the parts you may have been using up to that
point are suddenly muted. Another important aspect is that
the split point (see below) will be set to “C4” when you press
[ARRANGER].
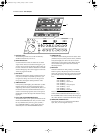
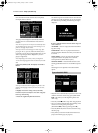
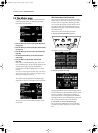
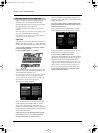
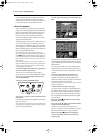
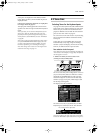
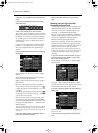
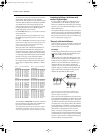
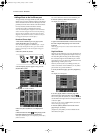
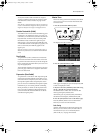
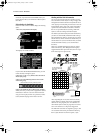
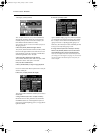
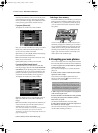
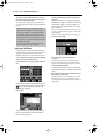
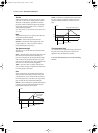
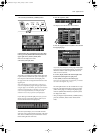
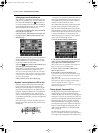
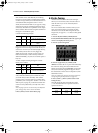
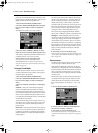
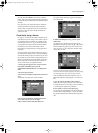
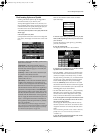
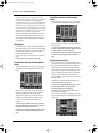
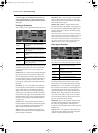
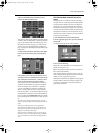
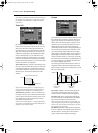
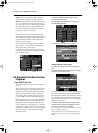
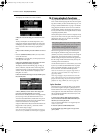
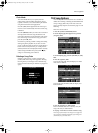
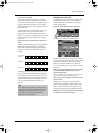
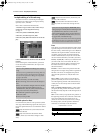
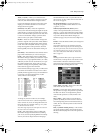
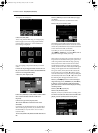
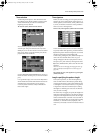
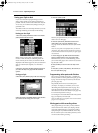
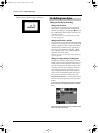
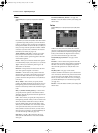
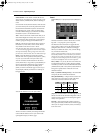
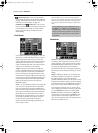
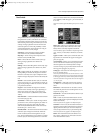
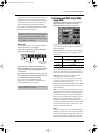
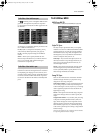
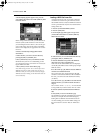
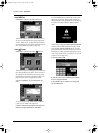
In ARRANGER mode, the keyboard is split into two
halves. The left half is used for playing chords that the
Arranger uses for transposing the Music Style patterns
in realtime. The right half, on the other hand, can be
used for adding a live melody to the Arranger’s auto-
matic accompaniment. This melody can be played
using the Upper1 (UP1) part. Feel free to add other
parts for creating richer sounds. See page 36.
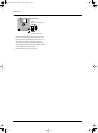
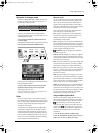
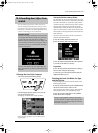
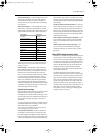
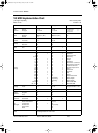
The settings affected by the KEYBOARD MODE
[ARRANGER] button are:
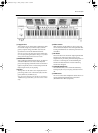
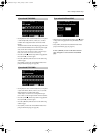
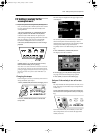
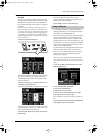
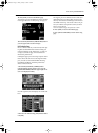
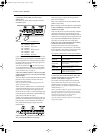
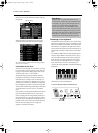
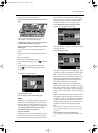
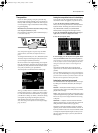
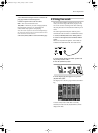
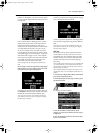
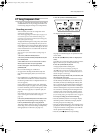
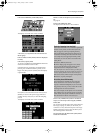
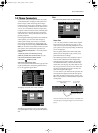
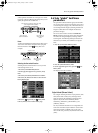
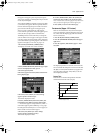
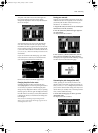
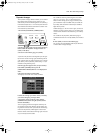
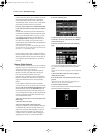
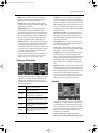
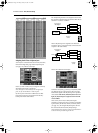
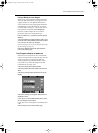
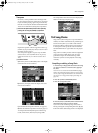
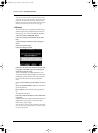
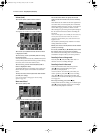
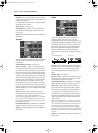
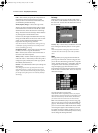
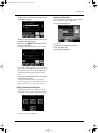
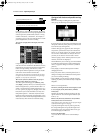
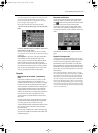
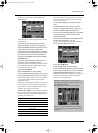
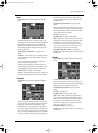
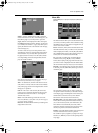
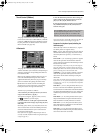
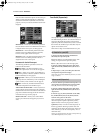
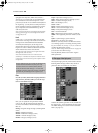
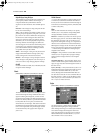
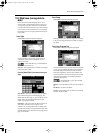
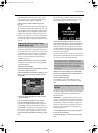
In PIANO mode, the Upper1 part is assigned to the
entire keyboard.
Later on, you will discover that this way of using the
keyboard is also called Whole, and that you do not
need to work with a piano sound.
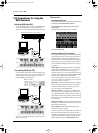
The settings affected by the KEYBOARD MODE
[PIANO] button are:
Note: There is a Global Parameter that allows you to block
the selection of the piano Tone for UP1 and go on using the
Tone that is currently assigned to the Upper1 part. See
page 195.
4. VA-76 clinics
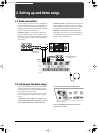
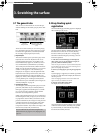
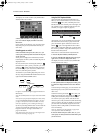
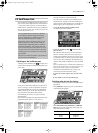
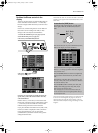
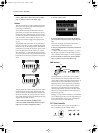
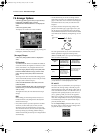
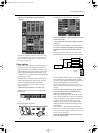
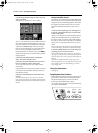
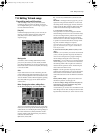
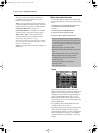
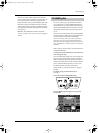
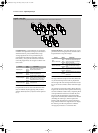
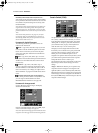
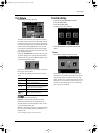
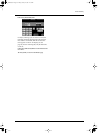
ON/OFF
SYNC
MELODY
INTELL
OTHER
DOWN
FREE PANEL
UP
ARRANGER PIANO
TRANSPOSE
M-FX
KEYBOARD MODE USER PROGRAM
CONTROLLERS EFFECTS ONE TOUCH
MIN MAX
M-VALUE
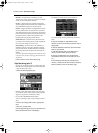
Split mode with the split point at the C4.
Only the UP1 part is active in the right half of the keyboard (see
“What are ‘parts’?” below for an explanation of this concept).
Arranger Chord= Left (see page 102).
Intelligent chord recognition (see page 101).
This means that one button (here [ARRANGER]) allows you to pre-
pare the main parameters for working with the automatic accompa-
niment (called “Arranger”).
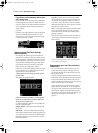
Whole mode with only UP1 active.
The 11 St.AcPiano 1 Tone is assigned to UP1.
Arranger Chord= Off (see page 102).
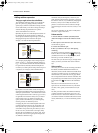
This means that the Arranger cannot be transposed in realtime while
the [PIANO] button lights. You could, however, use the Arranger’s
drum accompaniment for rhythmic backing. Press the [START/STOP]
button to start and stop it.
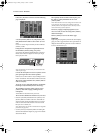
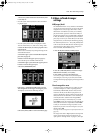
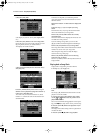
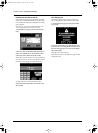
Arranger control Upper1
Upper 1 (UP1) using the A11 St.AcPiano 1 Tone
VA-76.book Page 34 Friday, January 12, 2001 12:35 PM