


188 Chapter 16—Automix
DM1000 Version 2—Owner’s Manual
Setting Up for Automix Recording
This section describes the procedure you must perform before you start Automix recording.
Selecting the Timecode Source
Follow the steps below to select the timecode source and frame rate that the DM1000 uses
for the Automix function.
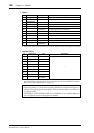
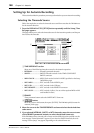
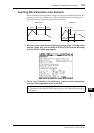
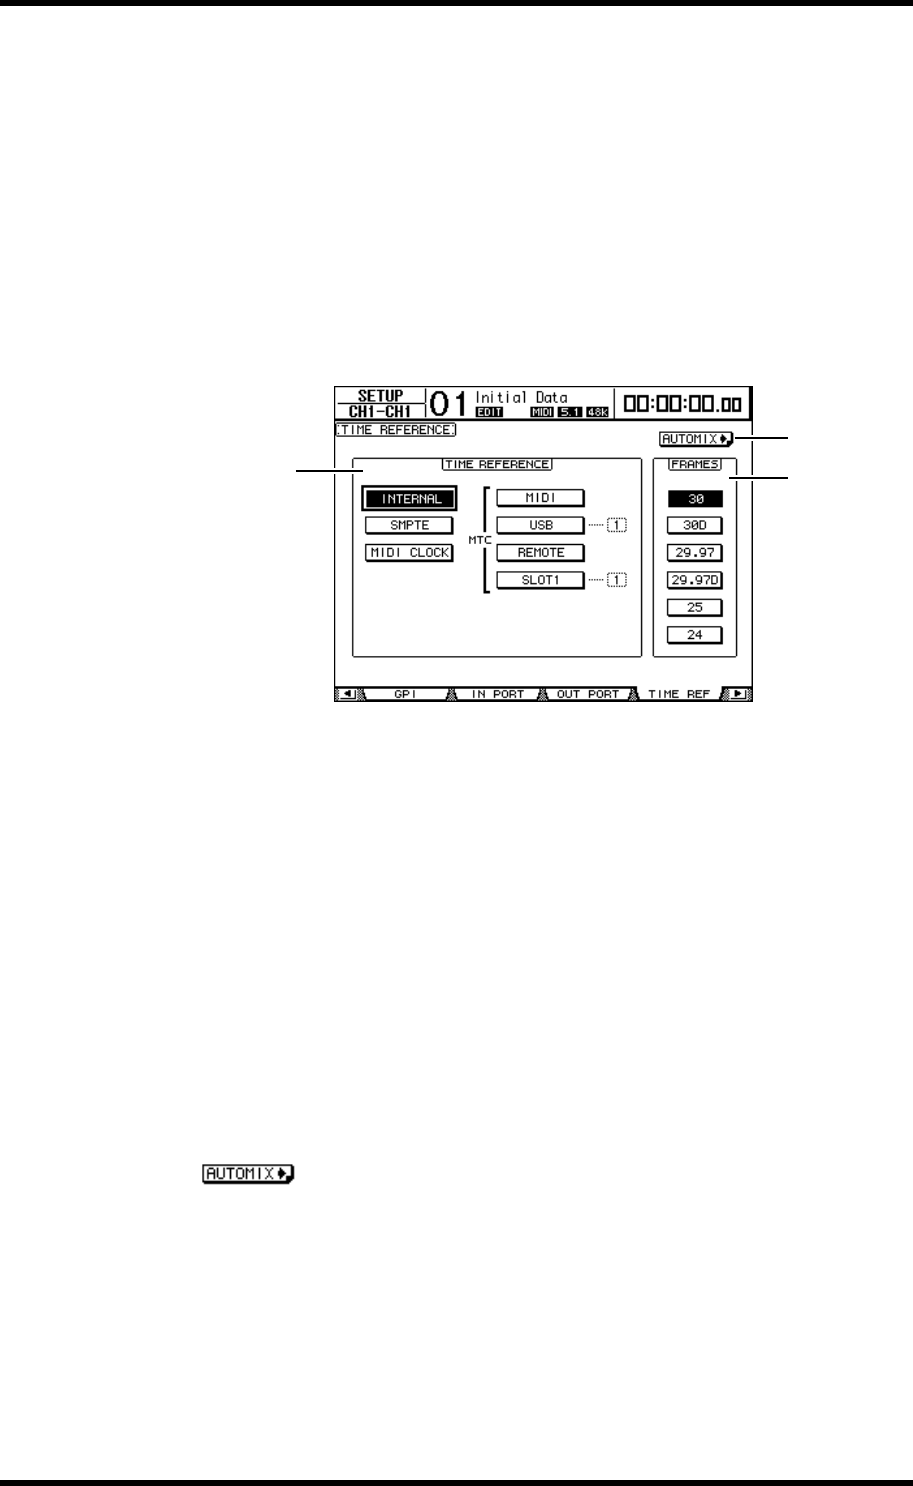
1 Press the DISPLAY ACCESS [SETUP] button repeatedly until the Setup | Time
Ref page appears.
This page enables you to select the timecode source for the Automix operation, and the port
that receives the timecode.
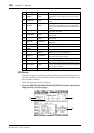
A TIME REFERENCE section
Select one of the following timecode sources for the Automix operation.
• INTERNAL ...................Internally generated timecode
• SMPTE .......................... SMPTE timecode received via the TIME CODE INPUT
SMPTE connector
• MIDI CLOCK............... MIDI Clock received via the Rx PORT (specified on the Setup
| MIDI/Host page)
• MTC-MIDI................... MTC received via the MIDI IN port
• MTC-USB ..................... MTC received via the USB port
• MTC-REMOTE............ MTC received via the REMOTE connector
• MTC-SLOT1................. MTC received via Slot 1 (for use with an optional MY8-mLAN
card installed in Slot 1)
B FRAMES
These parameter buttons select the SMPTE/MTC frame rate.
C button
Move the cursor to this button, then press [ENTER]. The DM1000 quickly locates the
Automix | Main page.
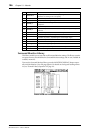
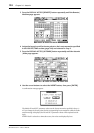
2 Move the cursor to the TIME REFERENCE section and select the desired time-
code source.
3 If you selected INTERNAL, SMPTE, or MTC timecode, move the cursor to one
of the FRAMES parameter buttons to select the desired frame rate.
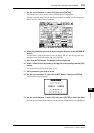
If the DM1000 receives timecode with a frame rate that differs from the specified rate, the
error message “Frame Mismatch!” appears. If you select the SMPTE timecode, the error
message “Frame Jump!” may appear, depending on the selected frame rate.
3
2
1