


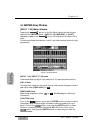
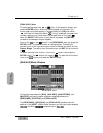
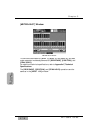
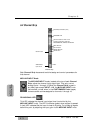
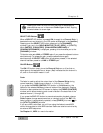

INPUT 1-16 LED Button
When you press this button on (green), the faders reset to control analog
inputs 1 through 16, and buses 1, 3, 5, and 7, unless previously flipped. To
reset a flipped Channel Fader Strip, press the FLIP button. To reset all the
currently flipped Channel Fader Strips, press and hold the INPUT 1-16
LED button for two seconds.
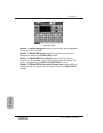
INPUT 17-32 LED Button
When you press this button on (red), the faders reset to control inputs 17
through 32, and buses 2, 4, 6, and 8, unless previously flipped. To reset a
flipped Channel Fader Strip, press the FLIP button. To reset all the currently
flipped Channel Fader Strips, press and hold the INPUT 17-32 LED button
for two seconds.
These channels are for additional inputs, and are not accessible unless you
have installed at least one of the optional audio I/O cards.
For more information on adding additional inputs to the DA7, see Chapter
17, Options.
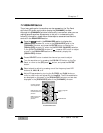
AUX/BUS LED Button
When you press this button on (orange), the faders reset to control the six
aux sends, the six aux returns and the eight buses as the active layer. The aux
or bus designations are located immediately below the fader on the Fader
Strips.
For more information on the AUX section, see Chapter 10, AUX.
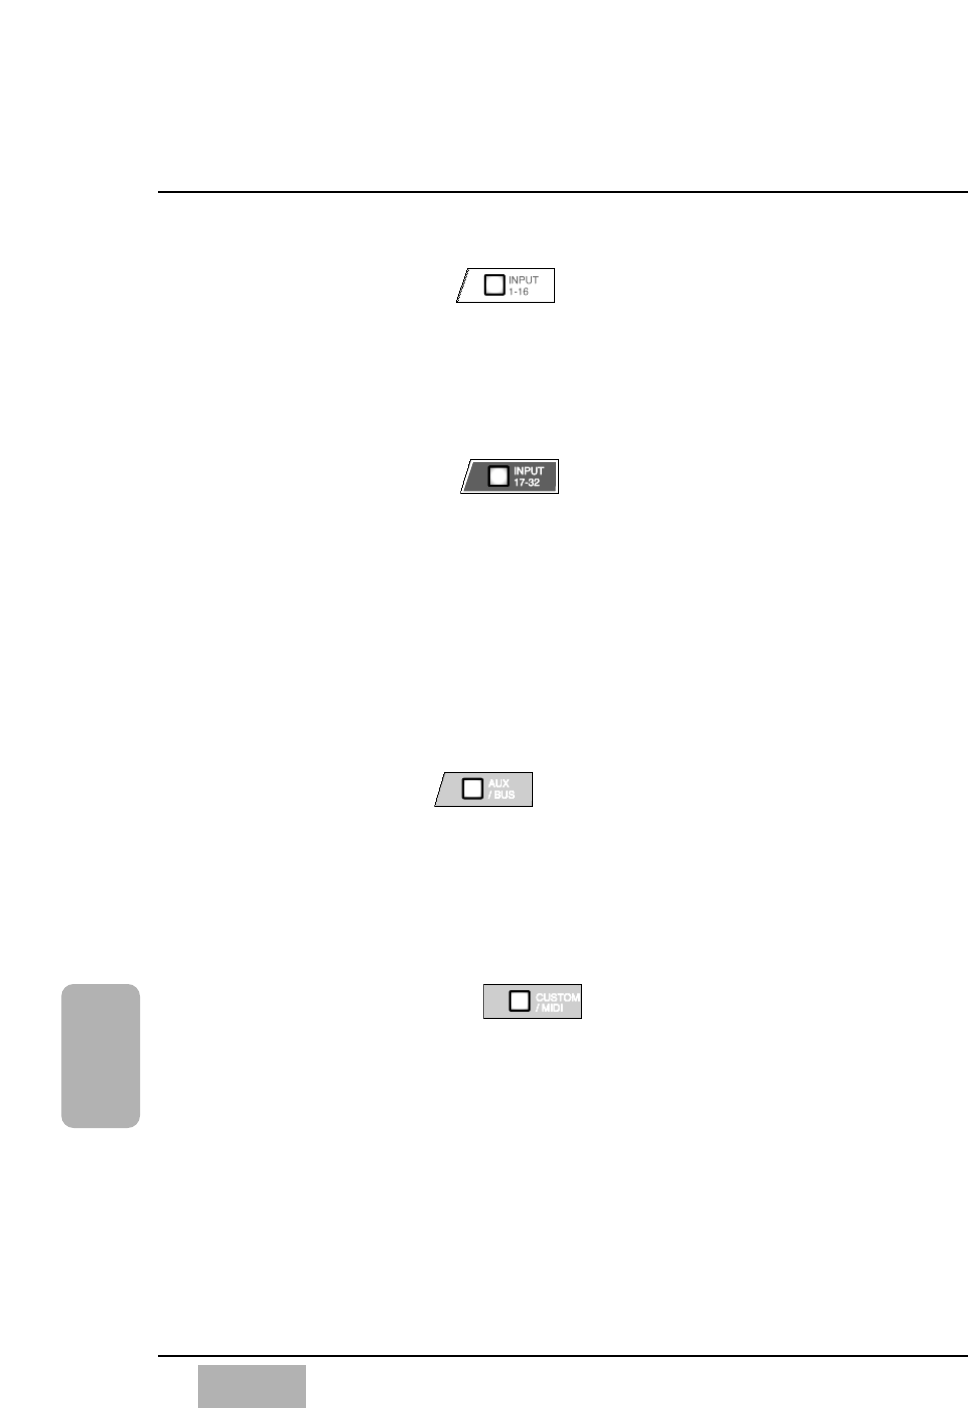
CUSTOM/MIDI LED Button
This is the fun layer. Press the CUSTOM/MIDI LED button and the faders will
control 20 channels of audio or MIDI commands. An (orange) LED indicates
when the CUSTOM/MIDI layer is active. The controls for programming the
faders in this layer are in the [UTILITY>USER CSTM] (user custom)
window.
For more information on the CUSTOM/MIDI layer, see Section 16-4 Utility,
User Custom Window.
Chapter 6
DA7 Users’ Guide
6
-
2
6
Fader Layers
Channel Strips