


Chapter 3
DA7 Users’ Guide
3
-
14
3
Quick Start
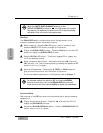
Press the Fader Layer AUX/BUS LED button.
Send the signal out
_
Turn on the AUX SND 1 and AUX SND 2
Channel Strips by pressing their ON buttons (red), and raise the faders
to send the signal to the digital device.
To listen to the return signal
_
Turn on the AUX RTN 1 and AUX RTN 2
Channel Strips, assign an output, and raise the faders to hear the return
signal.
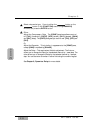
Additional TAPE Sends and Returns
The DA7 is a very fexible mixer because it has 8 buses available in either
digital or analog (through the option slots).
There are other ways to use the mixer in a creative manner. You can use the
analog features of the DA7 for analog multi-tracking. Your creativity here can
produce wonders. Here are a few examples:
Analog 2-Track Tape Sends and Returns
Connect the output
_
Connect the REC OUT (analog) 1/4” TRS outputs
on the Rear Panel of the DA7 to the inputs of an analog recording device.
Connect the input
_
Take the outputs from the analog recording device
and attach to either:
■ INPUTS 9 and 10 (listen via the MASTER L/R OUTPUT)
■ 2TR B IN (listen to the 2TR B source for MONITOR A)
■ AUX RETURN 3/4 or 5/6 (listen via the AUX/BUS faders, or the
AUX source for MONITOR A)
Repeat steps through under Analog 4-Track Sends and Returns
which are listed on the following page.
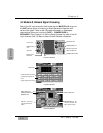
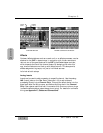
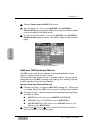
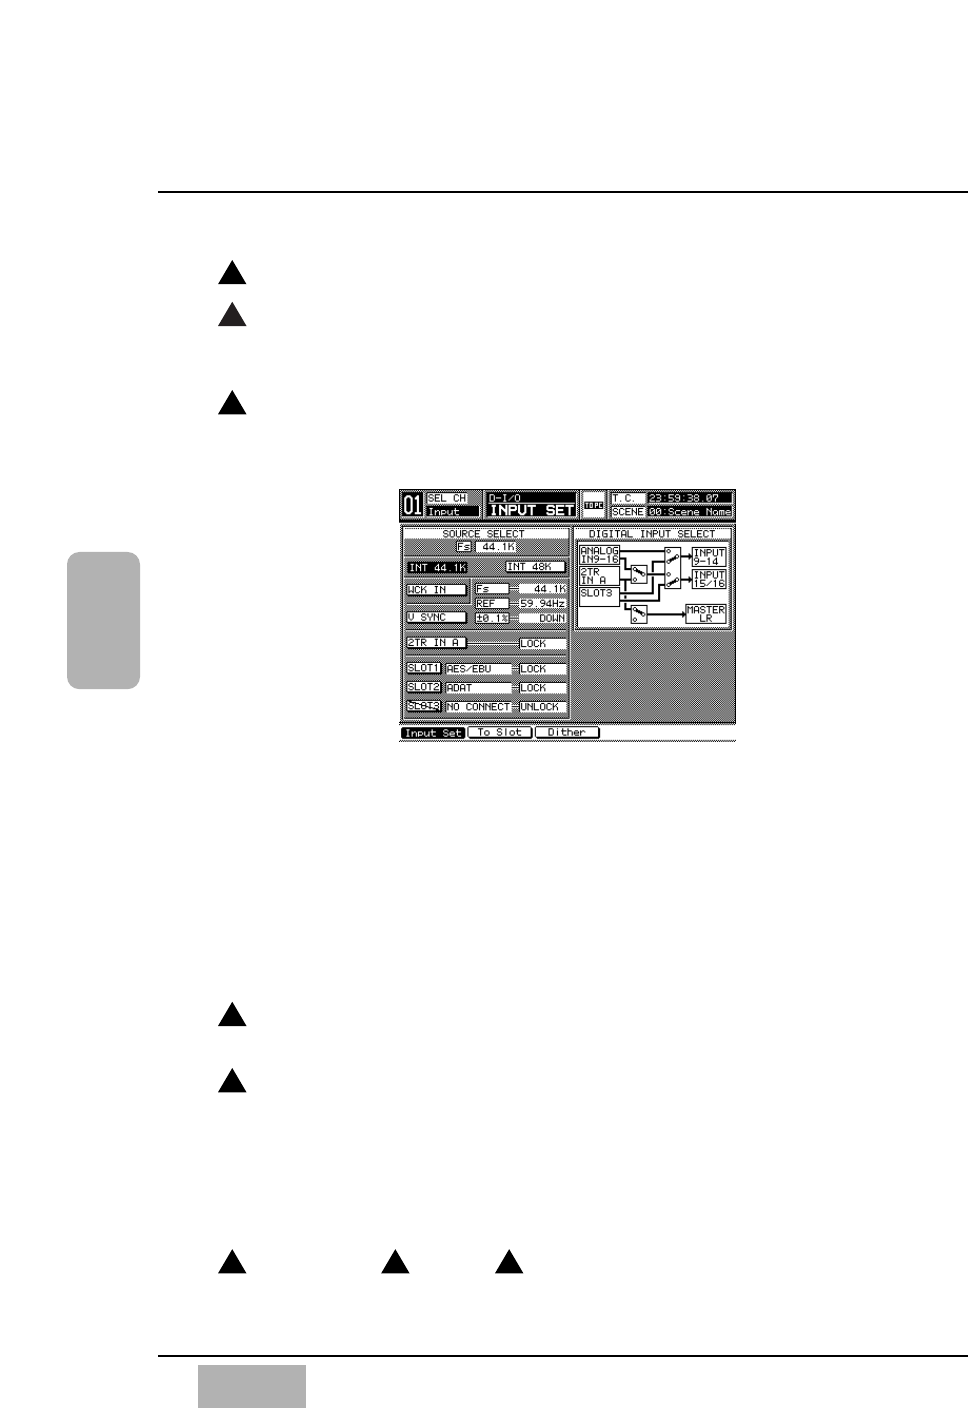
[D-I/O>INPUT SET] Window
4
1
2
3 3 7
5
3