90
or “Insert” to open the dialog box. So that a new index
can be created at the left of index 1, re-set the “Top
Key” setting, and press the OK button.
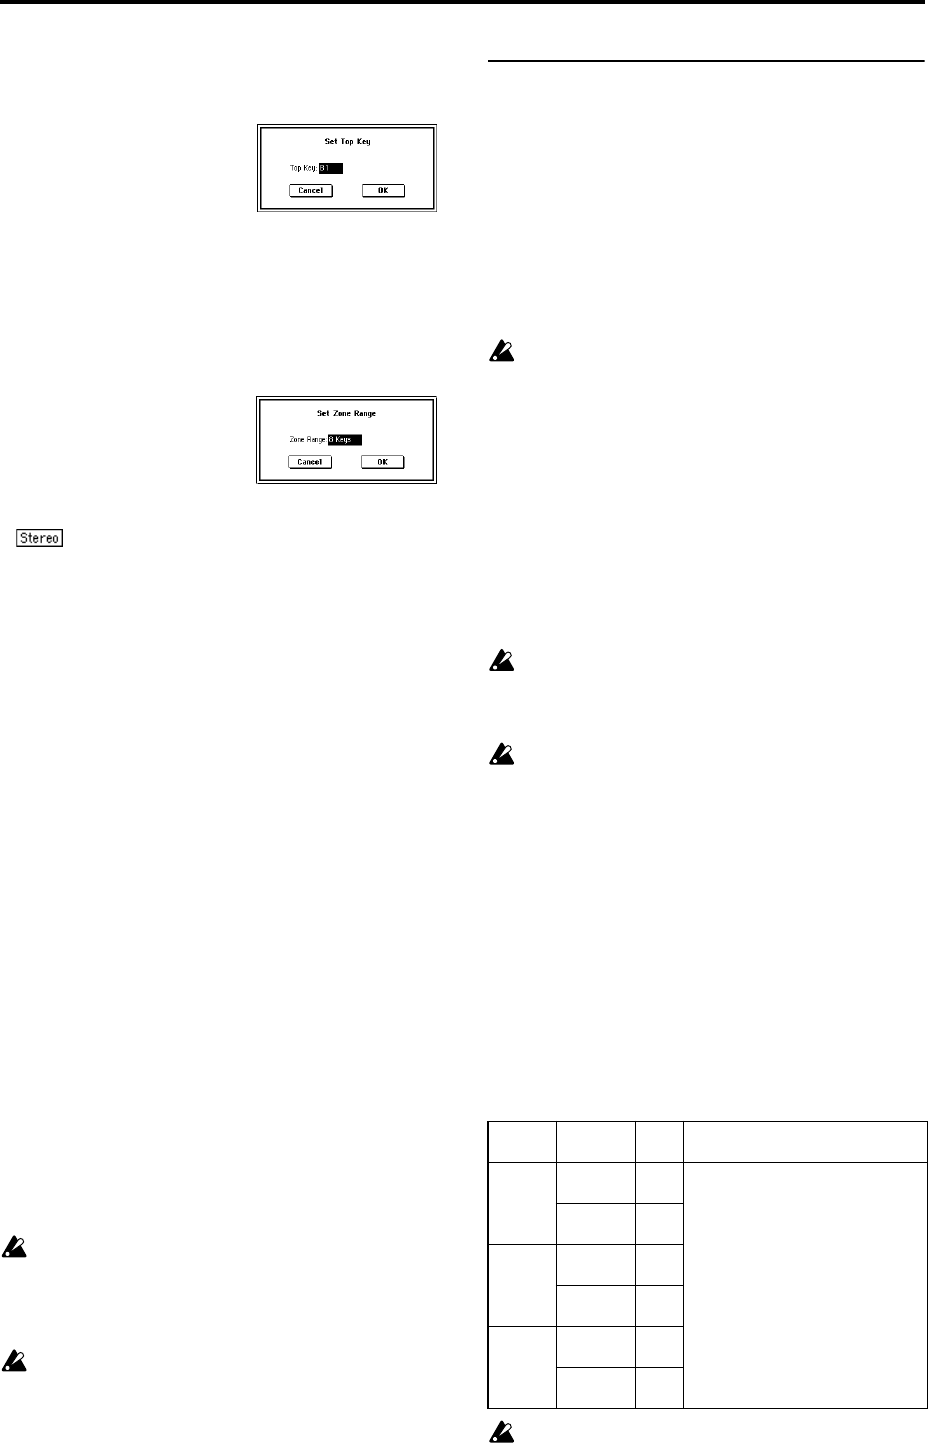
• Set Zone Range: If you execute “Create” when it is not
possible to create a new index according to the Create
Zone Preference settings, the following dialog box will
appear. This dialog box will also appear if you execute
“Insert” when it is not possible to create a new index
with the contents of the “Cut” or “Copy” (3–1c). Re-set
the “Zone Range” (0–3a, 3–2a), and press the OK
button.
Stereo
A indication will appear here if you have selected a
stereo multisample or sample, or if you recorded a sample
with “Sample Mode” (0–1c) set to Stereo.
About stereo multisamples and stereo samples
Stereo multisamples: Under the following conditions, two
multisamples will be handled as a stereo multisample.
• If you checked “Stereo” when creating a new
multisample (i.e., selected a new multisample in “MS”
0–1a)
• If you executed the “MS Mono To Stereo” (0–1H) page
menu command
• If you sampled with “Sample Mode” (0–1c) set to Stereo
In these cases, a stereo multisample will be created automat-
ically using the following criteria.
1. The last two characters of the two multisample names
will be -L and -R respectively, and the earlier portion of
the names are identical.
2. The two multisamples will have the same number of
indexes, and their zone settings are identical.
Stereo samples: Under the following condition, two sam-
ples will be handled as a stereo sample.
• When the samples were recorded with a “Sample
Mode” (0–1c) setting of Stereo.
• If you executed the “Sample Mono To Stereo” (0–1I)
page menu command
In these cases, a stereo multisample will be created automat-
ically using the following criteria.
1. The last two characters of the sample name will be -L and
-R respectively, and the earlier portion of the names are
identical.
2. Two samples that satisfy condition 1. for stereo multisam-
ples are selected.
Stereo multisamples and samples are distinguished
internally by their multisample name or sample name.
If you use “Rename MS” (0–1F) or “Rename Sample”
(0–1C) etc. to modify the multisample name or sample
name, please pay attention to the above conditions.
As a condition of a stereo sample, the sampling rates
must be identical. You can verify the sampling rate of a
sample by using the page menu command “Rate Con-
vert” (1–1K). Be aware that if you use “Rate Convert” to
convert the -L and -R samples to differing sampling
rates, they will not be handled as a stereo sample.
0–1c: REC Sample Setup
Here you can select the memory bank into which you will
sample, specify the sampling time, and select either mono or
stereo sampling.
Save to [RAM, DISK]
Specifies the destination to which the data will be written
during sampling.
RAM: The sound will be sampled into sample memory
(RAM).
A sample written into sample memory can be heard imme-
diately in Sampling mode.
Data written into sample memory (RAM) will be lost
when the power is turned off, so you must save it if you
want to keep it.
DISK: The sound will be sampled into the internal hard disk
or into a hard disk (sold separately) connected to the SCSI
connector.
Use the page menu command “Select Directory” (0–1N) to
select the writing-destination drive and directory, and to
specify the filename.
When you sample, a WAVE file will be created.
To hear the results of sampling, you can either load the file
in Disk mode into sample memory (RAM), or use the page
menu command “Select Directory” etc. to select the file, and
then press the SAMPLING [START/STOP] key.
A hard disk sample (WAVE file) as large as 16 Mbyte for
mono or 32 Mbyte for stereo (if sample memory has
been expanded to 32 Mbyte or more) can be loaded into
sample memory (RAM).
It is not possible to record a sample directly onto CD-R/
RW.
Nor do we recommend recording a sample directly
onto a removable disk.
Bank (RAM BANK) [RAM1...RAM6]
Specifies the RAM bank and sample number into which the
data will be written during sampling. This can be specified if
RAM is selected for “Save to.”
Sample memory (RAM) consists of six banks, each with 16
Mbytes. The TRITON STUDIO comes with one 16 Mbyte of
DRAM SIMM board. In this state, RAM1 will always be
selected for “Bank (RAM Bank),” and RAM2, 3, 4, 5, and 6
cannot be selected.
By adding additional DRAM SIMM boards, you can expand
the memory to a maximum of 96 Mbytes (when three 32
Mbyte SIMM boards are installed). (☞p.286)
How installed SIMM’s relate to available banks
The TRITON STUDIO is shipped with a 16 Mbyte
SIMM installed in Slot 1. This allows you to select only
RAM1 for “Bank (RAM Bank).”
SIMM
Slot No.
SIMM
capacity
RAM
Bank
Time
Slot 1 16 Mbyte 1 16 Mbyte: approximately 2 minutes
54 seconds (mono)
32 Mbyte 1, 2 approximately 1 minute
27 seconds (stereo)
Slot 2 16 Mbyte 3 96 Mbyte: approximately 2 minutes
54 seconds (mono) x 6
32 Mbyte 3, 4 total of approximately 17
minutes 28 seconds
Slot 3 16 Mbyte 5 approximately 1 minute
27 seconds (stereo) x 6
32 Mbyte 5, 6 total of approximately 8
minutes 44 seconds
