60
Song (Cue Edit - Song)
[S000...S199: name/End, Continue to Step01]
S000...S199: Specifies a song for each step. This cannot be
edited during playback.
End and Continue to Step01 can be specified only for the
last step of the cue list.
End: Playback will stop at the last step of the cue list.
Continue to Step01: At the last step of the cue list, playback
will return to “Step” 01 and the cue list will continue play-
ing endlessly. To stop, press the SEQUENCER [START/
STOP] key.
Repeat [01...64, FS]
Specifies the number of times that the song of this step will
be repeated.
FS: A foot switch connected to the rear panel can be used to
specify the point at which the song will stop repeating.
When you press the foot switch, that repetition of the song
will finish playing, and then playback will continue to the
next step. Set “Foot Switch Assign” (Global P2: 2–1a) to Cue
Repeat Control.
Load FX? (Cue Edit-Load Fx) [Off, On]
Specifies whether the effects specified by the song assigned
to each step will be used.
On (checked): The effect settings of the song specified for
the current step will be used. When playback moves to the
next step, the effect settings will also change.
Off (unchecked): The effect settings will not change.
Depending on the effect settings, a certain amount of
time may be required to switch effects. In this case,
playback will not be smooth from song to song.
If you want to transition smoothly from song to song
inside of a cue list, check “FX Load?” in “Step” 01. For
the remaining steps, do not check “FX Load?”
With these settings, the effects will be set before play-
back begins, so there will be no time lag to interrupt the
smooth transition between songs.
Although it is not possible to change the effect types in
the middle of a cue list, you can use the dynamic modu-
lation function or MIDI control changes (effect control)
to apply reverb more deeply to certain songs, or raise
the LFO speed for other songs, etc.
When using a cue list to construct a song, we recom-
mend this method. When you execute the “Convert to
Song” (1–1D) page menu command, the effect settings
of the “Step” 01 song will be specified at the beginning
of the song that is created by the conversion.
Even when “Load FX?” is not checked, there may be a
time lag in the transition from one song to the next,
depending on the musical data in the song. There may
also be cases in which the musical data at the transition
between songs does not play at the correct timing. To
fix this, you can edit the musical data of the song, or
convert the cue list to a single song. If you use “Convert
to Song” (1–1D) to convert the cue list to a song, there
will be no time lag at the transition, and the musical
data will play at the correct timing.
1–1d: Insert, Cut, Copy, Current Step
Insert
When you press the Insert button, the step data that was
temporarily saved in the buffer by the Copy button or Cut
button will be inserted at the “Current Step.” (If copy or cut
has not been executed, default data will be inserted.)
Cut
When you press the Cut button, the “Current Step” will be
cut, and its data will be saved temporarily in the buffer. If
you Insert immediately after you cut, the data will return
the state in which it was before you cut.
Copy
When you press the Copy button, the data of the “Current
Step” will be saved temporarily in the buffer.
Press the Insert button to insert the copied step into the
“Current Step.”
Current Step [01...100]
Selects the step that will be inserted, cut or copied.
If you wish to playback from a step in the middle of the cue
list, select the desired step here, and press the SEQUENCER
[START/STOP] key.
For details on creating and editing a cue list, refer to BG
p.90.
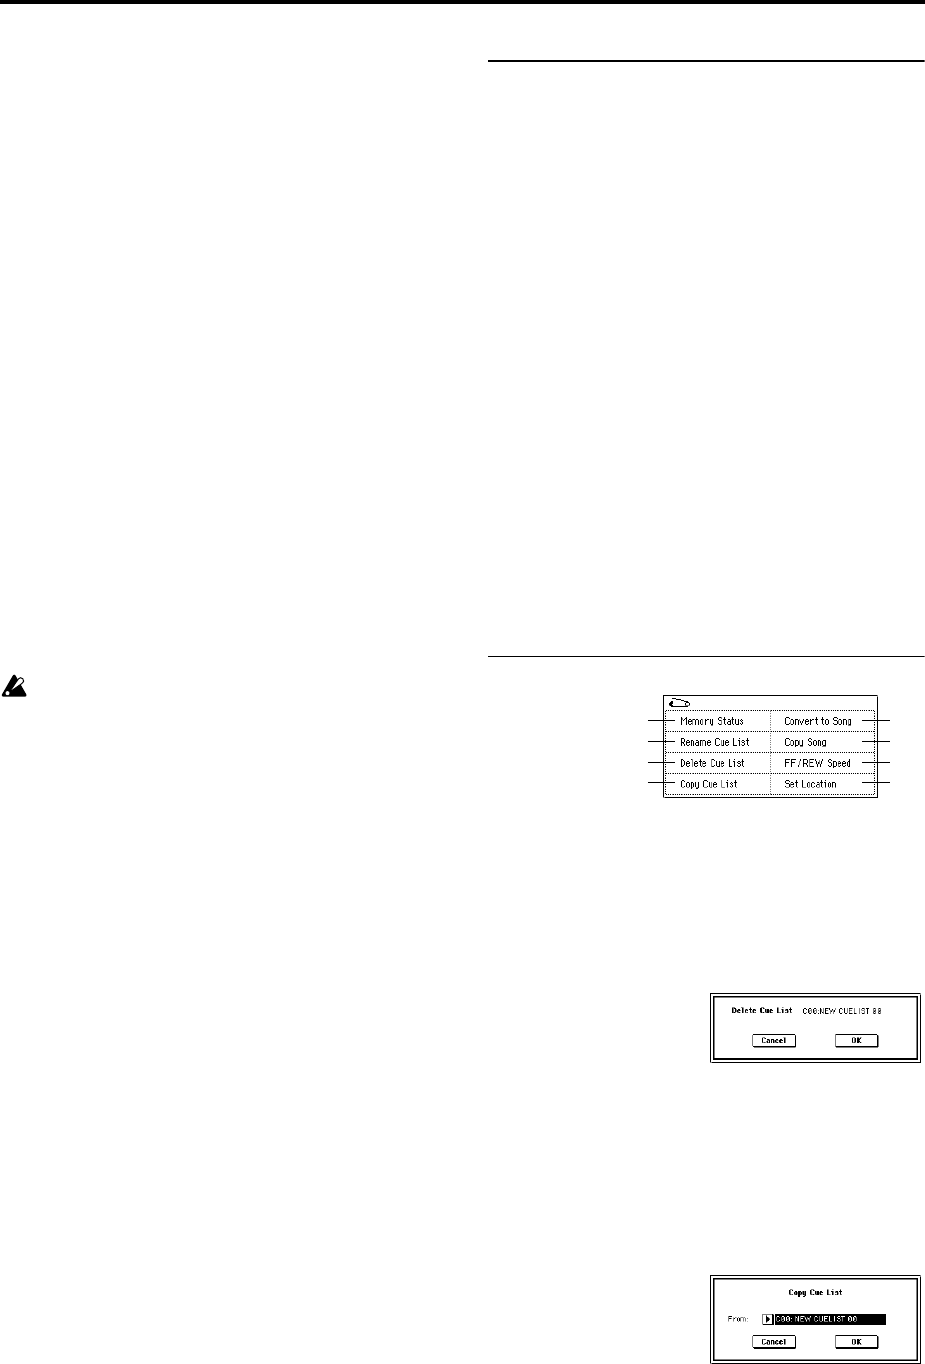
▼ 1–1: Page Menu Command
1–1A: Rename Cue List
This command renames the selected cue list. A name of up
to sixteen characters can be input. (☞BG p.57)
1–1B: Delete Cue List
This command deletes the currently selected cue list.
1 Select “Delete Cue List” to access the dialog box.
2 To execute the Delete Cue List command, press the OK
button. To cancel, press the Cancel button. When you
execute this command, the data of the currently selected
cue list will be deleted.
1–1C: Copy Cue List
This command copies the settings of another cue list to the
currently selected cue list.
1 Select “Copy Cue List” to access the dialog box.
2 In “From,” specify the copy source cue list.
3 To execute the Copy Cue List command, press the OK
button. To cancel, press the Cancel button.
When you execute, the setting data of the selected cue list
will be deleted, and replaced by the copy-source data.
0–1A
1–1A
1–1B
1–1C
1–1D
1–1E
0–1I
0–1J
