MIDI recording Recording patterns
93
Select another effect for IFX1 in the P8: Insert Effect–
Insert FX page, and edit the effect parameter values,
or use the P0: Play/REC– Control Surface page Tone
Adjust controls to edit the sound in realtime.
Note: For details on the effects parameters that you
can record in real-time, please see “System
Exclusive events supported in Sequencer mode” on
page 560 of the Parameter Guide.
3. Stop recording.
Note: Exclusive messages are always recorded on
the current track selected by “Track Select.” In this
example, they are recorded on MIDI track 9.
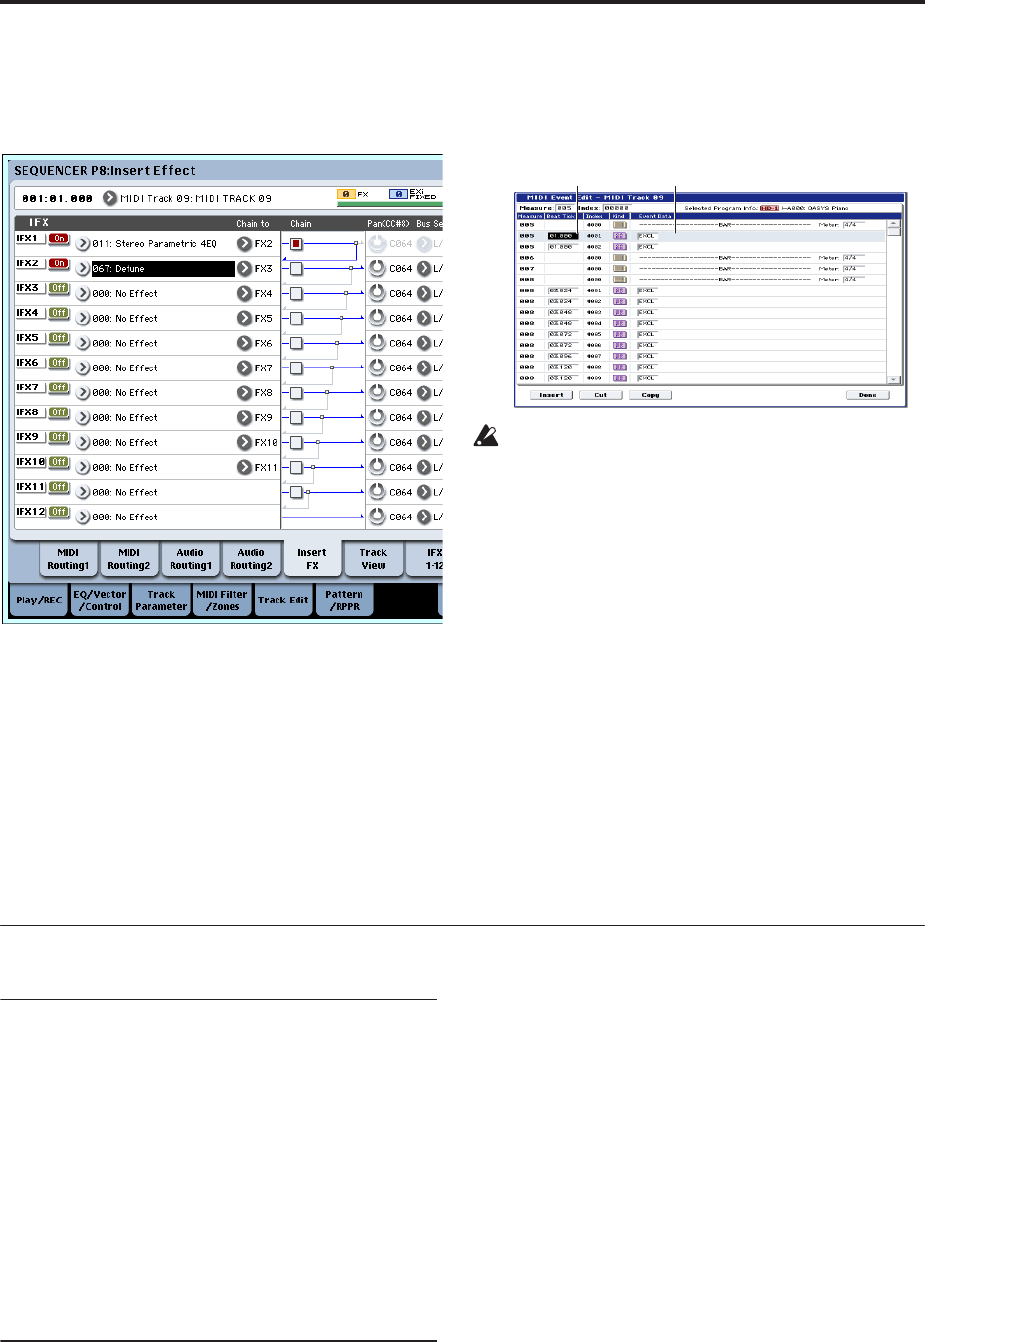
Note: In the MIDI event edit screen you can view the
recorded exclusive events and their location.
Exclusive events are displayed as “EXCL”.
To view these events, go to the P4: Track Edit– Track
Edit page, and select the page menu command
“MIDI Event Edit.” Then in the Set Event Filters
dialog box, check Exclusive and press the OK
button.
Exclusive events cannot be changed to a different
type of event. Nor can other events be changed into
exclusive events.
4. If you go to the page (e.g., P8: Insert Effect) that
shows the parameters you adjusted in realtime,
you can watch the recorded changes be
reproduced while the song plays back.
Exclusive messages that can be recorded in real-
time
The following exclusive messages can be recorded in
real-time:
• Exclusive messages received from an external MIDI
device
• Parameter changes in Sequencer mode (see “System
Exclusive events supported in Sequencer mode” on
page 560 of the Parameter Guide)
• Master Volume universal exclusive messages
assigned to the foot pedal or a knob
Recording patterns
Recording and editing patterns
You can record patterns in either of two ways; realtime
recording or step recording. However, pattern realtime
recording differs from song realtime recording in that
you can use only Loop type recording.
You can edit patterns by using Event Edit operations to
modify the recorded data or insert new data. You can
also use the “Get From MIDI Track” page menu
command to convert a desired region of performance
data from a MIDI track into a pattern. Conversely, you
can use the “Put to MIDI Track” or “Copy to MIDI
Track” page menu commands to place or copy the
performance data from a pattern into a MIDI track.
Recording patterns in real-time
Here’s how you can use realtime recording to create a
pattern. User patterns can be accessed by the RPPR
function in the same way as preset patterns, and can be
copied to or placed in a song. Playback data from a
track can also be copied to a pattern.
When realtime-recording a pattern, a pattern of the
specified number of measures will playback
repeatedly, allowing you to continue adding musical
data to it.
1. Create a new song, and as described in
“Preparations for recording” on page 83, set the
track to the program that will be used by the
pattern.
2. Access the P5: Pattern/RPPR– Pattern Edit page
(See the diagram below).
3. Use “Track Select” to select the track that you will
use to record the pattern.
The pattern will sound with the program and other
settings of the selected track.
4. Set “Pattern (Pattern Bank)” to User, and set
“Pattern Select” to U00.
User patterns U00–U99 can be created for each song.
5. Select the page menu command “Pattern
Parameter”.
A dialog box will appear.
Location Event display
