Loading & saving data, and creating CDs
178
Other disk operations
Viewing information about media – Disk Media Info
This displays information about the media selected in
“Drive Select.”
Mounting USB storage devices
Use the Disk Media Info page menu command Scan
device to mount a device connected via USB 2.0. For
more information, see “Scan device” on page 724 of the
Parameter Guide.
Setting the date and time
OASYS has an internal calendar, which is used to
record the date and time when you save data. You can
set the date and time by using the Disk Utility page’s
“Set Date/Time” menu command.
You will need make these settings after you purchase
the OASYS, and after you replace the calendar backup
battery.
1. Press the MODE DISK switch to enter Disk mode.
2. Select the Disk–Utility page. Press the File tab,
and then the Utility tab.
3. Open the page menu, and select the Set Date/Time
command.
The following dialog box will appear.
4. Use the VALUE controllers to set the correct year,
month, day, hour, minute, and second.
5. Press the OK button.
If the calendar backup battery runs low, a message
of “Battery voltage for calendar IC” will appear in
the LCD screen. If the calendar backup battery runs
down completely, the calendar will be initialized,
and the date and time will not be recorded correctly.
Note: You can replace the calendar backup battery
by yourself. For more information, see “Installing
the calendar battery” on page 1040 of the Parameter
Guide.
Restoring the factory settings
Restoring EXs samples to the factory
defaults
When the OASYS is shipped from the factory, the PCM
memory bank is set to load the EXs1 ROM Expansion
sample library at start-up. For more information, see
“About the OASYS’ PCM memory” on page 31.
1. Press the MODE GLOBAL switch to enter Global
mode.
2. Press the EXIT switch to access the P0: Basic Setup
page.
3. Press the page menu button located in the upper
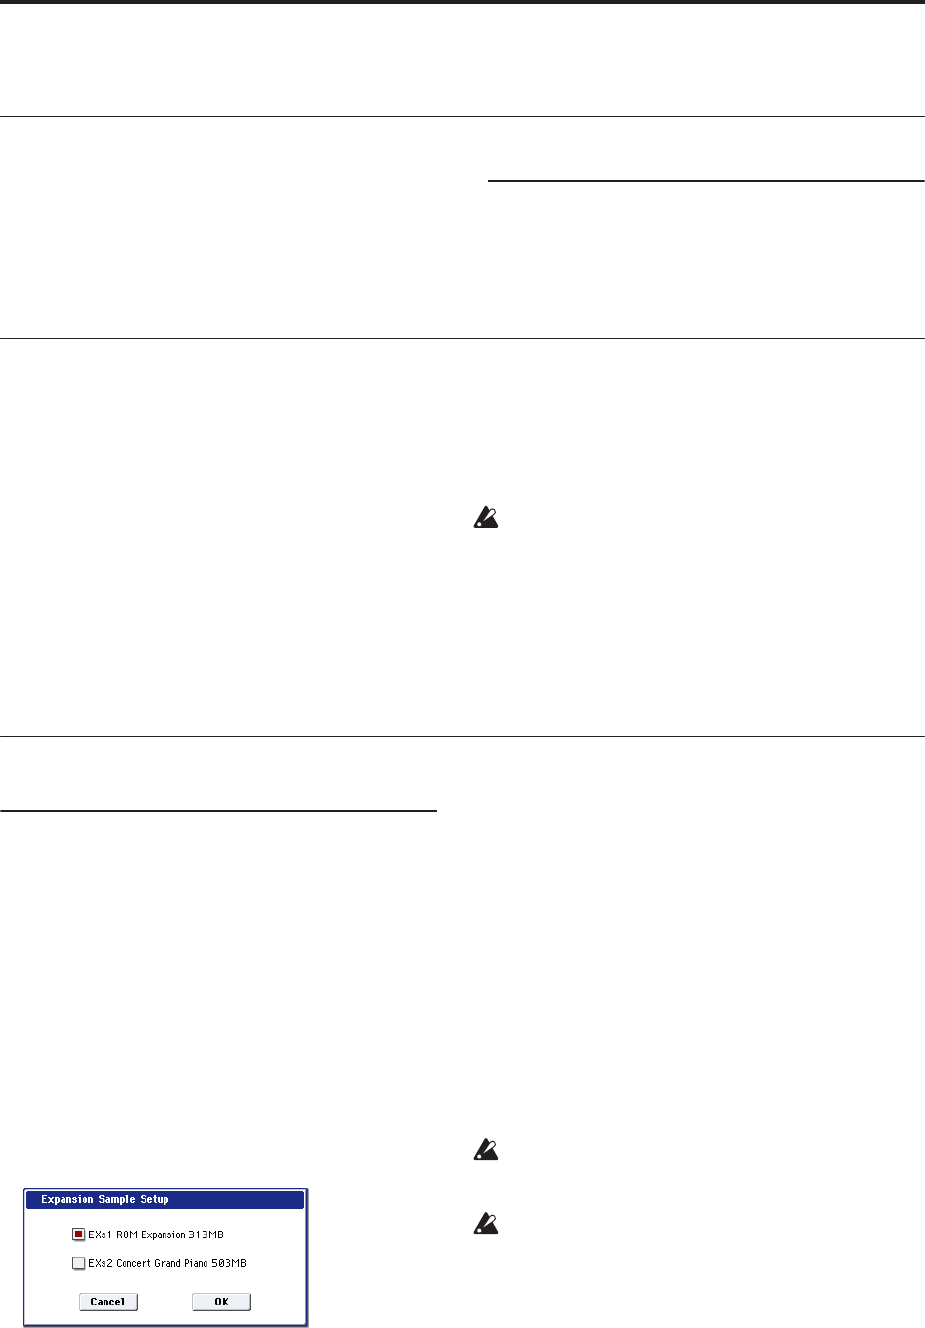
right of the LCD, and select “Expansion Sample
Setup.”
A dialog box will appear.
4. Select the desired EXs PCM bank.
If you check “EXs1 ROM Expansion 313 MB,” the
multisamples and samples for EXs1 will be loaded
at start-up.
5. Press the OK button.
The following message will appear:
The Expansion Sample Setup has now been changed.
In order for your changes to take effect, please turn
the power off, and then on again.
[OK]
This completes Expansion Sample Setup settings.
When you power-cycle the OASYS, the specified
PCM bank will stand-by.
6. Press the OK button.
7. Turn off the power.
The PCM bank you specified will be loaded and
available the next time you turn on the power.
Wait approximately ten seconds before you turn the
power on.
Data you created or edited will be lost when you
turn off the power, so be sure to back up your data
before you turn off the power.
After you turn off the power, wait approximately
ten seconds before you turn the power on.
