Creating and playing audio CDs Creating audio CDs
175
Creating and playing audio CDs
WAVE files you create by resampling to the internal
hard disk or to an external USB hard disk in Sequencer
mode etc. can be arranged in a desired order and used
to create an audio CD.
Make sure that both media are detected by the
OASYS.
When writing data to CD-R/RW media, the media
containing the Wave files must have free space
equal in size to the Wave files you are writing.
Before you execute this operation, make sure that
the drive containing the Wave files contains enough
free space.
Creating audio CDs
Part 1: Bouncing to disk
If you’re starting with Songs you’ve created in
Sequencer mode, you’ll first need to bounce the Songs
to WAVE files on the internal hard drive.
1. In Sequencer mode, select the first song that you
want to burn to the CD.
2. Go to the 0–8: Audio In/Sampling page.
3. Select Bounce All Tracks To Disk from the menu.
A dialog box will appear, showing the file system.
4. Use Drive Select, Open, and Up to select the
directory in which the WAVE file will be saved.
5. Use Name to specify the filename for the WAVE
file.
6. Press the OK button to execute the command. If
you decide to cancel, press the Cancel button.
The Song will start playing. Recording will begin and
end automatically, and the resulting stereo WAVE file
will be saved to the disk.
Repeat the steps above for all of the Songs that you’d
like to burn to the CD, and then proceed to Part 2
below.
Part 2: Making the CD
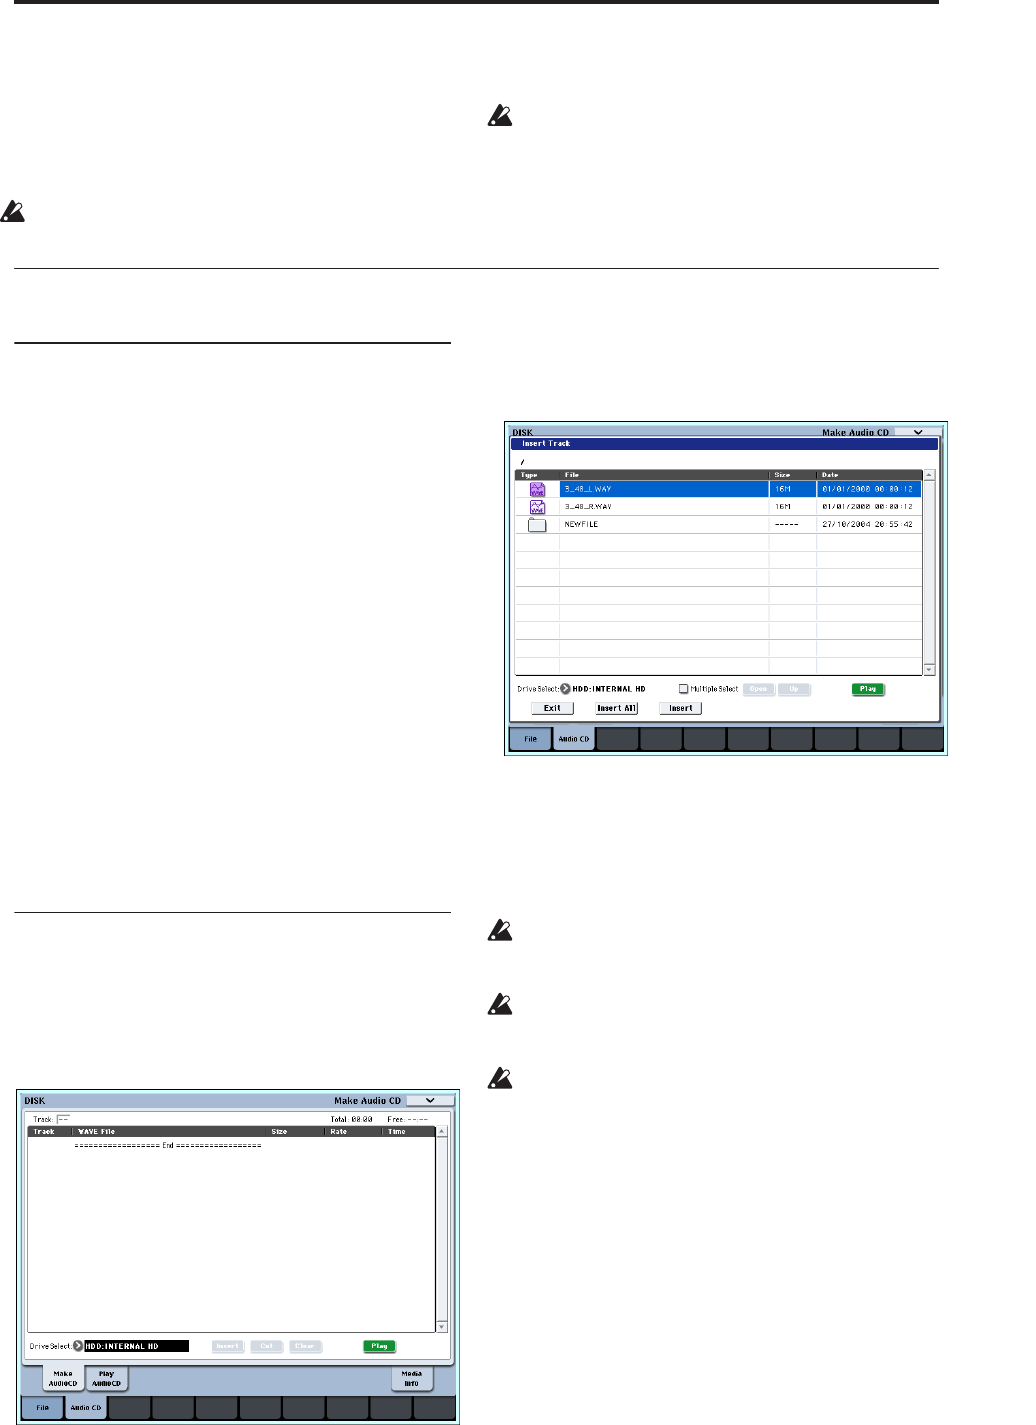
1. Go to the Disk– Make Audio CD page.
Press the Audio CD tab, and then the Make Audio
CD tab.
In the default state, the WAVE File area will show
only “====End====.”
2. To the track list, add the WAVE files that you want
to write to the CD.
Select “====End====” (it will be highlighted), and
press the Insert button.
The Insert Track dialog box will appear.
Use media select and the Open and Up buttons to
access the directory that contains the WAVE file, and
select the WAVE file that you want to add to the list.
You can press the Play button to play back the
sample for auditioning. Alternatively, you can press
the SAMPLING START/STOP switch to play it.
If you have selected a WAVE file with a sampling
frequency other than 48 kHz, it will not be possible
to press the Play button.
If you have selected a WAVE file with a sampling
frequency other than 44.1 kHz or 48 kHz, it will not
be possible to press the Insert button.
WAVE files at a sampling frequency of 48 kHz will
be converted to 44.1 kHz when they are written to
an audio CD (when you execute “Write to CD”).
To add the file, press the Insert button.
You can continue adding files until you press the
Exit button. The files will be added to the track list
in the order in which you selected them. If you want
to add all the WAVE files in the directory, press the
Insert All button.
Note: If you check the “Multiple Select” option,
you’ll be able to select multiple WAVE files and
insert them in a single operation.
When you have finished adding files to the list,
press the Exit button to close the dialog box.
Notice that the WAVE files have been added to the
track list.


