1
Quick Start
Quick Start
The OASYS contains an amazing amount of
functionality, but this Quick Start is provided for those
who just want to get started trying out the sounds right
away.
It explains how to set up the OASYS, how to select
programs and control the sound, how to listen to the
demo songs, and the new features of the latest
software update.
Setup
1. Connect the OASYS to your mix or monitor
system.
Connect the OASYS’ AUDIO OUTPUT (MAIN)
L/MONO and R jacks to your mixer or amplified
monitor speakers.
If you’re monitoring through headphones, connect
them to the headphone jack located on the left front
of the OASYS. The headphones will output the
same sound as the AUDIO OUTPUT (MAIN)
L/MONO and R jacks.
2. Connect the power cable.
First connect the included power cable to the
OASYS’ power connector.
3.
----
Turn on the power.
Press the rear panel POWER switch to turn on the
power. Wait until the opening screen has finished
being displayed.
4. Lower the VOLUME slider, and gradually raise it
to an appropriate volume.
Playing Programs and Combinations
With the factory settings, Combination mode will be
selected when you turn on the power.
Play the keyboard, and you will hear the sound of
bank INT-A combination number 000.
A combination consists of up to sixteen programs that
are split and/or layered. It also uses up to four
KARMA modules simultaneously (a program can use
only one KARMA module), letting you produce far
more complex sounds than a program.
Although you could simply continue selecting
different combinations and playing them, let’s start by
selecting and listening to the “basic” sounds of the
OASYS – programs.
Selecting Programs by bank and number
1. Press the MODE PROGRAM switch (the LED will
light) to enter Program mode.
The upper left of the LCD screen shows the name of
the current page, PROGRAM P0: Play. This is the page
in which you will normally play programs.
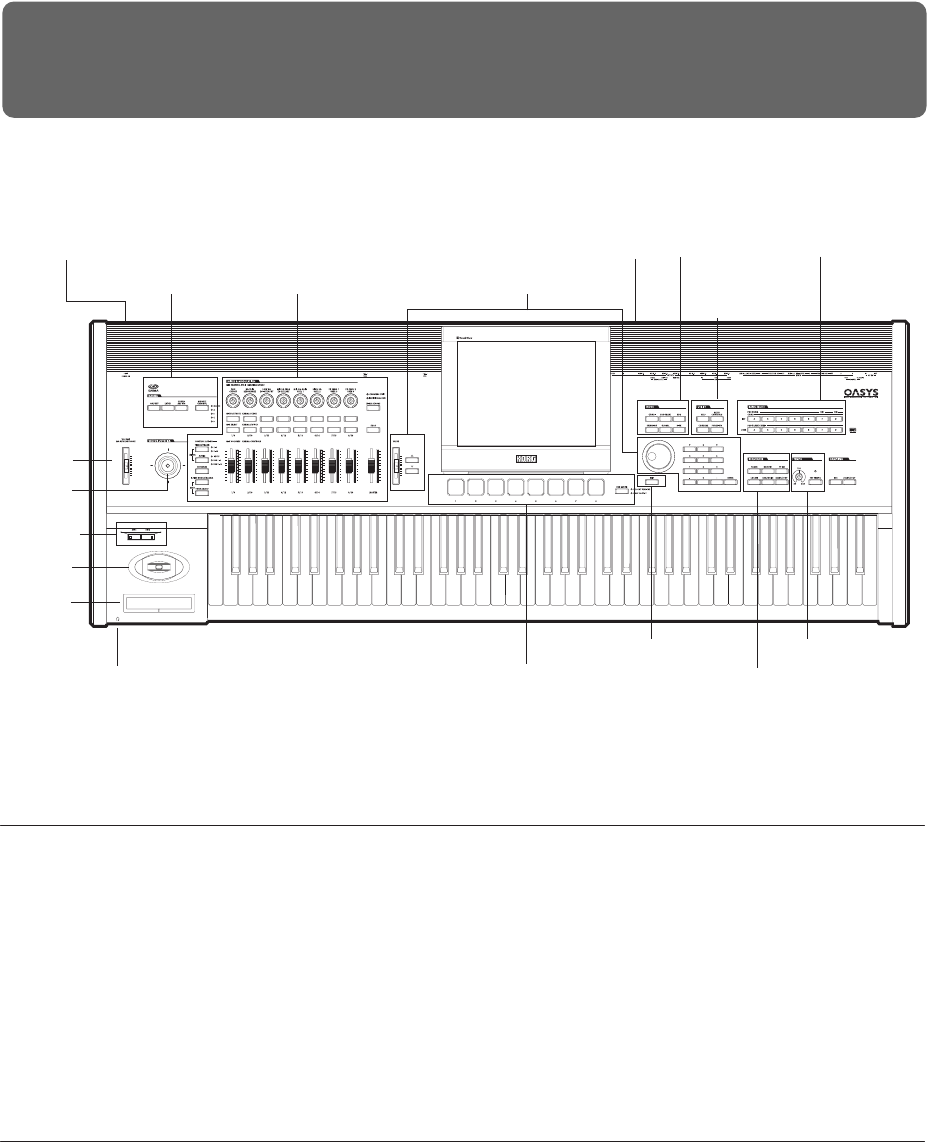
ector
oystick
SW 1&2
oystick
Ribbon
Headphone Pads
KARMA Control Surface
Mode
AUDIO OUTPUT (MAIN) L/MONO, RPOWER
Utility
Bank Select
Sequencer
Exit Tempo
Value controllers
LCD screen
olume
