Front and rear panels Front panel
21
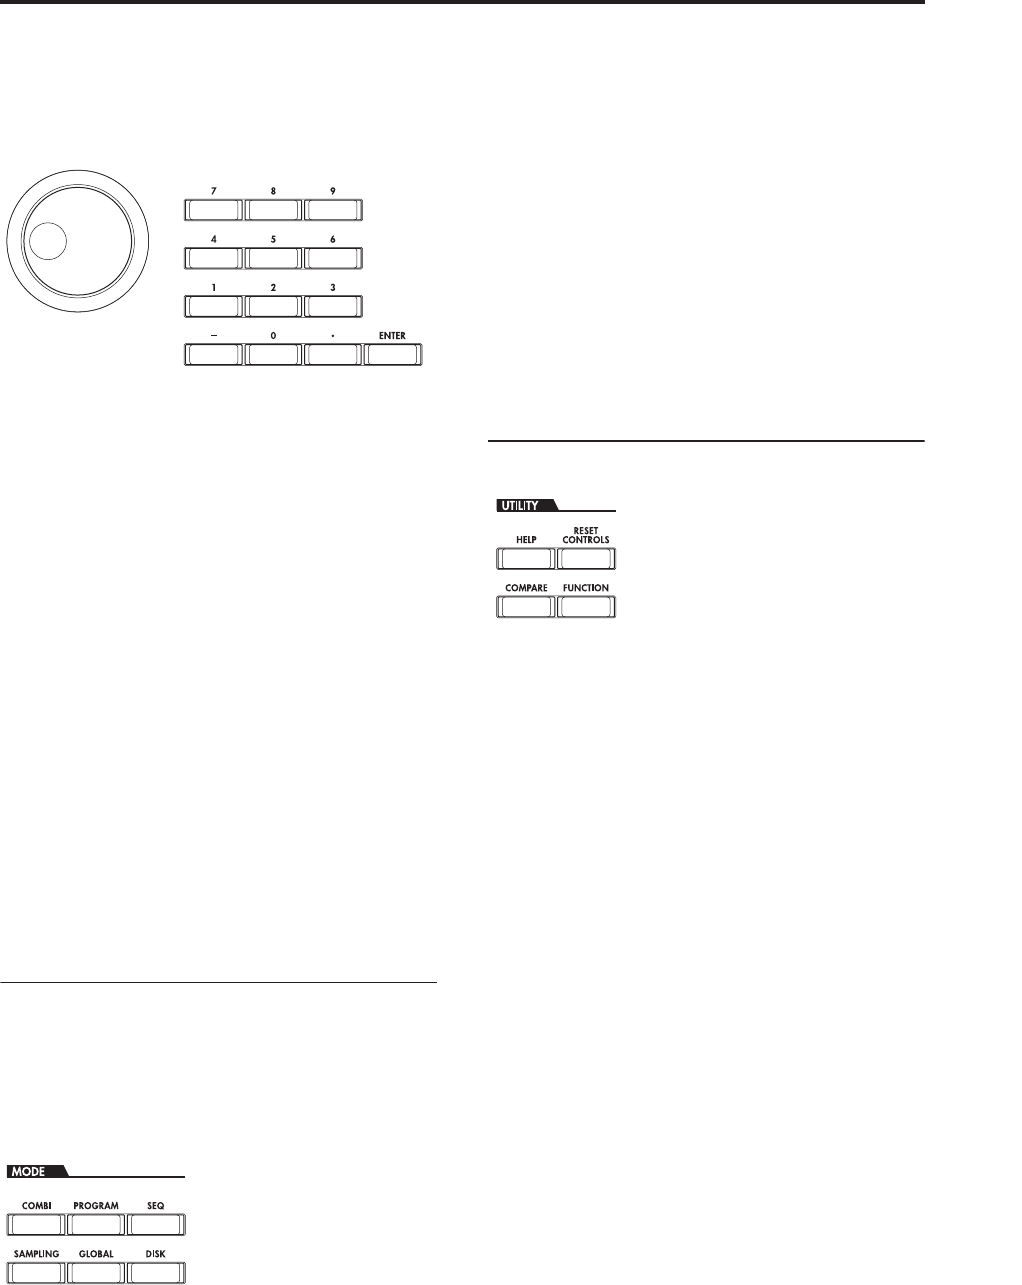
VALUE dial
Use this dial to edit the selected parameter’s value.
This control is convenient when you want to scroll
through a very long list of selections.
0-9, –, ., and ENTER buttons
These buttons are convenient when you know the
exact value that you want to enter. Use the 0–9, –, and
decimal (.) buttons to enter the value, and then press
the ENTER button to confirm the entry.
The – button inverts the sign (+/–) of the parameter
value; the decimal (.) button inserts a decimal, for
entering fractional values.
Special functions of the ENTER button
ENTER has a few special functions when it is pressed
in combination with other buttons.
Whenever an on-screen parameter lets you enter a
musical note (such as G4 or C#2), or a velocity level,
you can enter the note or velocity directly by holding
down ENTER while playing a note on the keyboard.
By holding down the ENTER button while you press a
numeric button (0–9), you can select up to ten menu
commands from the current page.
In Program and Combination modes, you can hold
down the ENTER button and press the SEQUENCER
REC/WRITE button to use the Auto Song Setup
function. This imports the current Program or Combi
into Sequence mode for quick and easy recording.
9. MODE buttons
OASYS has six different operational modes, each one
optimized for a specific set of functions. These buttons
select the current mode.
Each button has an LED, which lights up to show the
mode you’ve selected.
COMBI button
This selects Combination mode, for playing and
editing complex splits and layers of Programs.
PROG button
This selects Program mode, for playing and editing
basic sounds.
SEQ button
This selects Sequencer mode, for recording, playing,
and editing audio and MIDI tracks.
SAMPLING button
This selects Sampling mode, for recording and editing
audio samples and multisamples.
GLOBAL button
This selects Global mode, for making overall settings,
editing Wave Sequences and Drum Kits, and more.
DISK button
This selects Disk mode, for saving and loading data to
and from the internal hard drive or CD-RW drive, or
from external USB 2.0 storage devices.
10. UTILITY buttons
HELP button
The HELP button gives you built-in, context-sensitive
access to the user manuals, right from the front panel.
For information on any front-panel button, knob,
slider, or real-time controller, just hold down HELP
and then press the button or move the controller in
question.
For information on the current LCD page, press and
release the HELP button.
While the help page is on the screen, you can touch any
of the on-screen links (hilighted in blue text) for more
information. You can scroll through the text by using
the on-screen scroll bars, pressing the Inc and Dec
buttons, or spinning the Value dial.
The top of the Help page has “breadcrumb” links,
which show the hierarchy of pages above the current
one. Touch any of these links to jump to the
corresponding page.
The backwards and forwards buttons function like the
similar buttons on a standard web browser. If you use
links to jump between pages, you can then use the
backwards and forwards buttons to move through the
pages you’ve already viewed.
The Contents page lets you access any part of the Help
system, including almost all of the text and graphics in
both the Parameter and Operation Guides. The Index
contains a shorter list of links to important articles.
To close the help display, just press the HELP button
again, or press the on-screen Done button.
RESET CONTROLS button
This feature lets you reset the Vector Joystick to the
center position, or reset any of the Control Surface
sliders, knobs, or switches to their saved value.


