Sampling and editing in Sampling mode
133
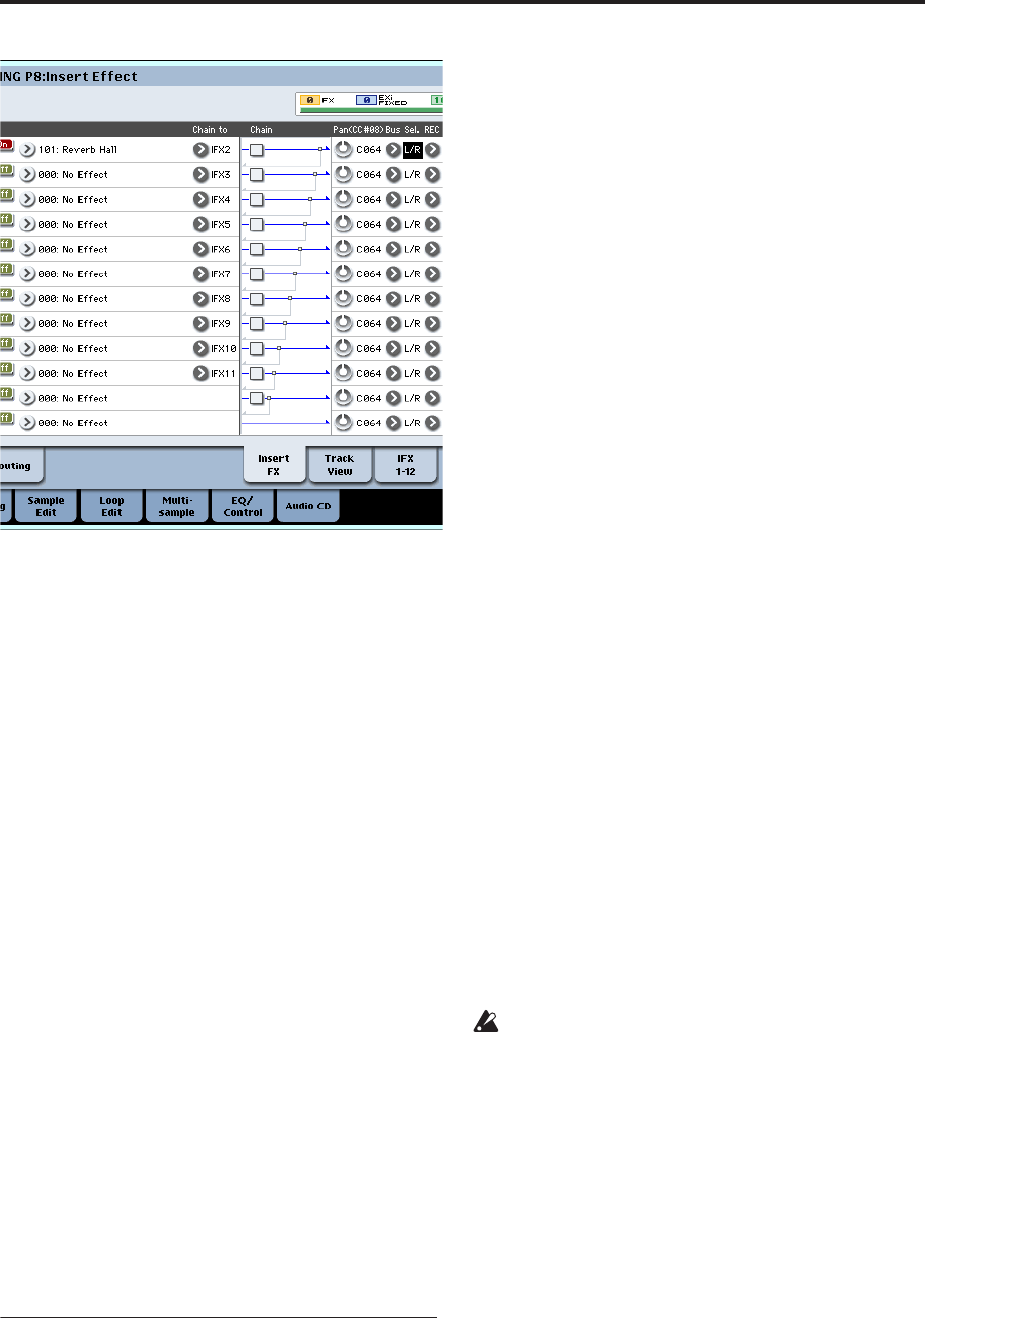
Press the C2 key, and verify that reverb is applied.
Also make sure that the Bus Sel. following IFX1 is
set to L/R.
6. Press the SAMPLING REC switch, and then the
SAMPLING START/STOP switch.
The sample assigned to C2 will play automatically,
and resampling will begin.
When the sample finishes playing, resampling will
end.
The sample that was created by resampling will
automatically be assigned to Sample Select.
Note: In Sampling mode, the P8– Routing page Bus
Select parameter will automatically be set to L/R
when resampling ends. This prevents an insert
effect from being applied in duplicate when you
monitor the results of resampling through an insert
effect.
If you want to apply an insert effect once again, re-
select IFX1.
Note: As an alternative to automatically resampling
as described above (Resample Auto), you can
simply sample the sounds that you play from the
keyboard (Resample Manual).
In Sample Select, assign the sample that you will
resample, and set Resample to Manual. Set Trigger
to Note On, and set Sample Mode to Stereo as
desired. Then set the bus and effect as described in
steps 2 and 7, press the SAMPLING REC and then
the START/STOP switch, and then press the C2 key
to start resampling. When you want to stop
resampling, press the SAMPLING START/STOP
switch.
Loop Edit – P2: Loop Edit
You can edit the playback address at which the sample
will be looped. The P2: Loop Edit page lets you do the
following things.
• You can specify the looping addresses by editing
“Start,” “End,” and “Loop Start” while watching
the waveform. Functions like Zoom In/Out, Use
Zero, and Grid make editing easy.
• You can turn looping on/off, adjust the tuning of
the loop playback, apply a +12 dB playback boost,
or reverse the playback.
• You can use the Time Slice function to
automatically detect the attacks of kick and snare
notes etc. in a rhythm loop sample (a looped
sample containing a drum pattern), and
automatically slice the sample at the appropriate
locations. This function can automatically create
performance data (notes) to play the divided
samples at the appropriate moments, letting you
play this phrase in Sequencer mode at the desired
tempo without affecting the pitch of the individual
notes. You can also do things like changing the
pitch of just the snare drum, replacing it with an
entirely different sample, or changing the playback
timing of the phrase in the sequencer to transform
the original rhythm loop into an entirely different
rhythm loop. (Stereo samples are supported.)
• You can use the Time Stretch function to modify
the tempo without changing the sample’s pitch.
When executing Time Stretch, you can choose
either “Sustaining” (suitable for loops of sustained
sounds such as strings or vocal) or “Slice” (suitable
for loops of decay-type sounds such as drums).
(Stereo samples are supported.)
• Sometimes when looping a sample of pitched
instruments such as strings or winds, the looped
portion may play back in an unnatural way. By
executing the Crossfade Loop function you can
eliminate this problem so that the loop sounds
right.
Loop settings
1. Select the sample for which you wish to make
loop settings.
To select the sample, use the “Sample Select” or
“Index” parameters of P2: Loop Edit page or of the
P0: Recording, Recording page.
If you use “Sample Select” to select the sample, be
aware that the assignment to the index will also
change.
2. In the P2: Loop Edit page, use the “Loop” check
box to turn loop playback on/off for the sample.
Looping will be turned on if the box is checked.
This will operate between the addresses you specify
in step 3.
Loop On: Start→End→Loop Start→End→ (Loop
Start→End is repeated)
Loop Off: Start→End


