112
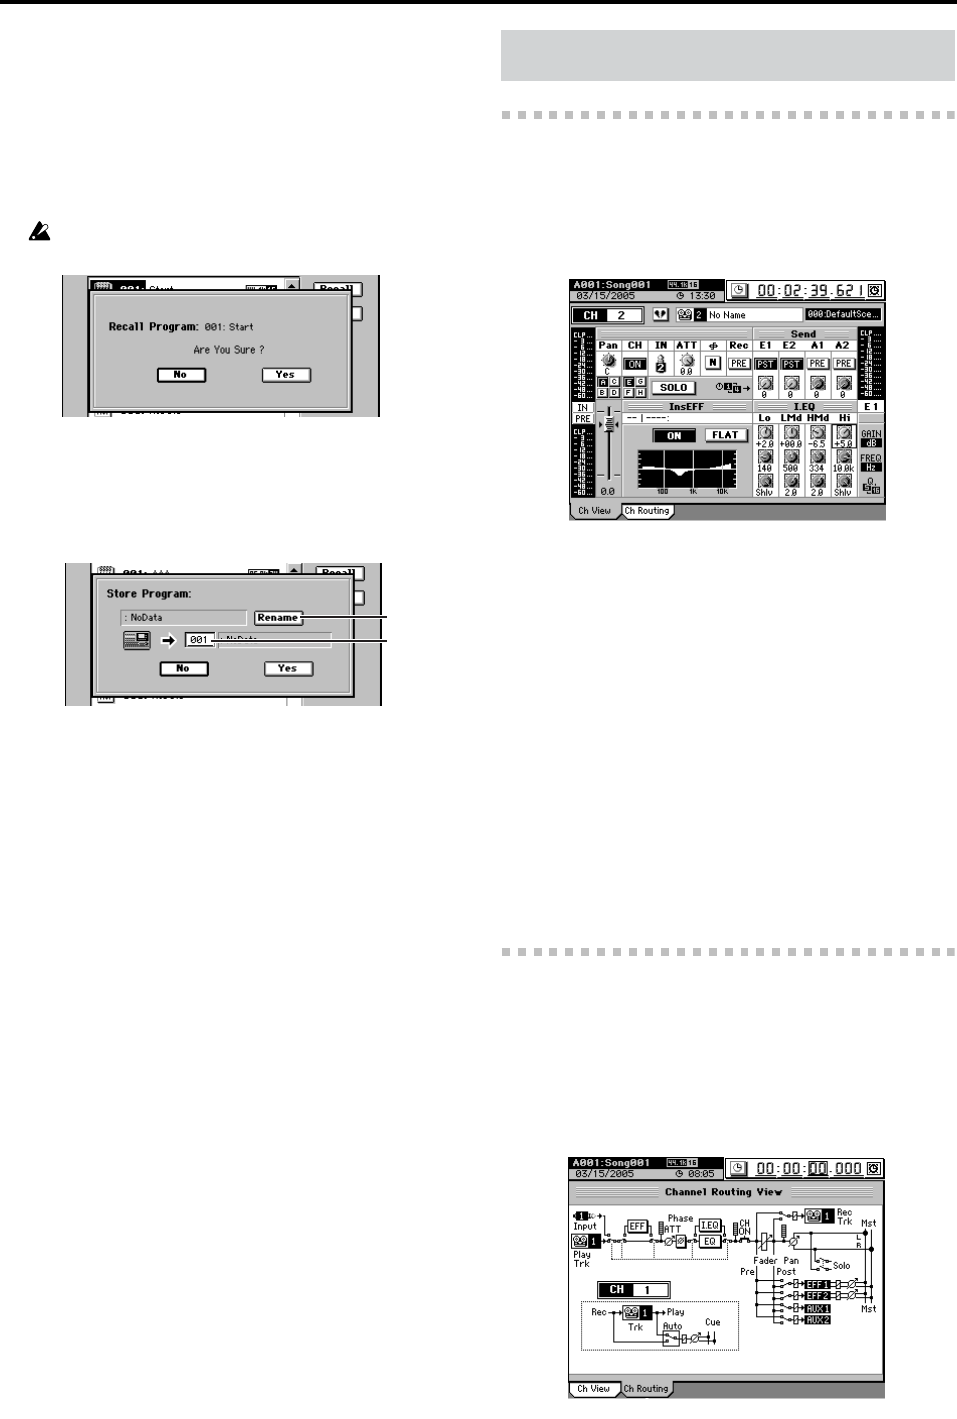
2. Recall
This button loads (recalls) a mixer setup program.
In the mixer setup list, click the program that you want to
recall.
Click this button to open the Recall dialog box, verify the
program that you are recalling, and click the Yes button
(or press the panel YES key). If you decide not to recall
the program, click the No button (or press the panel NO
key).
A program you saved from a 44.1 kHz or 48 kHz song can be
recalled to either a 44.1 kHz or a 48 kHz song.
3. Store
This button stores the current mixer settings as a mixer
setup program.
Verify the store-destination number, and click the Yes
button (or press the panel YES key). If you decide not to
store, click the No button (or press the panel NO key).
3a. Rename
You can click this button and rename the mixer setup
program (→p.99).
3b. Program number cell
This selects the store-destination program number.
Click this cell to highlight it, and then use the value
dial (or +/– keys) to select the desired number.
3-1. Ch View
This displays the settings and status for a single channel.
To select the channel that you want to view, press the CH SE-
LECT key and then press the channel key of the desired
channel.
In this screen you can set the following parameters.
• Pairing (→p.102)
• Pan (→p.103)
• Channel on/off (→p.8)
• Input (→p.101)
• Attenuator (→p.107)
• Phase (→p.108)
• Recording location (→p.110)
• Solo on/off (→p.110)
• EQ on/off, flat (→p.107)
• Fader (→p.103)
• Level meter position (→p.99)
•Group (→p.102)
• Send (→p.109)
• EQ (→p.107)
To edit the Send and EQ parameters, use the Knob Matrix lo-
cated below the display.
3-2. Channel Routing View
This displays a simplified signal flow for the channel shown
in the “Ch View” tab page.
You cannot edit the settings here.
To select the channel that you want to view, press the CH
SELECT key and then press the channel key of the desired
channel.
3a
3b
3. CH VIEW
