21
Quick Start
Step 1: PreparationsStep 2: Quick recordingStep 3: OverdubbingStep 4: Mixdown and
mastering
The highlighted area will then move one step toward the right. Repeat this
step to edit the song name.
If you want to edit only a portion of the song name, click the buttons to
move the highlighted area, and then click a character or numeral button.
Use the buttons in the LCD screen to perform the following operations.
“0...9”: Input a numeral (e.g., “0”)
“A...@_...”: Input an alphabetical character (e.g., “A”) or symbol (e.g., @, _).
: Input a space.
: Switch the alphabet buttons between lower case and upper case.
: Insert a space, and move the subsequent characters backward.
: Delete the character at the cursor location.
: Erase the entire name.
(4)Confirm the changes.
When you have finished naming your song, click the OK button in the LCD
screen (or press the panel YES key).
If you decide to discard the change you made, click the Cancel button in the
LCD screen (or press the panel NO key).
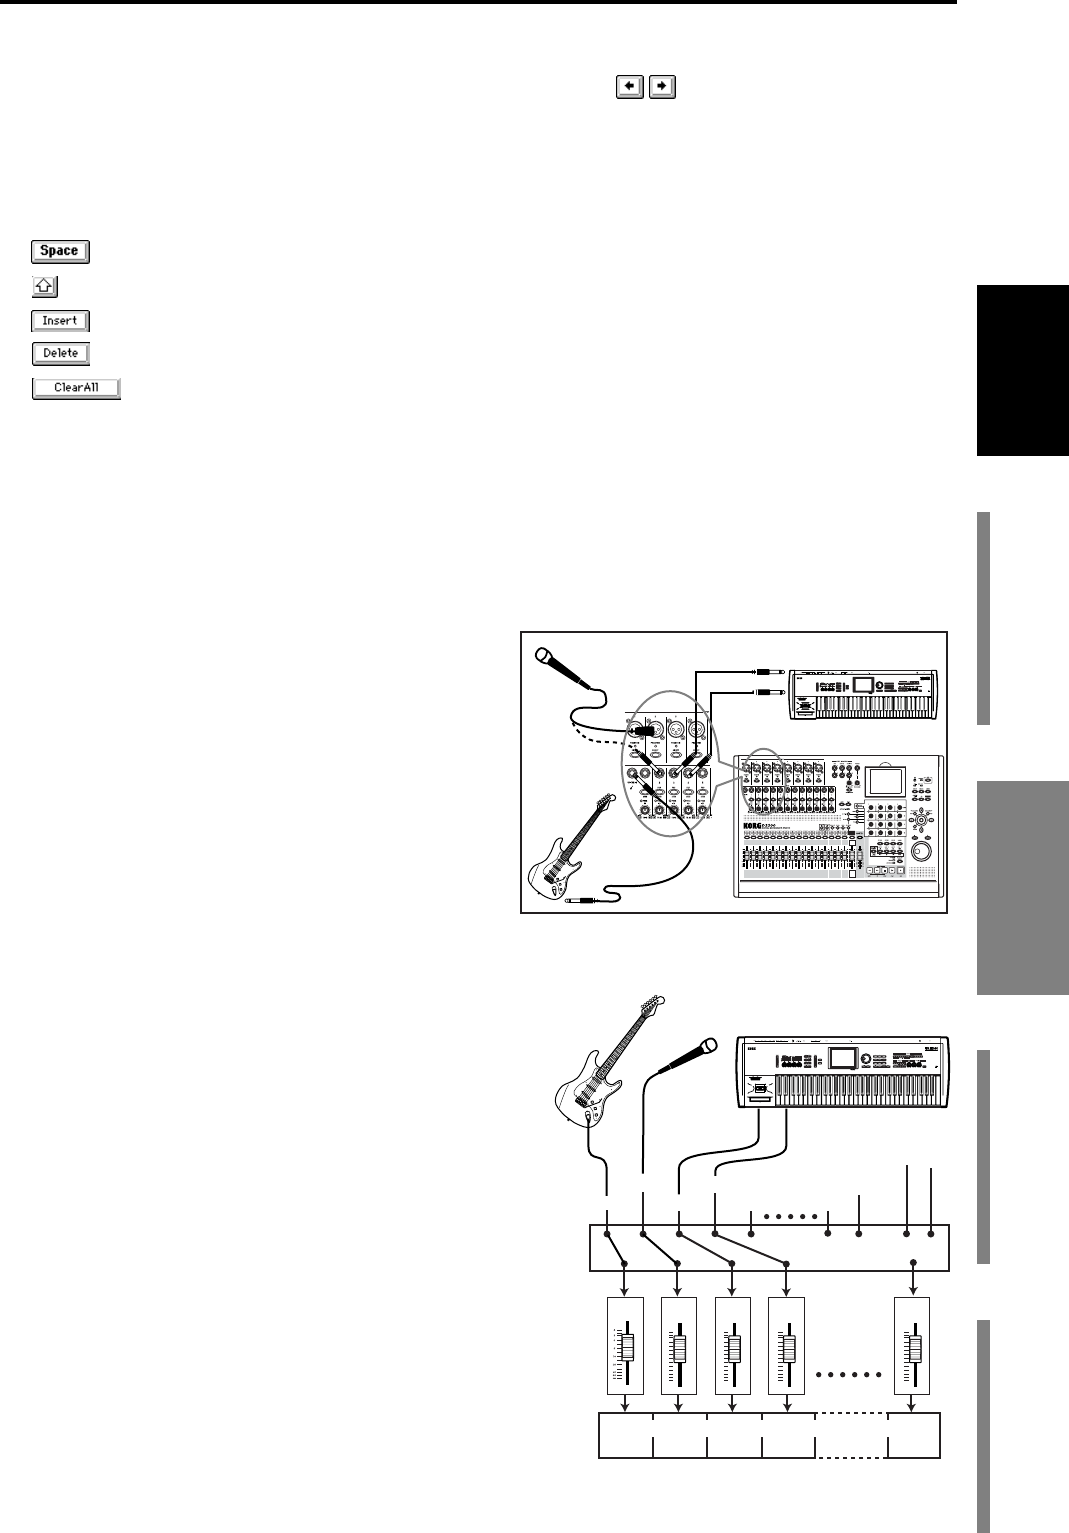
3. Connect your audio sources to the mixer inputs
The mixer can accept twelve channels of analog in-
puts, two channels (one stereo pair) of digital (S/P
DIF) input (→p.44 “1-2. Digital input”), and a stereo
input from the internal Session Drums (→p.59 “Re-
cording patterns on a track”). Here we'll explain
how to connect analog audio sources to channels 1-4.
Connect mics and instruments to the INPUT jacks
Microphones, guitars & basses, and keyboard/syn-
thesizer instruments all have different output levels
and require different input connections. Here, we’ll
give an example of each type.
(1)Connect a guitar to the guitar input.
Rotate the INPUT 1 TRIM knob all the way to the
left, and connect your guitar to the GUITAR IN jack.
The GUITAR IN jack is shared with INPUT 1, and
the two cannot be used simultaneously. (→p.7 “3
GUITAR IN jack”)
(2)Connect a microphone to one of the analog inputs.
Rotate the INPUT 2 TRIM knob all the way to the
left, and connect a mic to one of the INPUT 2 jacks.
Microphones will generally connect to the XLR
inputs, although some will have plugs that can con-
nect to the TRS balanced phone jacks. Additionally,
some microphones require phantom power from the
mixer. Each of the D3200’s XLR inputs are equipped
with switchable phantom power supplies. Be sure
and choose the right connection for your micro-
phone. And never connect or disconnect a micro-
phone while the phantom power is on.
(3)Connect the stereo outputs from a keyboard to a
pair of TRS phone jack inputs.
Rotate the INPUT 3 and 4 TRIM knobs all the way to the left, and connect the
outputs of your keyboard to the INPUT 3 and 4 phone jacks.
(1)
(2)
(3)
Guitar
Keyboard
Mic
OUTPUT
Keyboard
Guitar
Mic
Connection example
INPUT1
1Tr
2Tr
3Tr 4Tr
CH1 CH2 CH3 CH4
S/P DIF L, R
L R
Recorder
INPUT2
INPUT3
INPUT4
INPUT5
32Tr
CH
32
INPUT12
INPUT11
Step 2: Quick recording
