67
Operation
Song,
Locate
MixerEffects
Session
Drums™
Recorder
CDDataDriveUSBMIDIUpgrading
the system
Recovery
CD
ClickPoint
calibration
(6) Begin recording.
• When you press the REC key, the recorder will move
to a location earlier than the punch-in point, as speci-
fied by the pre-roll time, and will enter the record-
ready state (REC key blinking).
• When you press the PLAY key, playback will begin.
Playback will continue during the pre-roll time, and
then recording will occur from the specified punch-in
point (IN). (The REC and PLAY keys will light.)
(7) Stop recording.
• When you reach the punch-out point (OUT), record-
ing will end and playback will resume. (The REC key
will be dark and the PLAY key will be lit.)
• When the post-roll time ends, the recorder will stop.
(8) Verify the content that was recorded.
Move to a location earlier than where you began record-
ing (IN), and play back to verify that the recording is sat-
isfactory.
Loop recording
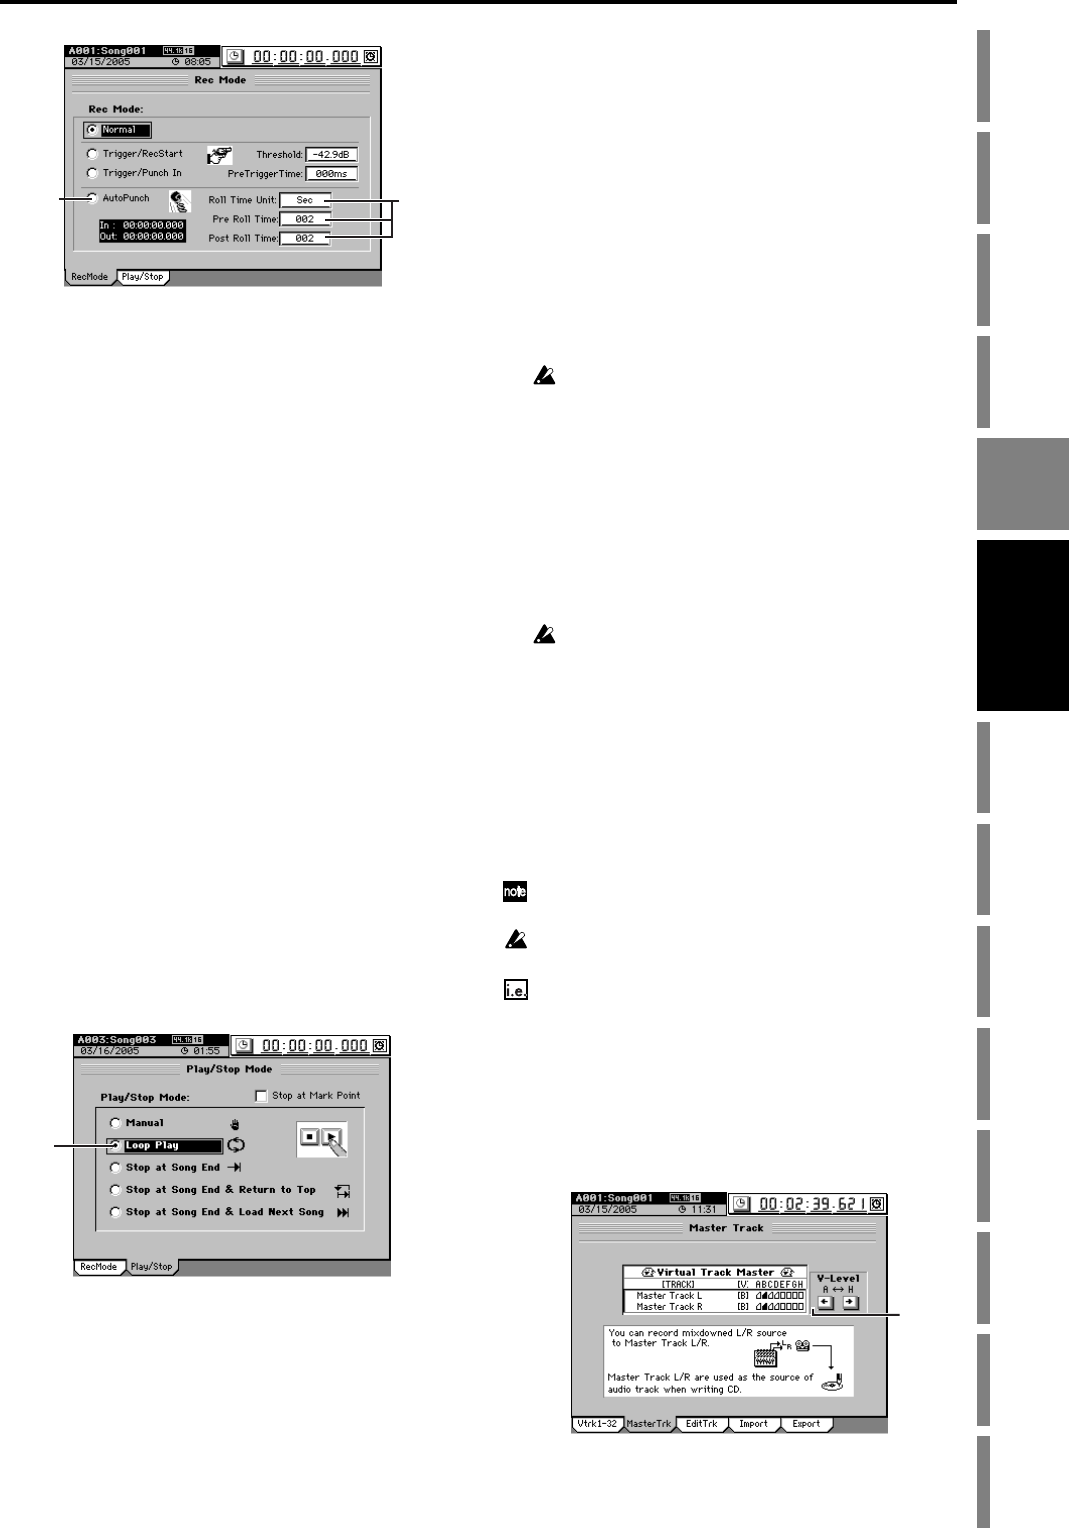
When using auto punch-in/out recording, you can click the
Loop Play radio button (in the Play/Stop Mode field of the
“Play/Stop” tab page) so that the IN–OUT region will be re-
corded repeatedly (loop). When you are finished recording,
you can use the Undo/Redo functions to compare different
takes, and keep the best one.
(1) Adjust the settings for auto punch-in/out.
Refer to “Auto punch-in/out” (→p.66) steps (1)–(5).
(2) Click the Loop Play radio button to turn it on (high-
lighted).
The Loop indicator will light.
(3) Begin recording.
• When you press the REC key, you will move to a point
before the specified IN (recording start) location, as set
by the pre-roll time, and the D3200 will be in record-
ready condition (REC key blinking).
• When you press the PLAY key, playback will begin
(PLAY key will light).
Playback will continue for the pre-roll time, and
recording will begin at the IN point. (The REC key
will light.)
• Recording will end when you reach the OUT point,
and playback will continue for the post-roll time. (The
REC key will go dark.)
• Then you will move to the pre-roll time, and the same
process will be repeated.
•To stop, press the STOP key at a point outside the
recording region (IN–OUT).
(4) Use the Undo/Redo function to compare the takes, and
select the best one.
•Press the UNDO key to display the “Undo/Redo” tab
page.
The “Undo/Redo” tab page displays the most recent
recording (Level 00) and the previous recordings
(Level “loop-recorded takes minus 1”) together with
the Rec Track (track number).
Loop recordings appear in the list as “Record Track,” just as
conventional recordings.
• In the “Undo/Redo” tab page, click the Undo button
and Redo button to select a recorded take. The
selected performance will be recalled.
(5) Listen to the recorded performance.
•Press the PLAY key to play back, and listen to the
recording. If “Loop Play” is on, the region between the
IN (beginning of recording) and OUT (end of record-
ing) points will continuously play back.
• Repeat this process to select the best performance.
The data in the list lets you go back through the most recent
sixteen levels.
1-6. Creating a master track
After applying effects and EQ to each track to create the over-
all balance of your song, you can then apply effects and EQ
to the entire song to make the volume and tone consistent,
and record the resulting two-track stereo mix onto the “mas-
ter track.”
The master track data you create here can also be copied to a
channel track (→p.69).
After recording or track editing, you can use the Undo function to
return to the state prior to recording or editing (→p.141).
If you recorded on a different virtual track, check the virtual track
that is selected after executing Undo.
Mixing down the audio of tracks 1–32 and recording a
master track for a 44.1 kHz/16-bit song
(1) Select the virtual tracks that you want to use in your
final mix.
• For each channel track, select the virtual track that you
want to include in the mix that will be recorded onto
the master track (→p.65).
• Select a virtual track for the master track.
(4)
(5)
(2)
(1)
Recorder


