1. Recording Samples (Sampling)
RS7000 235
5
The Sampling Mode
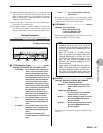
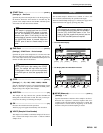
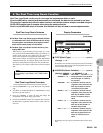
2 START Point ........................................................[Knob 2]
[Settings] 0 ~ End Point
Specifies the point in the sample that is to be the beginning of
the measure. When the Trim function is executed only the
portion of the sample between the START and END points
will remain. All other data will be deleted.
3
END Point .............................................................[Knob 3]
[Settings] START Point ~ End of sample
Specifies the point in the sample that is to be the end of the
measure. When the Trim function is executed only the por-
tion of the sample between the START and END points will
remain. All other data will be deleted.
4
STEP.........................................................................[Knob 4]
[Settings] ×1, ×10, ×100, ×1000, ×10000, ×100000
Sets the “magnification factor” to be used when [Knob 2] and
[Knob 3] are used to specify the START and END points.
Higher settings allow higher value changes.
5
AUDITION.......................................................................[F2]
The sample will loop between the specified START and
END points while this button is held. This lets you hear pre-
cisely how the settings are affecting the sample.
6 OK......................................................................................[F4]
Executes the normalize and trim operations.
The Slice page will appear automatically after execution.
7
VOICE (Sample Voice Number)
The sample voice number to which the sample will be saved.
001 ~ 128 are local sample voices; C001 ~ C128 are common
sample voices.
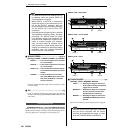
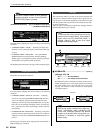
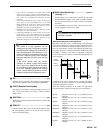
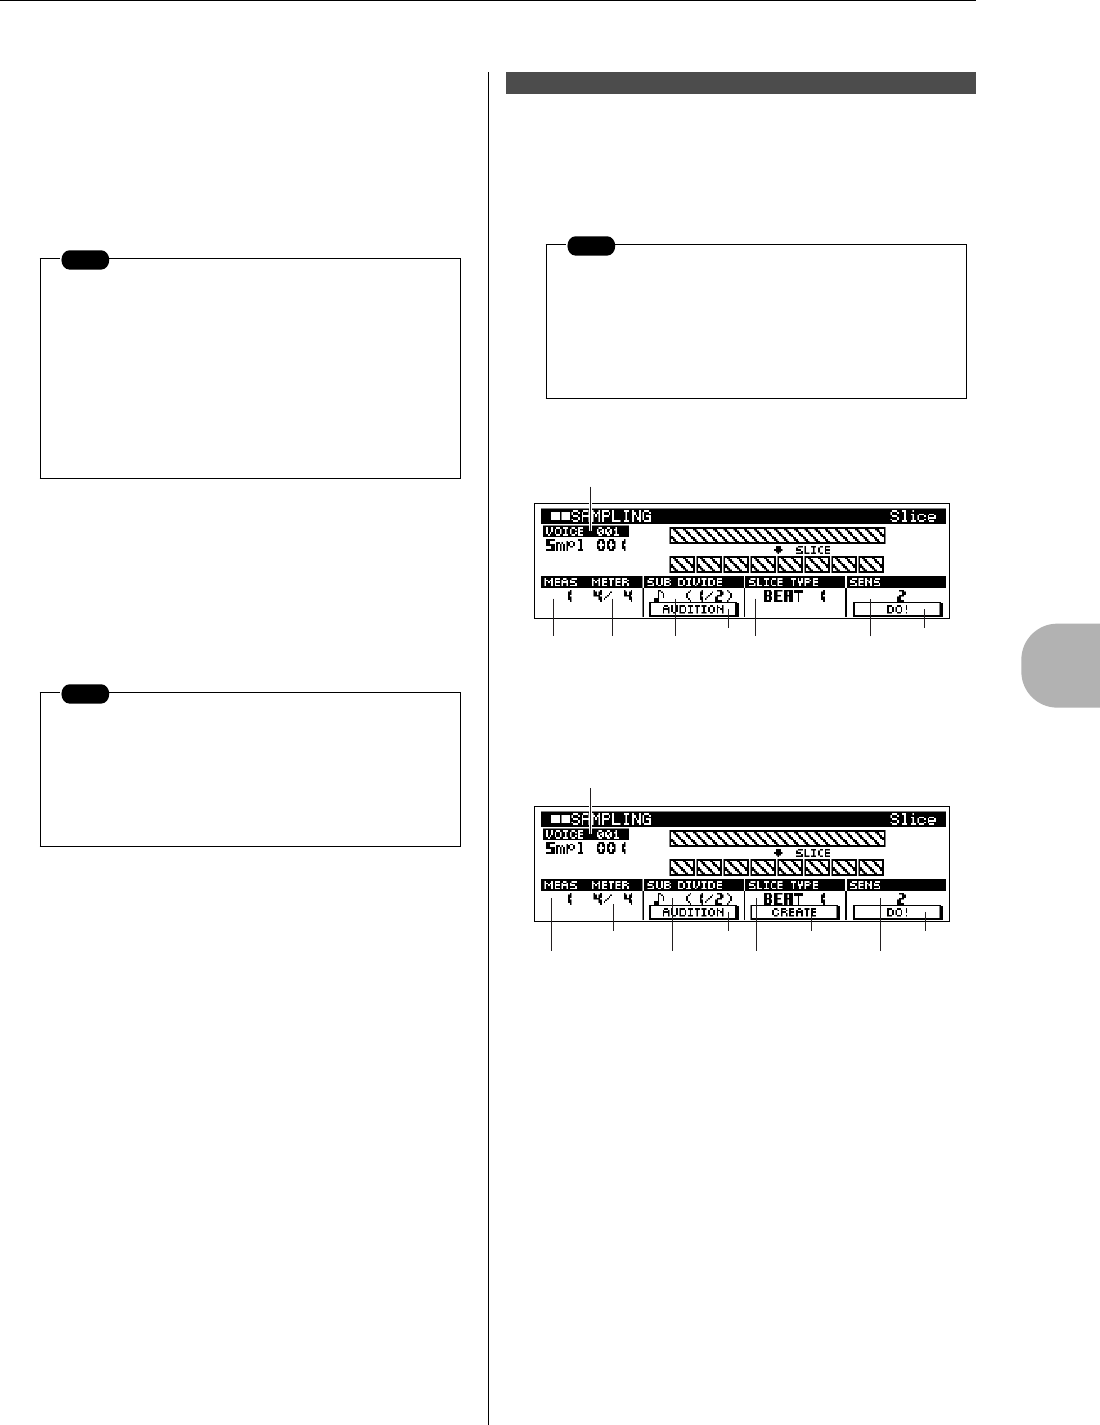
The recorded sample is divided in to a number of “slices”, the
size of which is determined by the specified note length.
When the SLICE+SEQ sample type is selected, this page can be
selected from the Trim page by pressing [F4] (OK).
• The Initial Slice Display
• The Display After Slice Has Been Executed
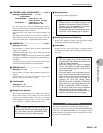
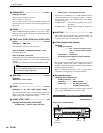
1 MEAS (Measure)................................................ [Knob 1]
[Settings] 1 ~ 8
Specifies the number of measures in the sample to be sliced.
When the slice operation is executed, sequence data corre-
sponding to the specified number of measures is created. The
sequence data is created from the beginning of the nearest
measure at the point at which sampling is started.
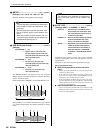
NOTE
The sample is played back from the START
point when the [AUDITION] button is pressed,
so use this capability to precisely locate the
desired start point. If the timing of the first
desired beat or sound is cut off or delayed when
the [AUDITION] button is pressed, adjust the
START point so that it is heard exactly on the
beat.
NOTE
Set the END point after setting then START
point. The sample will loop while the [AUDI-
TION] button is held, so you can hear precisely
if the END point is set at the appropriate loca-
tion.
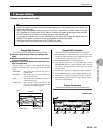
Slice Page
NOTE
It is necessary to accurately adjust the length of
the sample before executing the slice operation.
Use the [F2] (AUDITION) button in the Trim
page to loop the sample and precisely set the
trim START and END points as required.
4 9
5
3
7
21
6
[Knob 2] [Knob 3][Knob 1]
[F4]
[F2]
[Knob 4][F1]
6
4
8
9
5
3
7
1
2
[Knob 2] [Knob 3][Knob 1]
[F4][F2]
[Knob 4]
[F1] [F3]


