


Appendix
1. Installing Optional Equipment
RS7000 275
Procedure
1. Be sure that you have the following at hand before starting the installation.
• SIMMs (one pair: 2 modules)
• Phillips screwdriver: Magnetic-tipped screwdriver is recommended.
• Workbench: Please carry out all work on a stable workbench or table. Spreading a cloth over the work surface will help prevent
scratching.
• Gloves: Be sure to wear gloves so that your hands are not scratched by the metal cover or other metal parts.
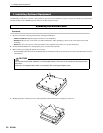
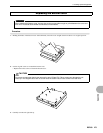
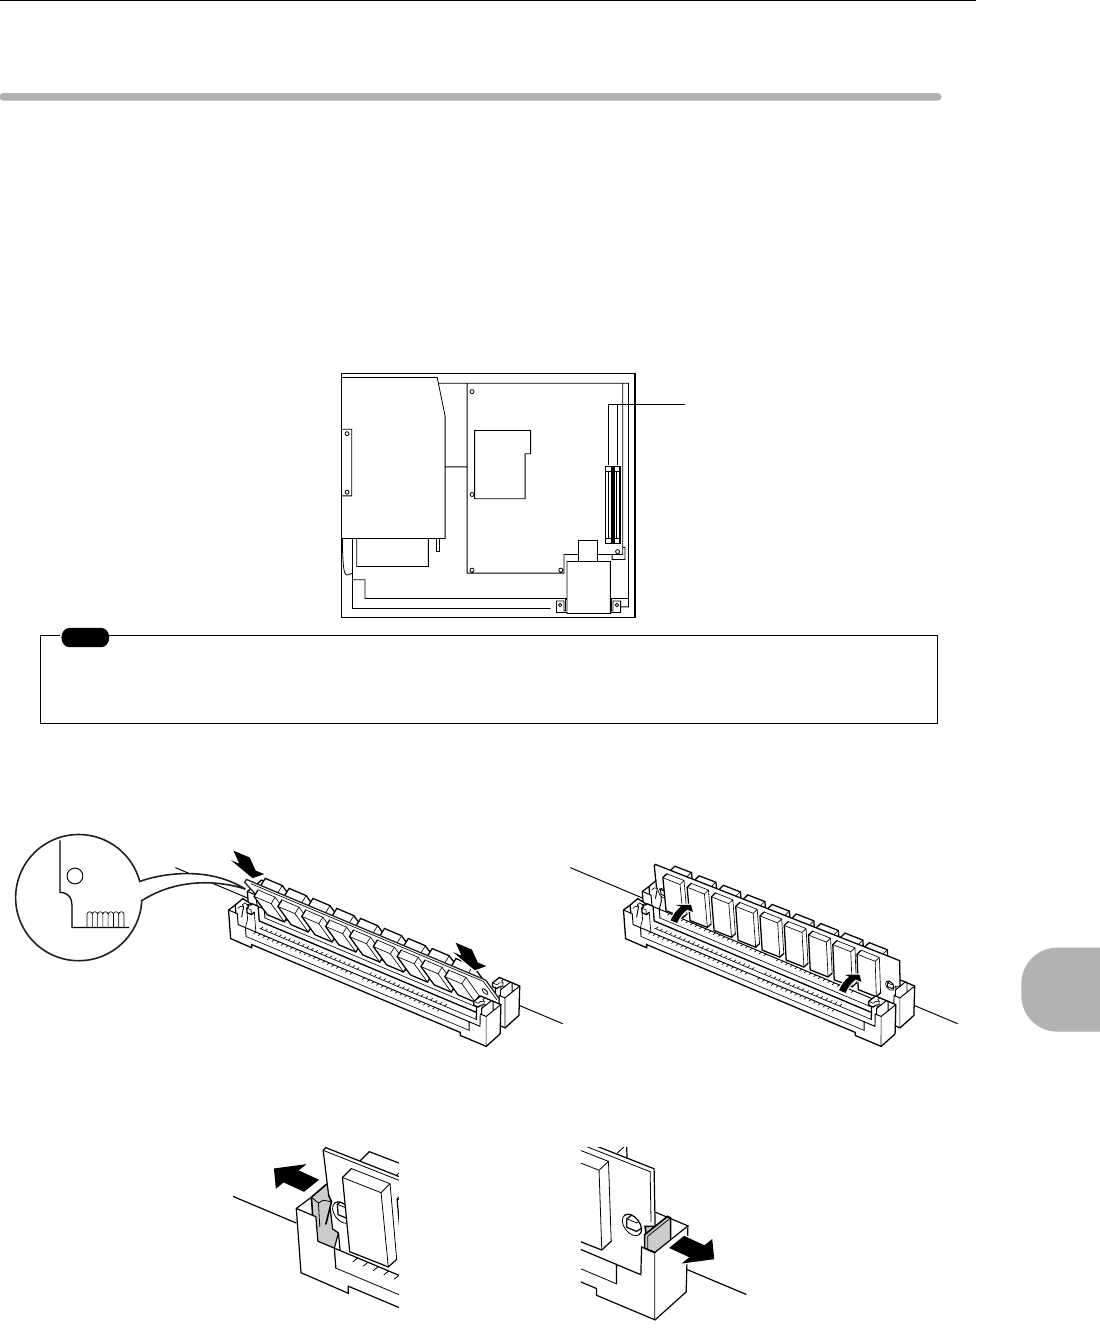
2. Remove the bottom cover (Page 272).
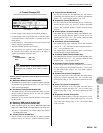
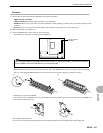
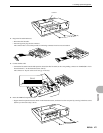
3. Insert the SIMM module into the socket on the circuit board.
• First identify the sockets that you will install the SIMM into.
• Hold the SIMM with its cutout part facing the rear panel, and set the SIMM into the socket at an angle as shown in the figure
below (1). Then push the SIMM upright until it clicks into the position shown in figure (2), locking it into place.
(1) (2)
• Repeat this step for the other SIMM.
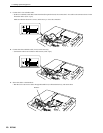
• If you need to remove a SIMM from a socket, hold open the two hooks on the socket (one at each end), push on the SIMM to tilt
it downward, and then pull it out.
This completes the installation.
If you wish to install an I/O expansion board, continue with the I/O expansion board installation procedure (Page 276).
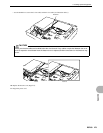
NOTE
When inserting SIMMs, always begin with the outer socket (i.e., the socket closest to the side of the RS7000
cover). SIMMs will not fit into the socket if you reverse this order.
Sockets for SIMM
installation