


5. Add Samples
RS7000 43
TUTORIAL
Tutorial
Although it would be easier just to load one of the pre-recorded samples provided on the SmartMedia
memory card supplied with the RS7000 and add it to our pattern, we recommend that you take the time
to actually try recording your own samples.
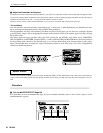
You will need to provide a source for sampling. This could be a CD player, tape player, or any other source capable of
delivering a line-level signal. You could also use a microphone since the RS7000 inputs can easily be set for microphone-
level input.
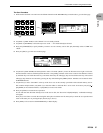
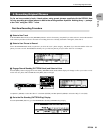
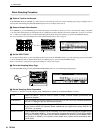
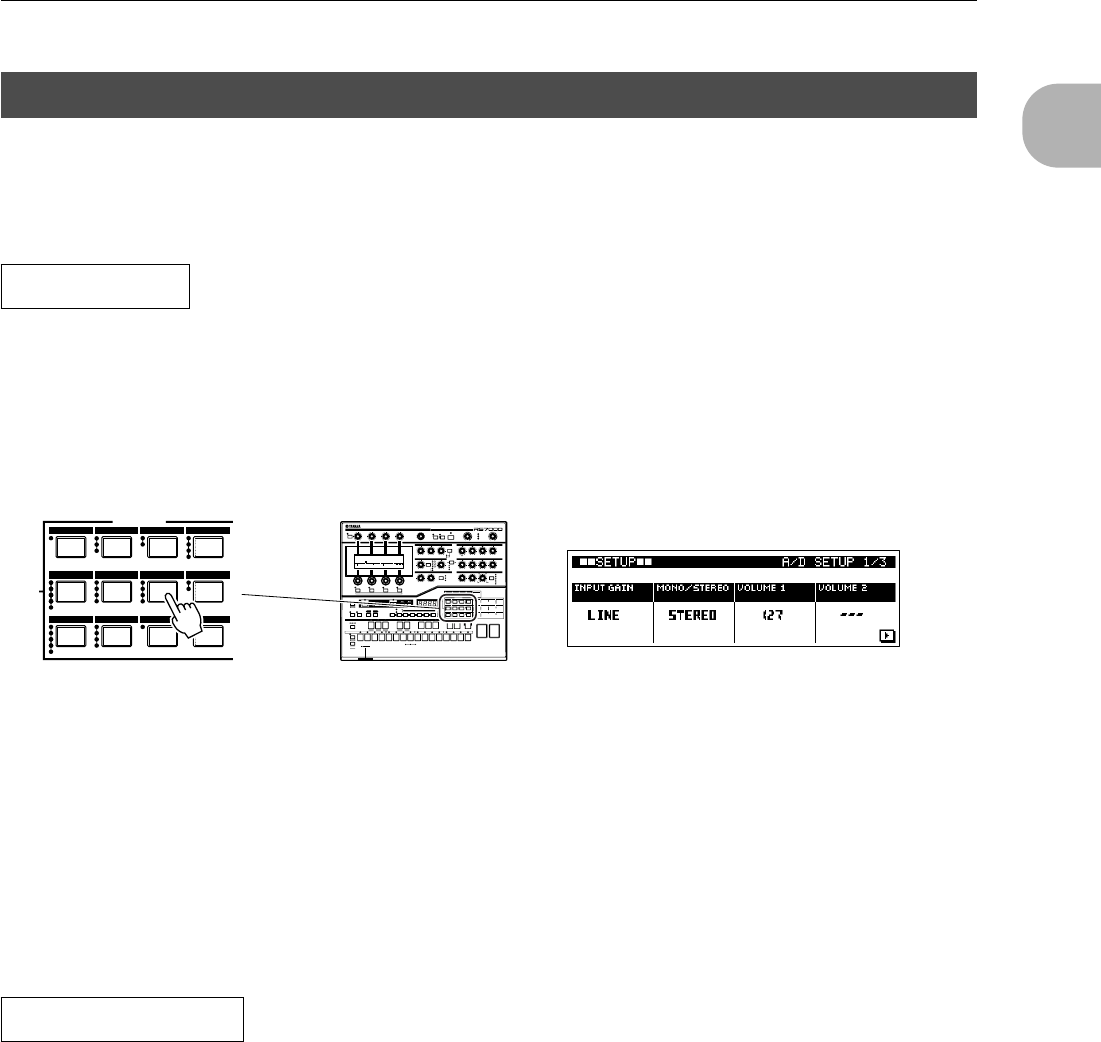
For Line-level Sources
Press the [SETUP] button twice to access the A/D SETUP page and make sure that the INPUT GAIN parameter is set to LINE.
Use [Knob 1] to select LINE if necessary.
For Microphones
Press the [SETUP] button twice to access the A/D SETUP page and make sure that the INPUT GAIN parameter is set to MIC. Use
[Knob 1] to select MIC if necessary.
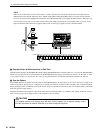
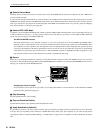
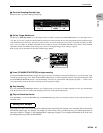
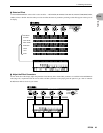
Mono Sources
If you have a mono source — such as a single microphone — plug it into the INPUT L jack on the rear panel.
Stereo Sources
Plug the left and right outputs from a stereo source in the INPUT L and R jacks, respectively.
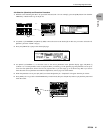
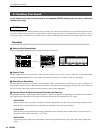
Obviously, you can sample any sound or instrument you like for your own music. The RS7000 has a number of features
that make creating even complex samples quite easy. The SLICE+SEQ sampling mode, for example, automatically
“slices” breakbeats or musical phrases you record into beat-size segments which are then placed in the selected pattern
track along with the note data required to play them back as recorded. You can then “remix” the sliced samples to create a
range of original variations.
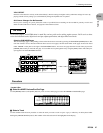
For our tutorial, however, it would be wise to keep things simple. Record a single sound that can be used as a “hit” in our
pattern. A convenient way to do this would be to connect a microphone and record a percussive vocal sound: “Hah!”,
“Yo!”, “Boo” … whatever works. You might be able to get some neat distorted sounds by cupping the mic right up against
your mouth as you record. You can also use the RS7000’s sophisticated effects to process the sound later. Use your imagi-
nation.
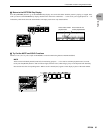
5. Add Samples
The Source
789+/-
4560
1 2 3 ENTER
SUB MODE
GROOVE PLAY FX MIDI DELAY MIXER
VOICE EDIT EFFECT SETUP MASTER
SAVE LOAD JOB EDIT
-
+
MASTER VOLUME
SAMPLINGMASTER EFFECT
REAL TIME
REC VOLUME
STANDBY
START/STOP
MULTI COMPRING MOD
V-DIST
LO-FI
SLICE
CTRL DELAY
D-FILTER
ISOLATION
BEAT STRETCH
GATE TIME
CLOCK SHIFT
MIDI DELAY
SWING
VELOCITY
SPEED
WAVE
F1 F2 F3
NUM
F4
PITCH BENDPORTAMENTO TIME
PORTAMENTO
TYPE
DEPTH
SELECT
EFFECT
ON/OFF
LOOP
REMIX
SAMPLE
EDIT
IN
OUT A
OUT B
DRY VARIDELAY/CHO REVERBTRACK VOLUME
ATTACK DECAY SUSTAIN
CUTOFF RESONANCEENV.DEPTH
TYPE
LPF24
LPF18
LPF12
HPF
BPF
BEF
RELEASE
S&H
PGM
USER
AMP
FILTER
PITCH
FINGERED
FULL TIME
OFF
TRACK
1 2 3 4 5 6 7 8 9 10 11 12 13 14 15 16
SYSTEM
MIDI SETUP
MIDI FILTER
SAVE
EXPORT
RENAME
DELETE
FORMAT
GRID GROOVE
LFO
PORTAMENTO
PITCH
EG
FILTER
ARPEGGIO
A/D SETUP
KNOB ASSIGN
MIDI OUT CH
LOAD
IMPORT
SCSI SETUP
SCSI COMM
HARMONIZE
NOTE
EFFECT TYPE
VARIATION
DELAY
REVERB
VOICE SELECT
VOL/PAN/OUT
EQ
EFFECT SEND
LEVEL
JOB LIST
MIDI DELAY
FEEDBACK
MASTER EQ
MASTER
EFFECT
EDIT CHANGE
VIEW FILTER
TIME
SHIFT
CAPS
SOLO
K ! L # M $ N % O & P ' Q ( R ) S - T @ U ^ V _ W { X } Y ~ Z
MUTE
REC
KEY-
BOARD
TRACK
SELECT
ARPEGGIO
ON
PLAY
TRANSPOSE
ALL TR- TR+
789+/-
4560
1 2 3 ENTER
PAD ASSIGN
PAD 1 PAD 2
SPACE DEL
1~8 9~16
TRANSPOSE(-) TRANSPOSE(+)
STORE
MUTE
SCENE
12345
BPM
MODE
SUB MODE
STOP
SECTION
ABC DE FGH IJ
SEQUENCE PLAY FX
LFO
PITCH
EFFECT SEND / VOLUME
EG
FILTER
OCT
DOWN
OCT
UP
TAP
GROOVEPLAY FXMIDI DELAYMIXER
VOICE EDITEFFECTSETUPMASTER
SAVE LOAD JOB EDIT
GROOVEPLAY FXMIDI DELAYMIXER
VOICE EDITEFFECT SETUP MASTER
SAVE LOAD JOB EDIT
PATTERN
SONG UTILITYUTILITY
PATT
CHAIN
MEMORY
EXIT
3.3V
CARD
MIDI
Integrated Sampling Sequencer
MUSIC PRODUCTION STUDIO
What to Record