


2
The Pattern Mode
4. Adding Groove to a Pattern
RS7000 85
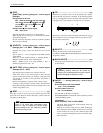
The GROOVE function can be used to add feel and groove to patterns.
This is accomplished by varying note timing, gate time, and velocity on an easy-to-use grid. By using
the GROOVE function you can vary the feel of the preset phrases as well as your own. Give dry-sound-
ing patterns more drive, and in general make your grooves more musical.
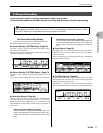
Press the [GROOVE] button while in the PATTERN Play or Patch mode to access the Grid Groove dis-
play page.
Groove Features
● Pitch, note timing, gate time, and velocity can be
varied to change the groove of your patterns with-
out actually changing the original data.
● Parameter changes affect playback in real time, so
you can tweak the groove of your patterns while
monitoring the results to achieve precisely the feel
you want.
● Add groove to the preset phrases.
Although the preset phrases cannot be directly altered, you
can use Grid Groove to indirectly change the way they sound.
● Groove settings can be applied to the pattern data
when complete.
Groove settings can be applied to pattern data in two ways:
• By using the PATTERN JOB “Normalize Effect” job
(Page 150).
• By using the real-time OVERDUB record mode (Page 80).
● Different groove settings can be made for each
track.
You can, for example, apply different groove settings to bass
drum and snare tracks.
● The groove settings for all 16 tracks are memorized
with the style.
No extra save procedure is necessary. Your groove settings
are saved with the style data and are automatically recalled
whenever a style is selected.
If MEMORY PROTECT is ON, however (Page 257), the
groove settings will not be saved and will be erased when a
different style is selected.
Grid Groove Procedure
1. Press [GROOVE] while in the PATTERN Play or Patch mode
to access the Grid Groove display page.
2. Press a key on the keyboard while holding the [TRACK
SELECT] button to select the track to which groove is to be
applied.
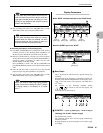
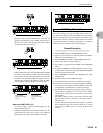
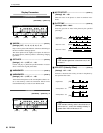
3. Press a white key on the keyboard to select the grid segment
to be edited.
The grid is divided into 16
th
note segments which are selected
by pressing the corresponding white keys on the keyboard.
The leftmost white key corresponds to the first beat of the
measure, the 5
th
white key to the 2
nd
1/4 note beat, and so on.
Press the same key again to de-select the segment.
When a key is pressed the corresponding grid segment is
highlighted.
More than one segment can be selected at a time for simul-
taneous groove editing. If several segments are selected you
can select a single segment only by pressing the appropriate
key while holding the [SHIFT] button.
4. Adding Groove to a Pattern
NOTE
The real-time OVERDUB record mode cannot
be used if a preset phrase is assigned to the
selected track. In this case first copy the preset
phrase to a user phrase and assign that phrase
to the track.
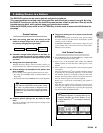
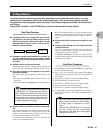
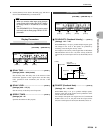
PHRASE DATA GRID GROOVE
TONE
GENERATOR
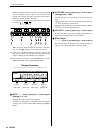
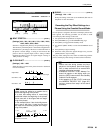
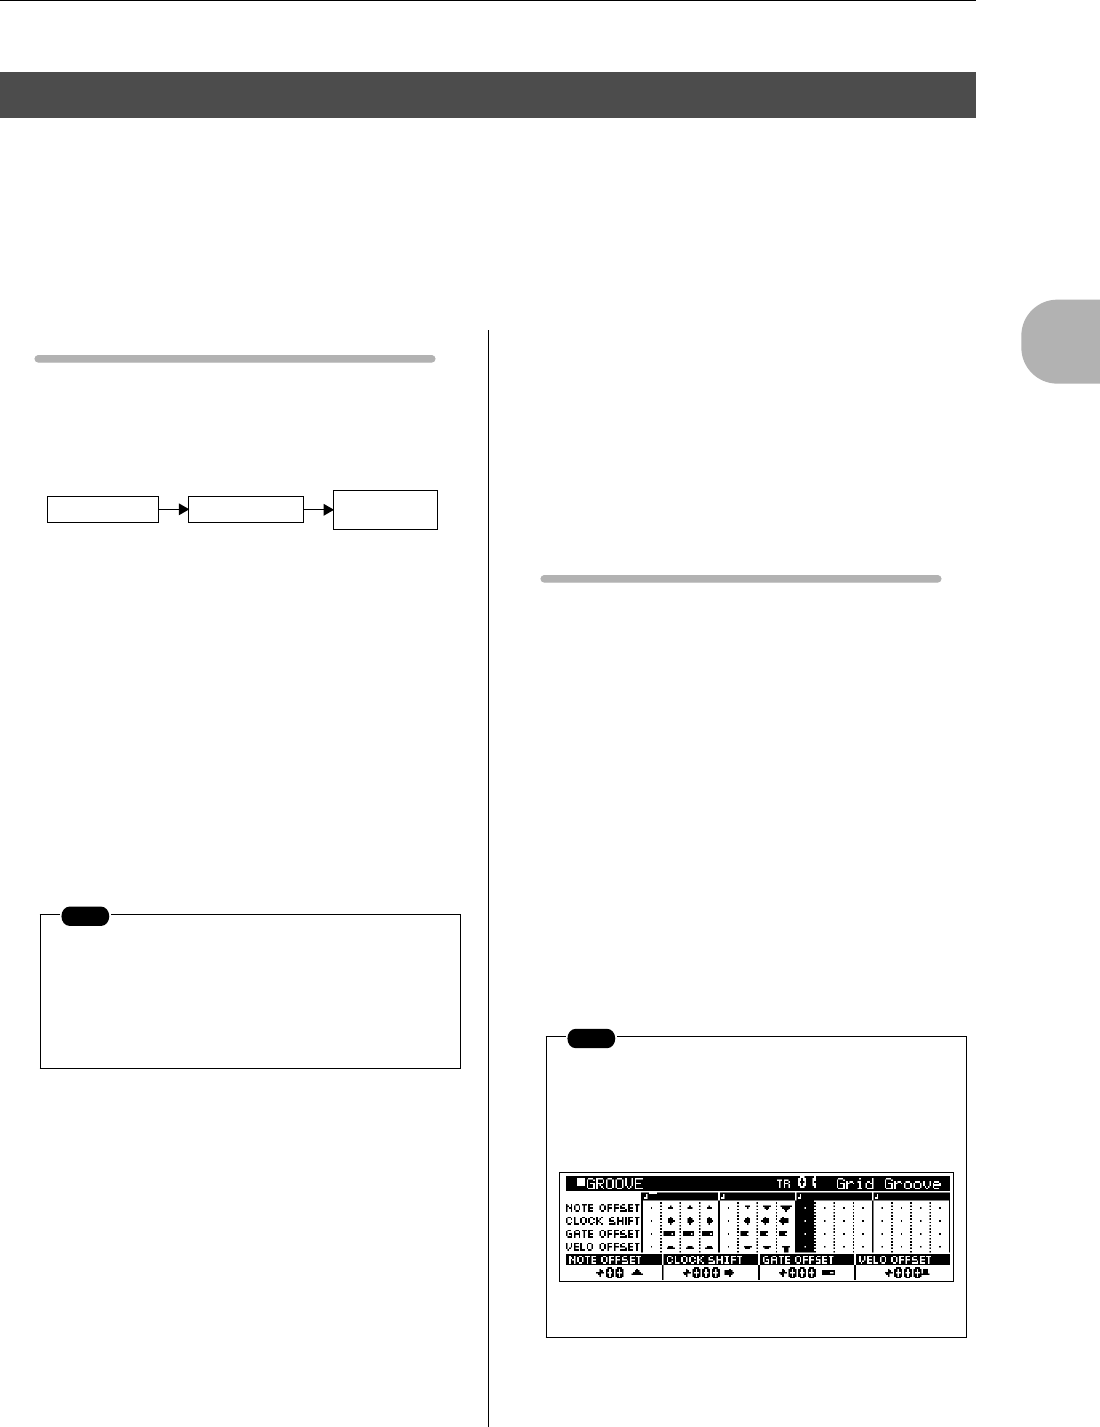
NOTE
The selected segment is indicated both by the
keyboard indicators and on the display. In the
example below the 3
rd
1/4 note beat is selected
for editing.