


Quick Guide — Advanced Course
Creating a Song on the MOTIF ES
111
Owner’s Manual
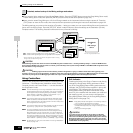
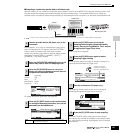
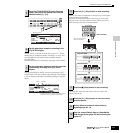
Set the Type to “overdub” then set the Loop to “on.” These
settings let you repeat the pattern recording in a “loop” and
record additional note events without deleting already-
recorded data.
Set other parameters as necessary. See page 243 for details.
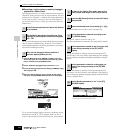
Call up the display for setting a Voice by pressing the [F2]
VOICE button. You won’t need to make settings in this display
if you’ve already completed Voice/Mixing settings in step #2
above.
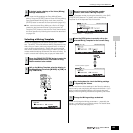
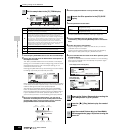
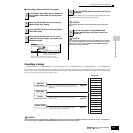
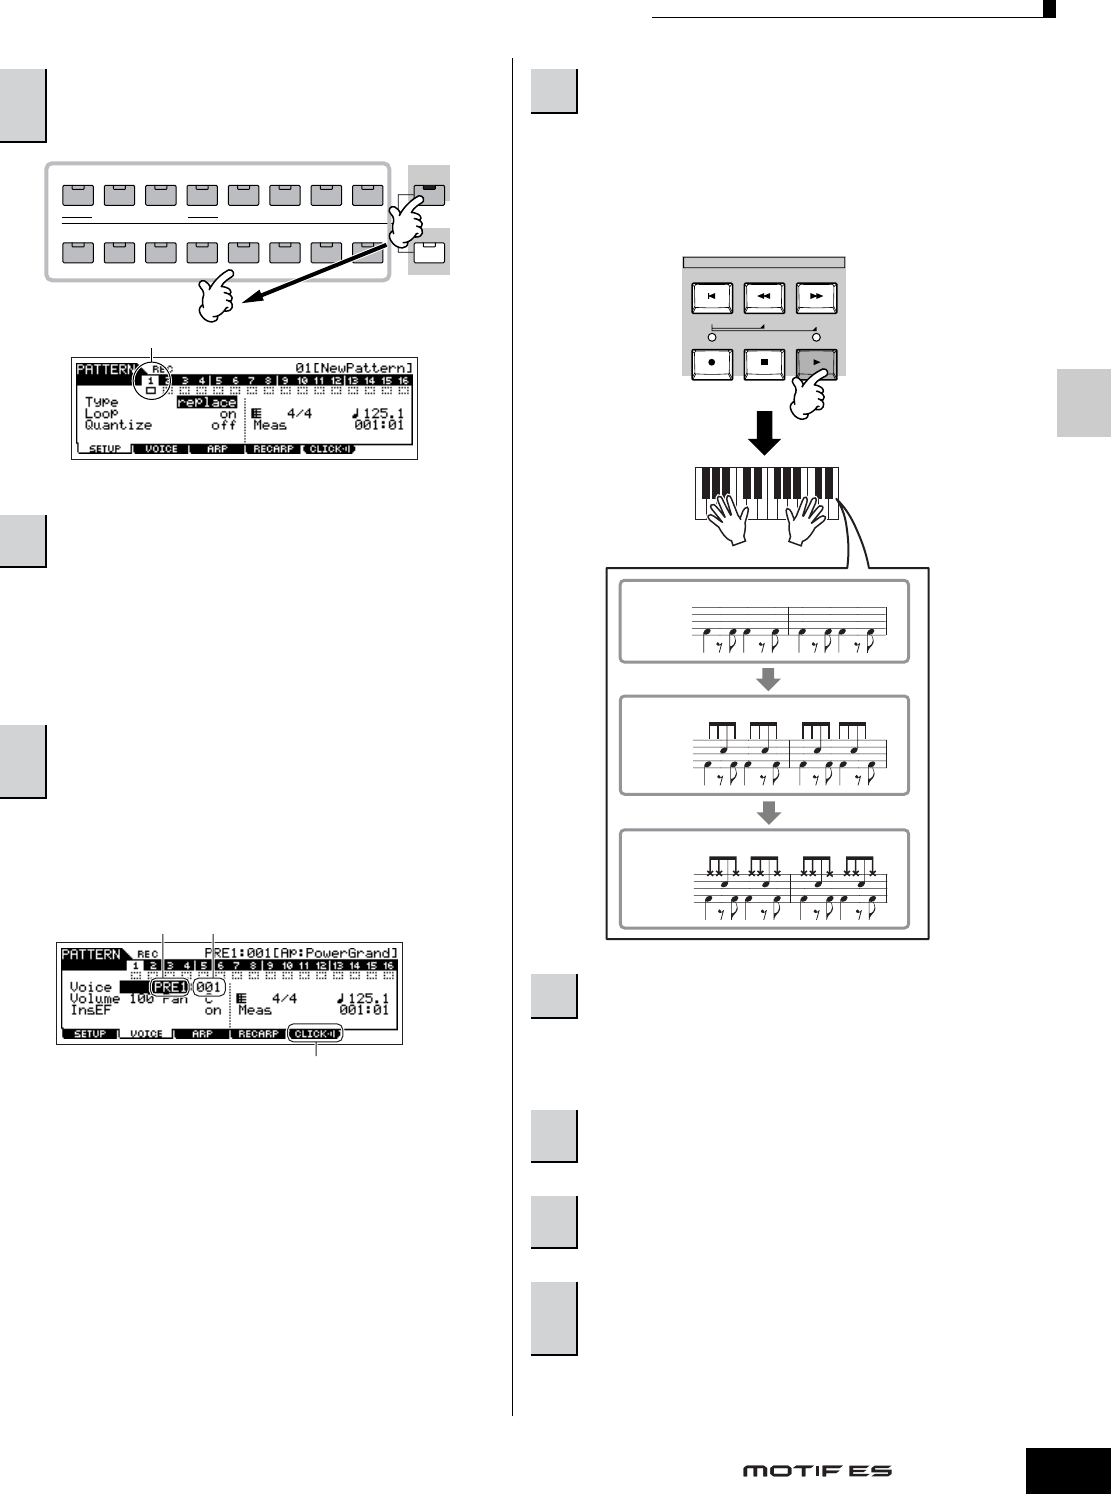
When a Drum Voice is selected, for example, try recording the
rhythm pattern shown below.
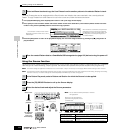
As shown in the example below, notes that you record will
play back from the next repetition (loop), letting you record
while hearing previously recorded material.
This operation exits from the Pattern Record mode to the
Pattern Play mode.
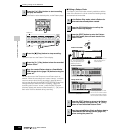
5
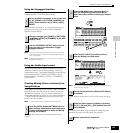
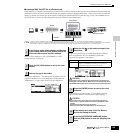
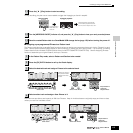
Press the [TRACK SELECT] button (the lamp
lights), then select the desired track from the
number buttons [1] - [16].
6
Set the parameters related to recording in the
[F1] SETUP display.
7
Set the parameters related to the Voice you wish
to use during recording in the [F2] VOICE
display.
ELEMENT/PERF. PART /ZONE
87654321
16
MUTE
TRACK
SELECT
SOLO
15
1412 13
11
10
9
Recording track
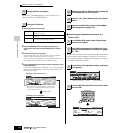
This lets you turn the click sound (metronome)
on/off for recording. (Press the [F5] button.)
Bank Number
8
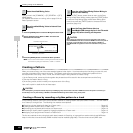
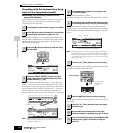
Press the [F] (Play) button to start recording.
9
Press the [■] (Stop) button to stop recording.
10
Press the [F] (Play) button to hear your newly
recorded phrase.
11
Record different phrases to other tracks by
repeating steps #4 - 10.
12
Save the created Pattern data to a SmartMedia/
USB storage device (page 132) before turning the
power off.
SEQ TRANSPORT
LOCATE 1 2
Bass Drum
Snare Drum
Bass Drum
Snare Drum
Hi-Hat
Bass Drum
Actual recording starts
after one measure.
Loop 1st round
Loop 2nd round
Loop 3rd round
Start recording