


Quick Guide — Advanced Course
Creating a Song on the MOTIF ES
123
Owner’s Manual
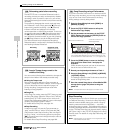
Doing this puts sample recording on standby, waiting for
song/pattern playback to reach the specified Punch-in
measure.
Audio is recorded to the instrument.
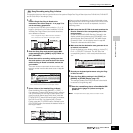
Press the [F3] AUDITION button to hear the sampled sound.
If you’re not satisfied with the results and you wish to try
again, press the [F4] CANCEL button to return to the
Sampling Standby display and try sampling from step #5
again. If you are satisfied with the results, press the [F5] OK
button to store the sampled sound as a “sample” and return
to the [F1] DEST or [F2] SOURCE display.
Keep in mind that if the Confirm function is turned off in step
#5 above, the display shown above will not appear when
stopping sampling. Instead, stopping sampling returns
directly to the [F1] DEST or [F2] SOURCE display.
Listen back to the Song (the sample automatically sounds
along with playback) and check that the timing is correct. If
you’re not satisfied with the timing, you can adjust it as
needed in the Song Edit mode. For details about Song Edit,
see page 124.
Registering a Song Scene and Arpeggio type simultaneously to the [SF1] - [SF5] buttons
Song Scenes and Arpeggio types can both be registered to the [SF1] - [SF5] buttons (when the ARP1 - ARP5 menu items are shown
at the bottom of the display). These settings are stored as Song data. Song Scene is a powerful function that allows you to store five
different “snapshots” of important Song related parameters – including transpose, tempo, track mute status, and the basic sound/
mixing controls (all parameter settings controllable from the Knobs with the [PAN/SEND] or [TONE] lamp turned on, and the Control
Sliders). The Arpeggio function and Arpeggio types are discussed in detail in the Voice mode, on page 66. You can call up both the
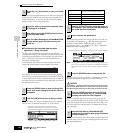
Song Scene and Arpeggio type simultaneously by simply pressing one of the [SF1] - [SF5] buttons (when ARP1 - ARP5 are shown at
the bottom of the display in the Song mode).
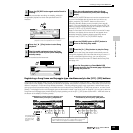
6
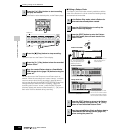
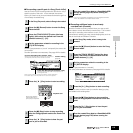
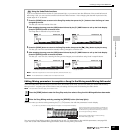
Press the [F6] REC button again enable Punch In
Waiting.
7
Press the [F] (Play) button to start Song
playback.
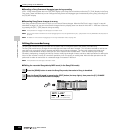
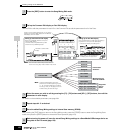
8
Start the audio equipment when the Song
reaches the Punch In point (when sampling
actually starts).
F6
Indicates that sample recording is waiting for song/pattern
playback to reach the specified Punch-in measure.
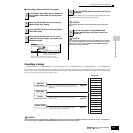
9
Stop the audio equipment when the Song
reaches the Punch Out point (when sampling
stops).
10
Press the [SONG] button or [EXIT] button to
return to the Song Play mode.
11
Press the [F] (Play) button to play the Song.
12
Save the Song data to a SmartMedia/USB
storage device in the File mode (page 132) before
turning the power off.
SCENE
SF1 SF
2 SF3 SF4 SF5
SCENE STORE
SET LOCATE
STORE
SCENE
SF1 SF
2 SF3 SF4 SF5
ARPEGGIO
ON/OFF
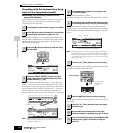
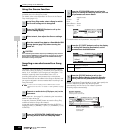
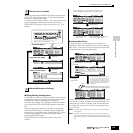
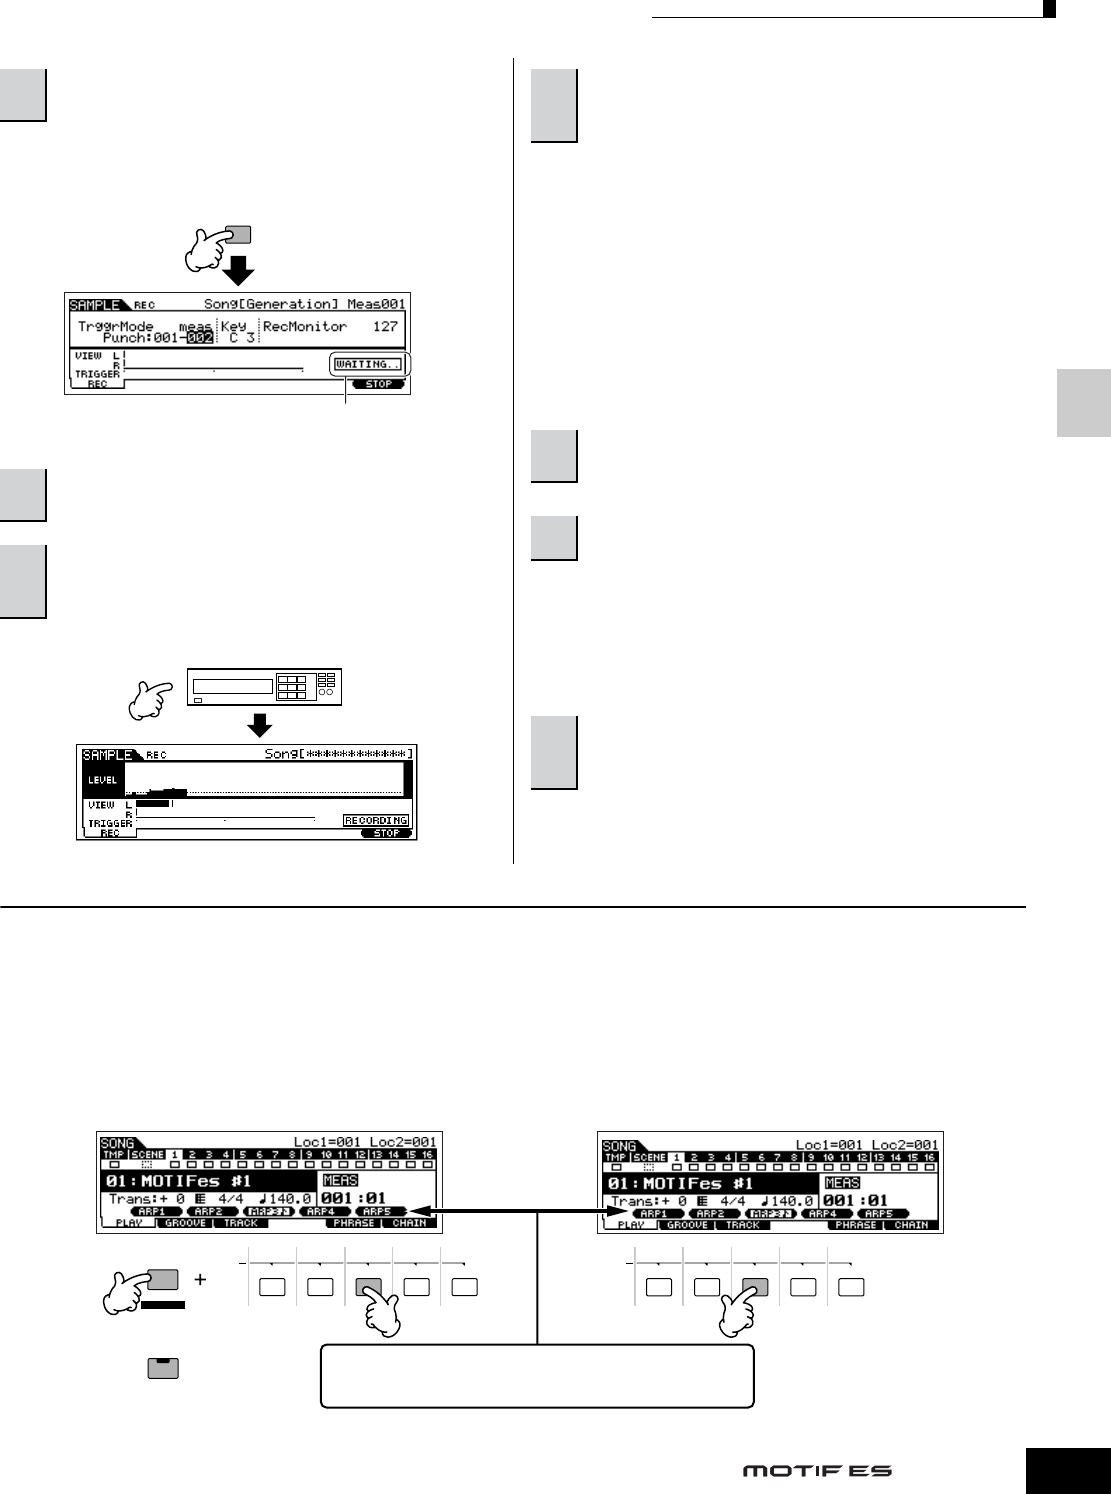
● Registering a Song Scene and Arpeggio type
simultaneously to the [SF1] - [SF5] buttons
● Recalling a Song Scene and Arpeggio type
simultaneously from the [SF1] - [SF5] buttons
In the Song mode, you can register the Song Scene and Arpeggio
type simultaneously to the [SF1] - [SF5] buttons only when the
ARP1 - ARP5 menus appear at the bottom in the display.
Simultaneously hold
the [STORE] button
and press one of
the [SF1] - [SF5]
buttons.