


Setting Up
Power Supply
26
Owner’s Manual
Please read this section carefully before using your new MOTIF ES.
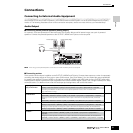
This section explains how to connect your MOTIF ES to an AC power source, external audio and MIDI devices, and a computer
system. Only switch the MOTIF ES on after you have made all the necessary connections (page 43).
Power Supply
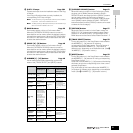
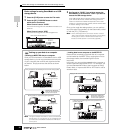
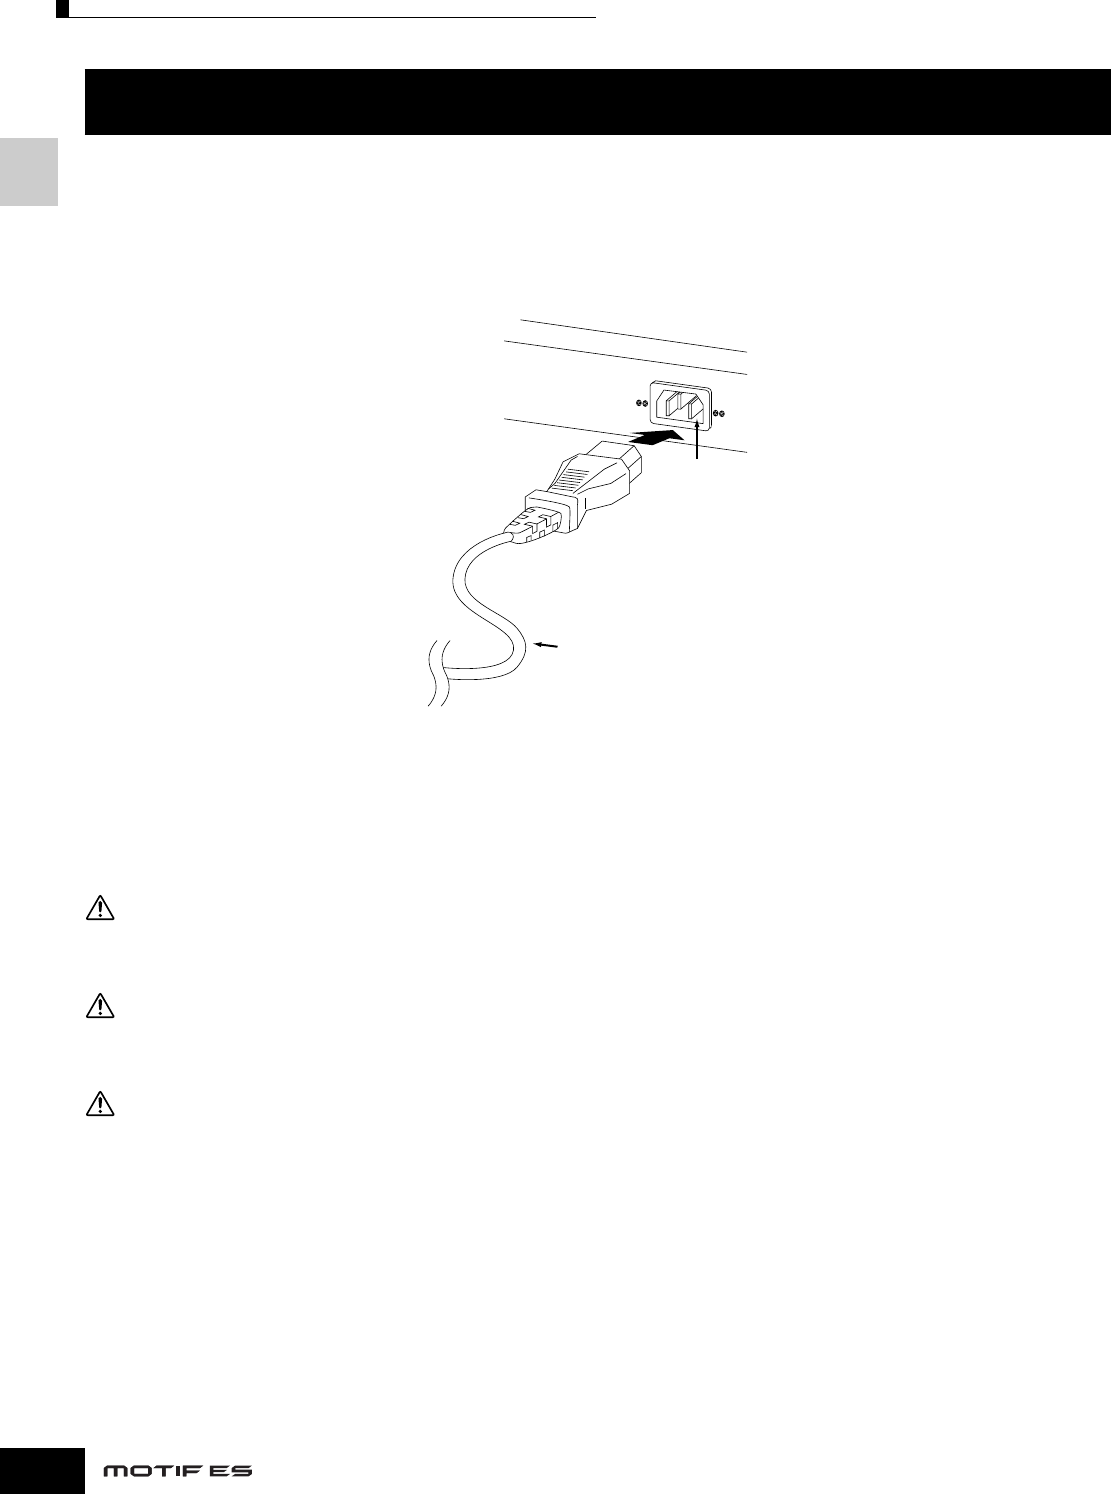
1 Make sure the POWER switch on the MOTIF ES is set to OFF.
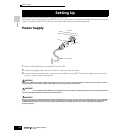
2 Connect the supplied power cord to the AC INLET on the instrument’s rear panel.
3 Connect the other end of the power cord to an AC outlet. Make sure your MOTIF ES meets the voltage requirement for the
country or region in which it is being used.
Make sure your MOTIF ES is rated for the AC voltage supplied in the area in which it is to be used (as listed on the rear panel). Connecting the unit to the
wrong AC supply can cause serious damage to the internal circuitry and may even pose a shock hazard!
Use only the AC power cord supplied with the MOTIF ES. If the supplied cord is lost or damaged and needs to be replaced, contact your Yamaha dealer. The
use of an inappropriate replacement can pose a fire and shock hazard!
The type of AC power cord provided with the MOTIF ES may be different depending on the country in which it is purchased (a third prong may be provided
for grounding purposes). Improper connection of the grounding conductor can create the risk of electrical shock. Do NOT modify the plug provided with
the MOTIF ES. If the plug will not fit the outlet, have a proper outlet installed by a qualified electrician. Do not use a plug adapter which defeats the
grounding conductor.
Setting Up
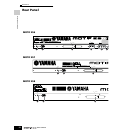
Rear panel
AC INLET
Power cord (included)
WARNIN
G
WARNIN
G
WARNIN
G