


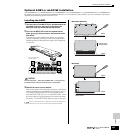
Installing Optional Hardware
289
Owner’s Manual
Appendix
Optional DIMM Installation
This section explains how to install DIMM memory modules to the MOTIF ES.
Compatible DIMMs
The MOTIF ES does not necessarily support all commercially
available DIMMs. Yamaha cannot guarantee operation of
DIMMs that you purchase. Before purchasing DIMMs, please
consult your Yamaha dealer, or an authorized Yamaha
distributor (see list at end of the Owner’s Manual) for advice,
or see the following page:
http://www.yamahasynth.com/
DIMM Type and DIMM Configuration
•Yamaha recommends that you purchase DIMMs that
conform to the JEDEC* standard. Please be aware,
however, that conformance to this standard does not
constitute a guarantee that the DIMMs will operate correctly
on the MOTIF ES.
* JEDEC (Joint Electron Device Engineering Council) sets standards for
terminal configurations within electronic devices.
• Use only 168-pin DIMMs of 64, 128 or 256 MB capacity
(synchronized DRAM; PC100 or PC133).
• When installing DIMMs, make sure to install them in a
matched pair of the same capacity. You cannot install only
one module and leave the second memory socket open.
Also make sure each DIMM in the pair is of the same
manufacturer and the same type. DIMMs of different
makers and configurations may not work together.
• When purchasing DIMMs, make sure that the DIMM design
does not utilize more than 18 memory chips per module.
(DIMMs comprised of more than 18 chips do not operate
correctly on the MOTIF ES.)
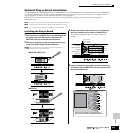
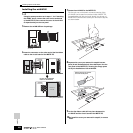
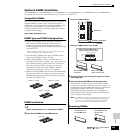
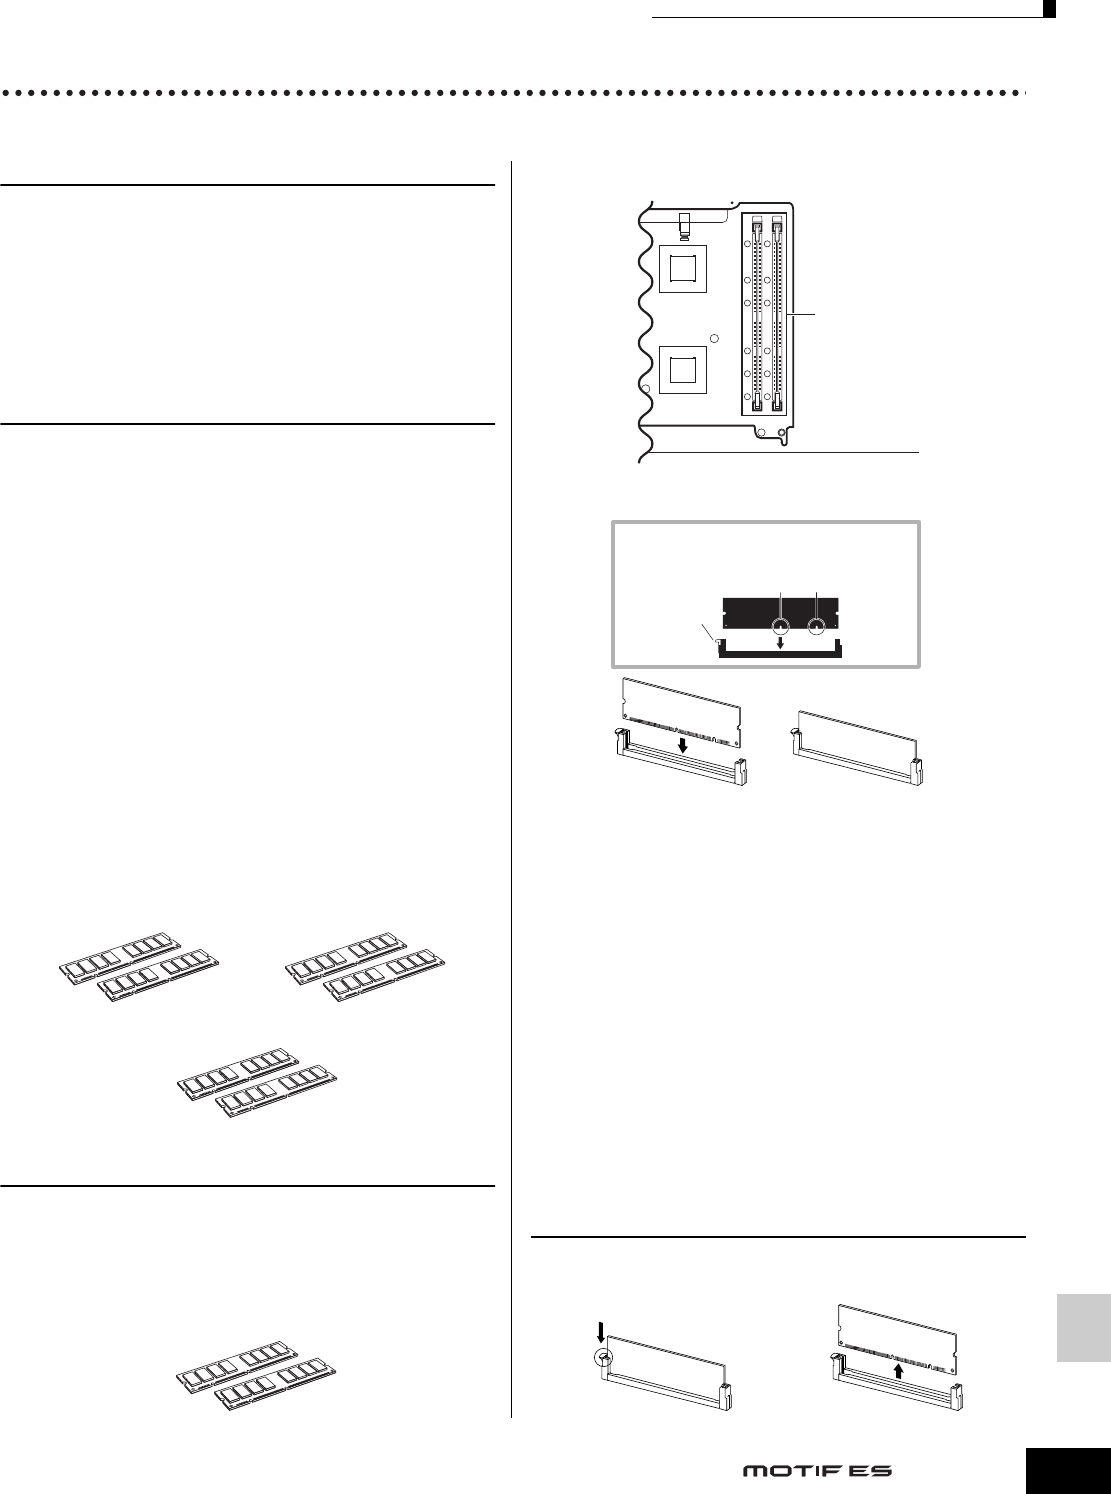
DIMM Installation
1~3
Use the same operation as in “Installing the AIEB2.”
4 Insert the two DIMMs into the DIMM sockets.
5 Re-install the cover you removed in step #3, in reverse
order (page 285).
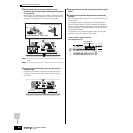
6
Check that the installed DIMMs are functioning properly.
Set the MOTIF ES right-side up, and connect the power
cord to the rear-panel AC INLET jack and an AC outlet. Turn
on the power, go to the SAMPLING display by pressing the
[INTEGRATED SAMPLING] button, and press the
[INFORMATION] button (page 276). If the DIMMs have
been installed properly, the appropriate available memory
size is indicated in the display.
n If the DIMMs have not been installed properly, the MOTIF ES may
freeze when you press the [INTEGRATED SAMPLING] button. If
this occurs, turn the power off, perform the instructions above
again, and make sure to install the DIMMs firmly in step #4.
Removing DIMMs
64MB x 2 = 128MB 128MB x 2 = 256MB
256MB x 2 = 512MB
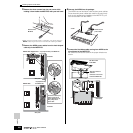
168-pin DIMMs
Notch for alignment
Ejector
lever
Location for DIMM installation
DIMM sockets
Underside of the MOTIF ES
Installing the DIMM modules to the sockets
Make sure that the DIMM module is
aligned correctly before you install it.
Insert the DIMM vertically
in the socket.
Press it in firmly until it
“snaps” or locks in place.
↓ Rear panel
Press the ejector lever
until the DIMM unlocks.
Pull the DIMM vertically
out of the socket.