


Sequencer mode
416
Changing the time signature in the middle of a
song
If you know beforehand the location at which you
wish to change time signatures in the middle of a song,
use the “Insert Measure” menu command to specify
and insert the time signature for each measure of the
same time signature, and then record your musical
data.
If you wish to change the time signature in the middle
of a song which already contains musical data, use
Track Select to specify the Master Track (or any
Track01–16 which contains data), and use the “MIDI
Event Edit” menu command to modify the time
signature of the Bar event. You can also change this by
specifying an audio track and using the “Automation
Edit” menu command.
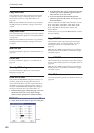
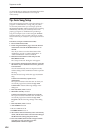
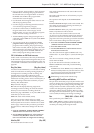
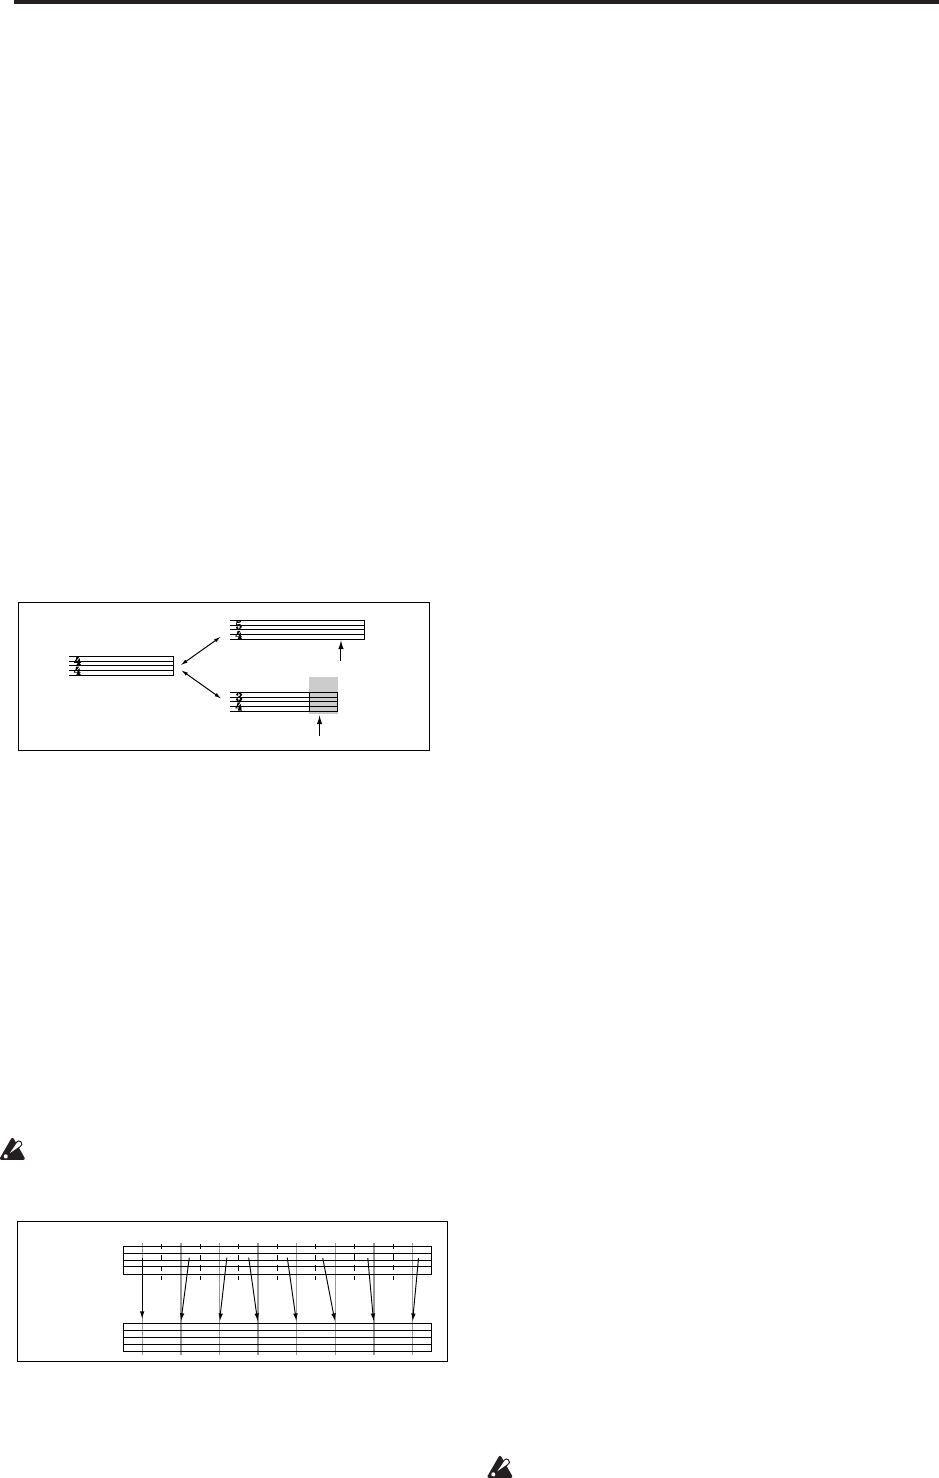
If the number of beats in a measure increases when
you modify the time signature, rests will be inserted in
the portion that was added. Conversely if the number
of beats decreases, that portion will not be played.
However if you return to the original time signature,
the data that had been hidden will once again be
played. (The data itself will not be erased.)
REC Resolution (Realtime REC Quantize Resolution)
[Hi, 3 , , 3 , , 3 , , ]
When you realtime-record on a MIDI track, the timing
of the MIDI data you play will be corrected. Audio
track automation data you realtime-record will also be
corrected. (It does not correct previously-recorded
data.)
Hi (High Resolution): Timing will not be corrected.
Data will be recorded at the maximum resolution
(/192).
3 – : Data will be corrected to the nearest interval of
the specified timing as it is recorded. For example if
you select 3, data will be corrected to the nearest 32nd
note triplet interval. If you select , data will be
corrected to the nearest quarter note interval.
When you realtime-record an audio event on an
audio track, it is recorded at the maximum
(uncorrected) resolution.
Because all the MIDI data and automation event being
recorded will be corrected to the specified timing
resolution, coarse settings of this parameter will cause
continuous controllers such as pitch bend to be
recorded in “stair-step” fashion.
In such cases, use a setting of Hi to record, and then
use the “Quantize” menu command to correct only the
desired type of data (notes etc.). It is best to avoid
recording at a stiff resolution to begin with.
Tempo Mode [Auto, Manual, REC]
Auto: The tempo will follow the tempo of the Master
Track. The tempo of the master track can be specified
by using the “MIDI Event Edit” command, with the
Master Track chosen in Track Select, or by the REC
operation described below. When Auto is selected, it
will not be possible to modify the “ (Tempo)” setting
while a song is playing or recording (or during
standby).
Manual: The “ (Tempo)” setting will be used.
REC: Tempo changes will be recorded on the Master
Track.
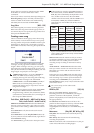
(Tempo) [040.00…240.00, EXT]
This specifies the tempo of the song. This tempo
applies to song playback and the KARMA function,
etc.
040.00…240.00: When the “Tempo Mode” is Manual,
this tempo will be used for recording and playback.
When “Tempo Mode” is REC, this tempo will be
recorded on the master track.
EXT: This will appear when MIDI Clock (Global 1–1a)
is set to either External MIDI or Auto. The tempo of the
internal sequencer will synchronize with MIDI Clock
messages received from an external sequencer or other
MIDI device, between 40 and 240 BPM.
If MIDI Clock (Global 1–1a) is set to “Internal,” the
above tempo setting (040.00–240.00) is used. If you’ve
selected Auto, operation will automatically switch
from Internal to External if MIDI Clock data is received
from an external MIDI device connected to the MIDI
IN connector, and this indication will appear.
Note: You can also adjust this by turning the TEMPO
knob. Alternatively, you can set the tempo by pressing
the TAP TEMPO switch at the desired interval.
Note: If Tempo is selected as an alternate modulation
source, = 120.00 will be the base value.
To record tempo changes
First, set Track Select to a MIDI Track.
Press the SEQUENCER REC/WRITE switch to enter
recording-standby mode, you will be able to select
REC.
Set “Tempo Mode” to REC, start recording, and change
the “ (Tempo)” value either by turning the TEMPO
knob, or using numeric keys 0–9 to enter a value and
then pressing the ENTER switch. You can also vary the
tempo by pressing the TAP TEMPO switch at the
desired timing.
This cannot be selected when the Preferences page
item Recording Setup is set to Loop All Tracks.
When you change the “ (Tempo)” value while
recording, the tempo changes will be recorded, causing
the tempo to change as the song progresses.
You can’t record tempo changes during audio
recording.
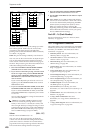
Rest is inserted
Not played
With a setting of