


Global mode
684
Update System Software
Before you begin updating the system, back up
important data on external USB storage media.
1. Insert the CD-R/RW disc containing the system
file into the CD-R/RW drive.
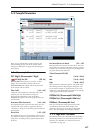
2. Access the Global P0– Basic Setup page.
Press the MODE GLOBAL switch to enter Global
mode, and press the EXIT switch up to four times.
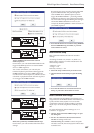
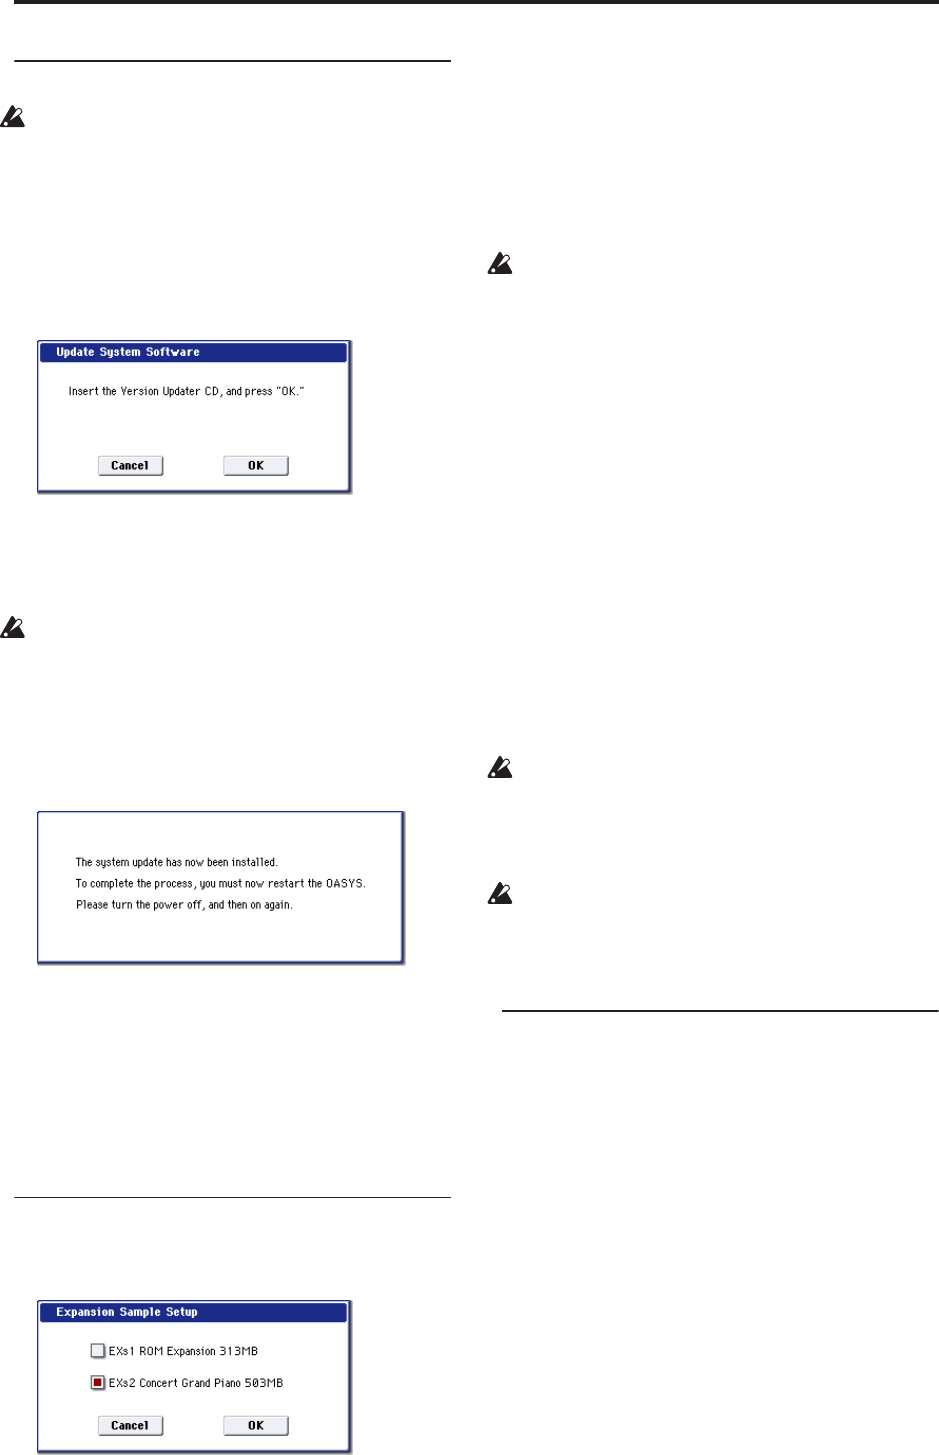
3. Choose the page menu command “Update System
Software” to open the dialog box.
4. Press the OK button to execute the update.
A dialog box will ask you for confirmation. Press
the OK button to begin updating the system
software.
While the system is being updated, do not touch the
OASYS’ switches, and never turn off the power. If
the power is accidentally turned off while the
system is being loaded, the OASYS may become
inoperable. If this occurs, please contact your local
Korg distributor.
5. When the update has been completed, a dialog box
with the following message will appear.
“The system update has now been installed. To
complete the process, you must now restart the
OASYS. Please turn the power off, and then on
again.”
6. Power-off the OASYS. Wait approximately ten
seconds, and then turn the power on again.
The system version number is shown in the lower
left of the opening screen. Verify that it is correct.
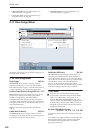
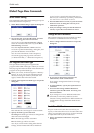
Expansion Sample Setup
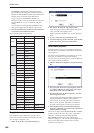
1. Select Expansion Sample Setup to open the dialog
box.
2. Check the desired EXs banks.
If “EXs1 ROM Expansion: 313 MB” is checked, the
ROM and EXs1 multisamples/samples will be
loaded at power-on.
If “EXs2 Concert Grand Piano: 503 MB” is checked,
the ROM and EXs2 multisamples/samples will be
loaded at power-on.
If neither is checked, only the ROM multisamples
and samples will be loaded.
To load both EXs1 and EXs2 at the same time, you
must first expand the installed RAM to at least 1.5
GB. If you select both EXs1 and EXs2, but there is
insufficient RAM, a “memory full” message will
appear, and the operation will not be executed.
For information on installing additional memory,
see “Installing memory” on page 1038.
3. Press the OK button.
The following message will appear:
The Expansion Sample Setup has now been
changed. In order for your changes to take effect,
please turn the power off, and then on again.
[OK]
This completes the Expansion Sample Setup
operation. The next time you turn on the power, the
specified PCM bank will be loaded and available.
4. Press the OK button.
5. Turn off the power.
The next time you turn on the power, the specified
PCM bank will be loaded and available.
When you turn off the power, any data you had
been editing will be lost. You must save your data
before you turn off the power.
6. Wait about ten seconds, and then turn the power
on again.
After turning the power off, you must wait ten
seconds before you turn the power on again.
7. Select and play programs and combinations that
use the loaded multisamples/samples.
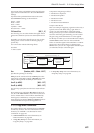
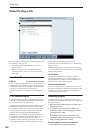
Display Public ID
The Public ID is a unique identifier, like a very specific
name; it is different for each and every OASYS. It’s 16
characters long (not counting the dashes between each
pair of characters), and uses only the characters 0-9
and A-F.
You’ll need to know the instrument’s Public ID when
purchasing OASYS software options, or if you have to
re-authorize the OASYS software.
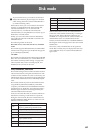
This simple dialog displays the instrument’s Public ID.
1. Select Display Public ID to open the dialog box.
2. Write down the 16-character Public ID, as
displayed on the screen.
3. Press OK to close the dialog box.