Sequencer: Page Menu Commands Set Song Length
541
3. Measure and Index located in the top line of the
dialog box show the measure for editing and the
index number of an event within that measure;
this event is shown at the top of the list of events.
You can use the scroll bar at right to move to the
event you want to edit.
4. Select the event you want to edit, and use the
VALUE controller to input the desired values.
• You can move the location of the event within the
measure by editing the “Beat Tick” value.
• To edit the event data, input the desired values for
each event.
5. You can press the buttons located at the bottom of
the dialog box to edit events as follows.
• Inserting an event
Select the location “Beat Tick” at which you wish to
insert an event, and press the Insert button to insert
an event.
• Deleting an event
Select the event that you wish to delete, and press
the Cut button to delete the event.
• Moving an event
You can use the Cut button and Insert button to
move an event (by “cut and paste”).
Use the Cut button to delete the event that you wish
to move, then use the Insert button to insert it at the
desired location.
You can also move an event by modifying its “Beat
Tick” value.
• Copying an event
Select the event that you wish to copy, and press the
Copy button. Then select the copy destination and
press the Insert button to insert the event at that
location.
6. You can press the Play button to play back an
audio event. During playback, an indication of
“Stop” will appear, and you can stop playback by
pressing this button.
Playback will also stop when you reach the end of
the audio event. This is available only if you’ve
selected an audio event.
7. When you’re finished with automation editing,
press the Done button.
If desired, you can press the COMPARE switch to
return to the state prior to automation editing.
The following table shows the types of “Automation
Edit” events and the range of values.
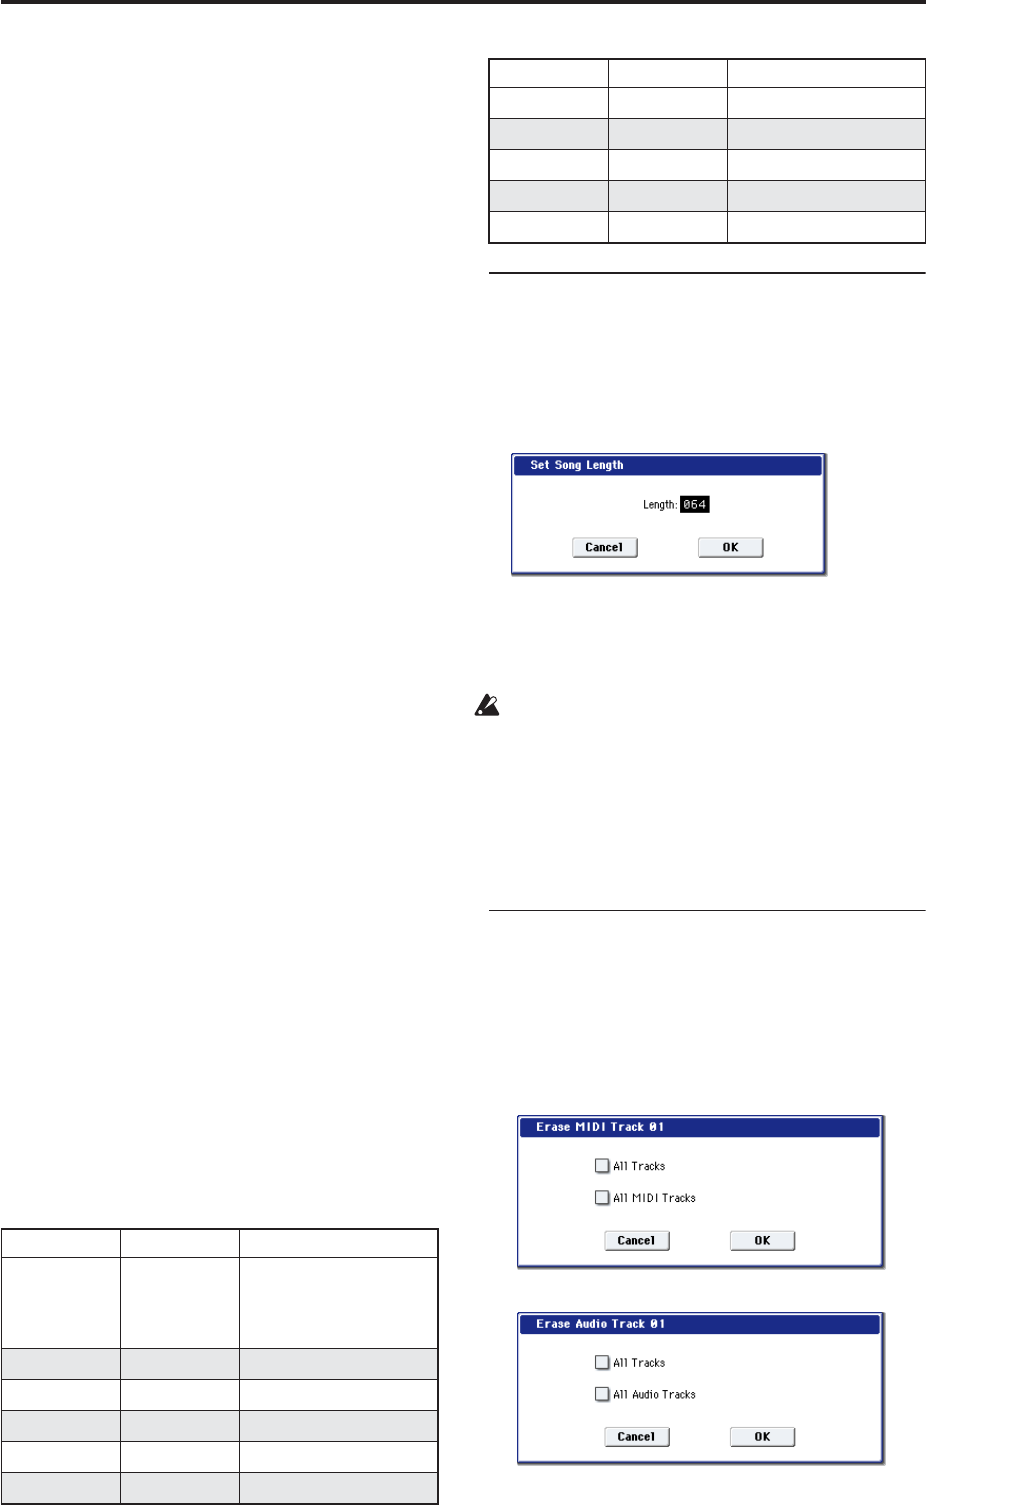
Set Song Length
This command changes the length of the specified
song. When it is executed, the length of the master
track will change, and the number of measures played
will change.
1. Select “Set Song Length” to open the dialog box.
2. In “Length,” specify the length of the song.
3. To execute the Set Song Length command, press
the OK button. To cancel without executing, press
the Cancel button.
All data following the measure specified by
“Length” will be deleted. If you execute this
command with “Length” shorter than the song,
causing an audio event to extend beyond the end of
the track, a new region will be automatically named
and created to specify the region of the WAVE file
that will actually be played.
The WAVE file itself will not be deleted.
Erase Track
This command erases the data from the specified track.
It is not possible to erase the master track by itself.
1. In Track Select, select the track that you wish to
erase.
2. Select “Erase Track” to open the dialog box.
MIDI tracks
Audio tracks
3. Select the track whose data you want to erase.
Kind Value Value2
Region name
(display only)
(Audio events)
E:001.00.000…
999.15.191(Display only)
(End of an audio event:
measure, beat, clock)
Volume 0…127
Pan L000…R127
Send1 0…127
Send2 0…127
EQ Bypass On, Off
EQ Input Trim 0…99
EQ High Gain –18.0…+18.0
EQ Mid Cutoff 100…10.00k
EQ Mid Gain –18.0…+18.0
EQ Low Gain –18.0…+18.0
Kind Value Value2


