


Disk: Page Menu Commands Create Directory
723
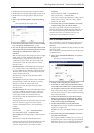
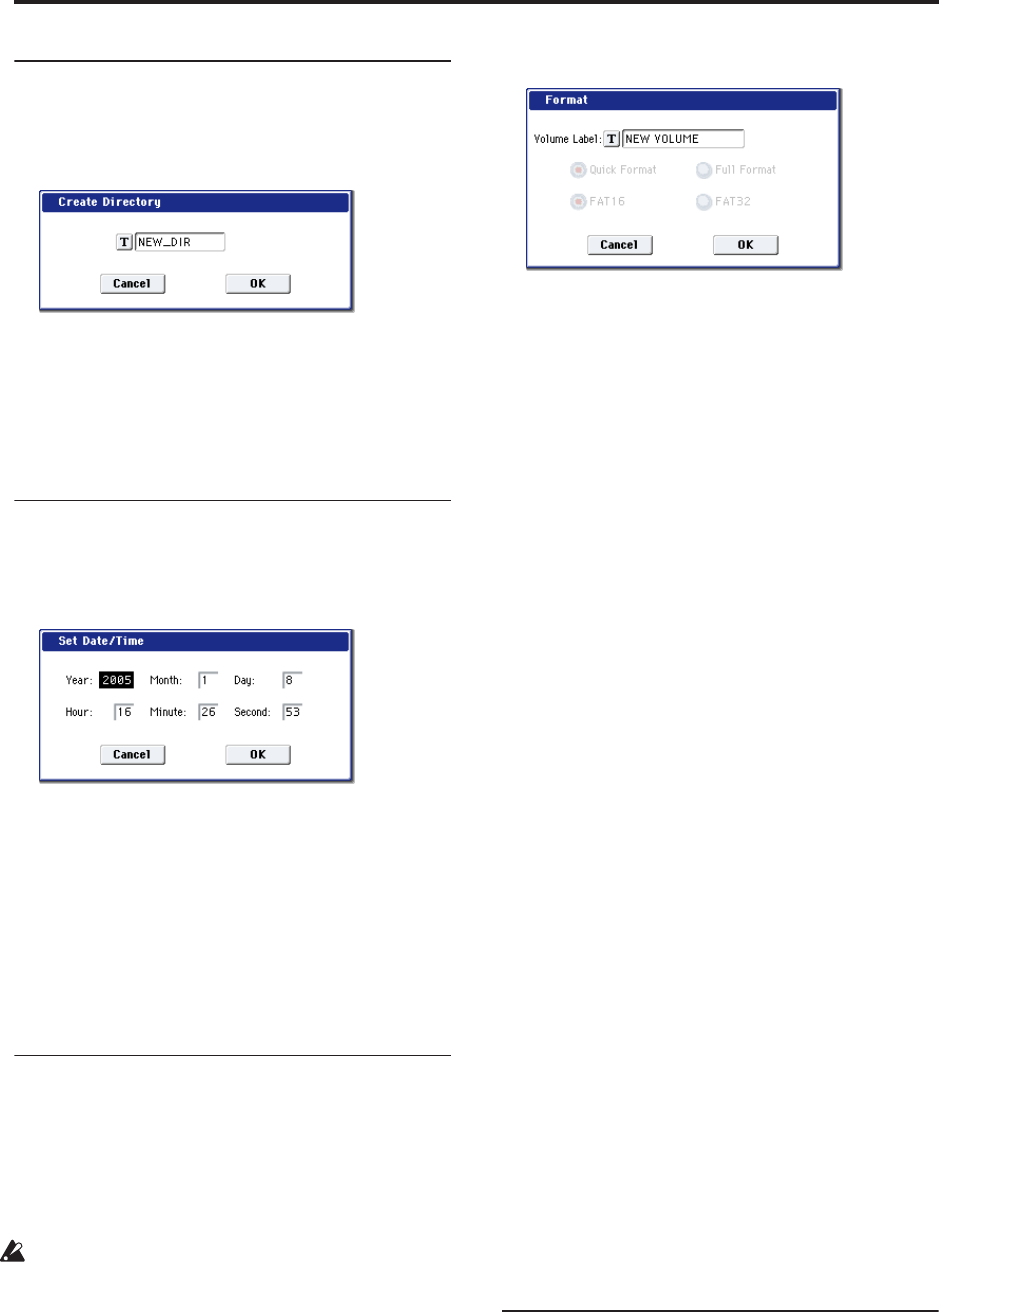
Create Directory
This command creates a new directory within the
current directory.
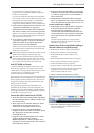
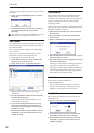
1. Select “Create Directory” to open the dialog box.
2. Use the text edit button to access the text input
dialog box, and specify the name of the new
directory.
3. To create the directory, press the OK button. To
cancel without creating the directory, press the
Cancel button.
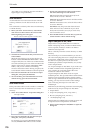
Set Date/Time
This command sets the date and time of the OASYS’s
internal calendar.
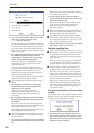
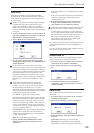
1. Select “Set Date/Time” to open the dialog box.
2. Set each parameter.
3. To set the date and time, press the OK button. To
cancel, press the Cancel button.
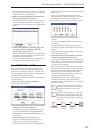
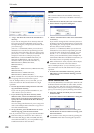
Format
This command formats the selected media. The
volume label (a name for the entire media) you specify
will be assigned to the media. The volume label you
assign here will be displayed in “Drive Select” (0–1a).
The volume label can be a maximum of eleven
characters.
When you format, all data saved on that media will
be erased. If you had used a computer etc. to set up
that drive so that it can be used as multiple drives
(partitions), this data will also be erased. Be sure to
double-check before you format.
After formatting, it is not possible to press the
COMPARE switch to return to the previous state.
1. Make sure that the media you want to format is
inserted.
2. Use “Drive Select” to select the media that will be
formatted.
3. Select “Format” to open the dialog box.
4. In “Volume Label,” use the text edit button to
access the text input dialog box, and specify the
volume label.
The previously-specified volume label will be
displayed. If no volume label had been specified for
the media, or if a non-DOS media was inserted, this
will indicate “NEW VOLUME.”
5. Specify the initialization format.
Quick Format: Normally you should use Quick
Format to initialize the media.
Select this if the media has already been physically
formatted, or if you want to format media that has
been UDF-formatted by the OASYS. Since only the
system area of the media need be formatted, this
will require less time.
Full Format: Select this when formatting media that
has not been physically formatted, or media (CD-
RW) that has not been UDF-formatted.
Note: For the internal hard disk you can only select
“Quick Format.” Also, the file system selection of
FAT16 or FAT32 in step 6 is not available.
Note: Normally, it is not necessary to perform a Full
Format on media that has been physically formatted
at 512 bytes/block. Execute the Quick Format for
such media.
Note: You will normally select Full Format for CD-
RW media etc. that has not been UDF-formatted. If
an error message of “Media not formatted” appears,
execute Full Format. Depending on the capacity of
the media, executing Full Format may require a
substantial length of time.
6. Specify the file system.
FAT16 can format a maximum of 4 Gigabytes. If you
are using media larger than this., use FAT32 format
instead. (FAT32’s the theoretical maximum is 2
Terabytes, or 2,000 Gigabytes.)
7. To format the media, press the OK button. To
cancel without formatting, press the Cancel
button.
Note: If you want to use a CD-R/RW for writing
packet data, you must format it. If you will be using
it as an audio CD, formatting is not necessary.
Convert to ISO9660 Format
This command converts UDF format CD-R media to
ISO9660 format.
If a file that was saved by the OASYS to CD-R is to be
loaded by another device, you must execute this
command to convert it to ISO9660 format.
“Year” 1980–2037
“Month” 1–12
“Day” 1–31
“Hour” 0–23
“Minute” 0–59
“Second” 0–59