Sequencer mode
540
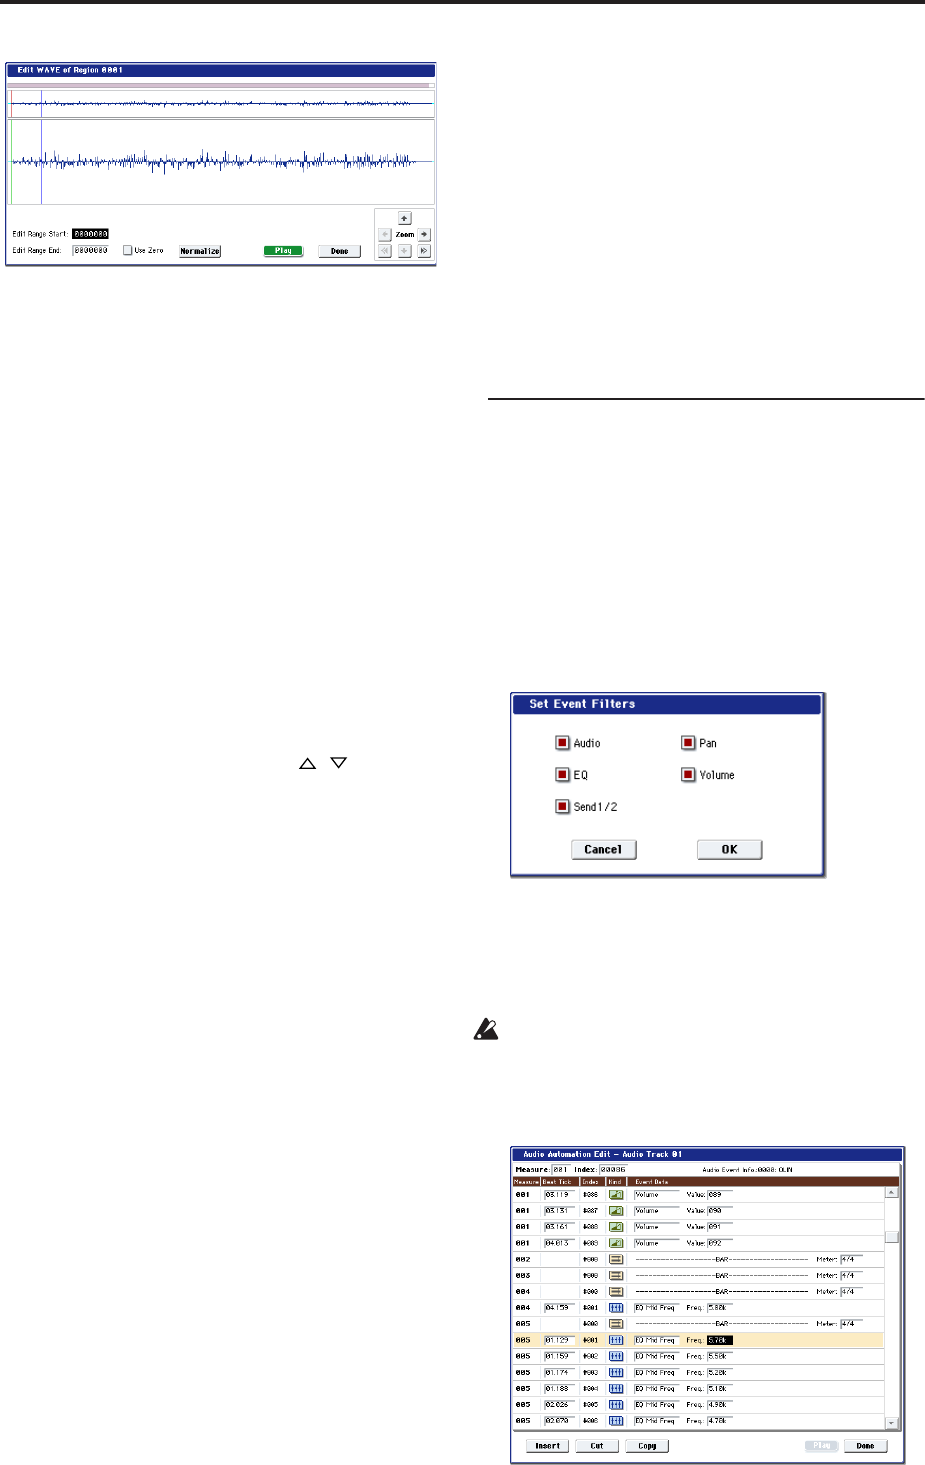
WAVE file waveform display, ZOOM
This area displays the waveform of the WAV file
assigned to the region. the waveform display and
ZOOM buttons operate in the same way as in
Sampling mode, except that the displayed data is a
WAVE file. Refer to the Sampling mode sections “1–
1c: Sample waveform display” on page 586 and “1–
1f: ZOOM” on page 587.
Edit Range Start [0000000…230399998]
Edit Range End [0000001…230399999]
“Edit Range Start” and “Edit Range End” set the
range of the waveform that will be edited.
This range is highlighted in the “WAVE file
display.” To audition the selected region, press the
PLAY or SAMPLING START/STOP buttons.
Use Zero [Off, On]
On (checked): When you set “Edit Range Start” or
“Edit Range End,” you will only be able to select
zero-cross points; i.e., addresses at which the
waveform level is at the center “zero” line. Use the
the VALUE slider, VALUE dial, or / switches
to move to the previous or next zero-cross address.
If you use the numeric keypad to enter a value
directly, you will move to the zero-cross point that is
nearest that value.
Off (unchecked): You can adjust the “Edit Range
Start” and “Edit Range End” address in units of 1.
This is the normal mode of operation.
Normalize
This command processes a WAVE file in the same
way as the “Normalize/Level Adj.” menu
command in Sampling mode. For more information,
see “Normalize/Level Adjust” on page 626.
The “Normalize” command applies a uniform
change to the sample levels between “Edit Range
Start” and “Edit Range End.” It boosts the level of
the sample data in the specified range as much as
possible without causing it to clip. If the data was
sampled at a low level, you can use this command
to increase the dynamic range of the sample data.
You can use Level to raise or lower the level as
necessary.
10.“Crossfade”: This creates an event in which the
volume is gradually modified in the area where
two audio events overlap, causing them to be
mixed.
Edit the location and end location so that the two
events overlap. Then select the first of the two
events, and press the Crossfade button to display
the dialog box.
Use “Curve” to specify how the volume will change
in the crossfaded portion.
Linear: The volume will change linearly.
Power: The volume will change in a non-linear
power curve. Sometimes, using the Linear setting
will produce the impression that the volume is less
during the middle of the curve. If so, use the Power
curve.
Press the OK button to execute the crossfade, or
press the Cancel button if you decide to cancel.
11.When you’re finished with audio event editing,
press the Done button.
By pressing the COMPARE switch you can return to
the state prior to your audio event editing
operations.
Audio Automation Edit
This lets you edit individual automation data events.
All edits are performed only on the single audio track
that is selected, regardless of whether stereo pairing is
on or off.
1. Use Track Select to select the audio track that you
want to edit, and use From Measure (4–1b) to
specify the first measure that you want to edit.
When you use Track Select to select Audio Track
01–16 and then choose “Automation Edit,” the Set
Event Filters dialog box will appear.
In the Set Event Filters dialog box, select the types of
automation event data that you want to view or edit
in the automation edit window.
Check each type of event (Audio, Pan, EQ, Volume,
Send 1/2) that you want to see.
Audio events are shown in this window for
reference, but they cannot be edited here. To edit
them, use the “Audio Event Edit” command.
2. Press the OK button to access the Automation Edit
dialog box.
